Assembly Bottom layer
This page introduces how to assemble the DIY KIT Bottom layer.
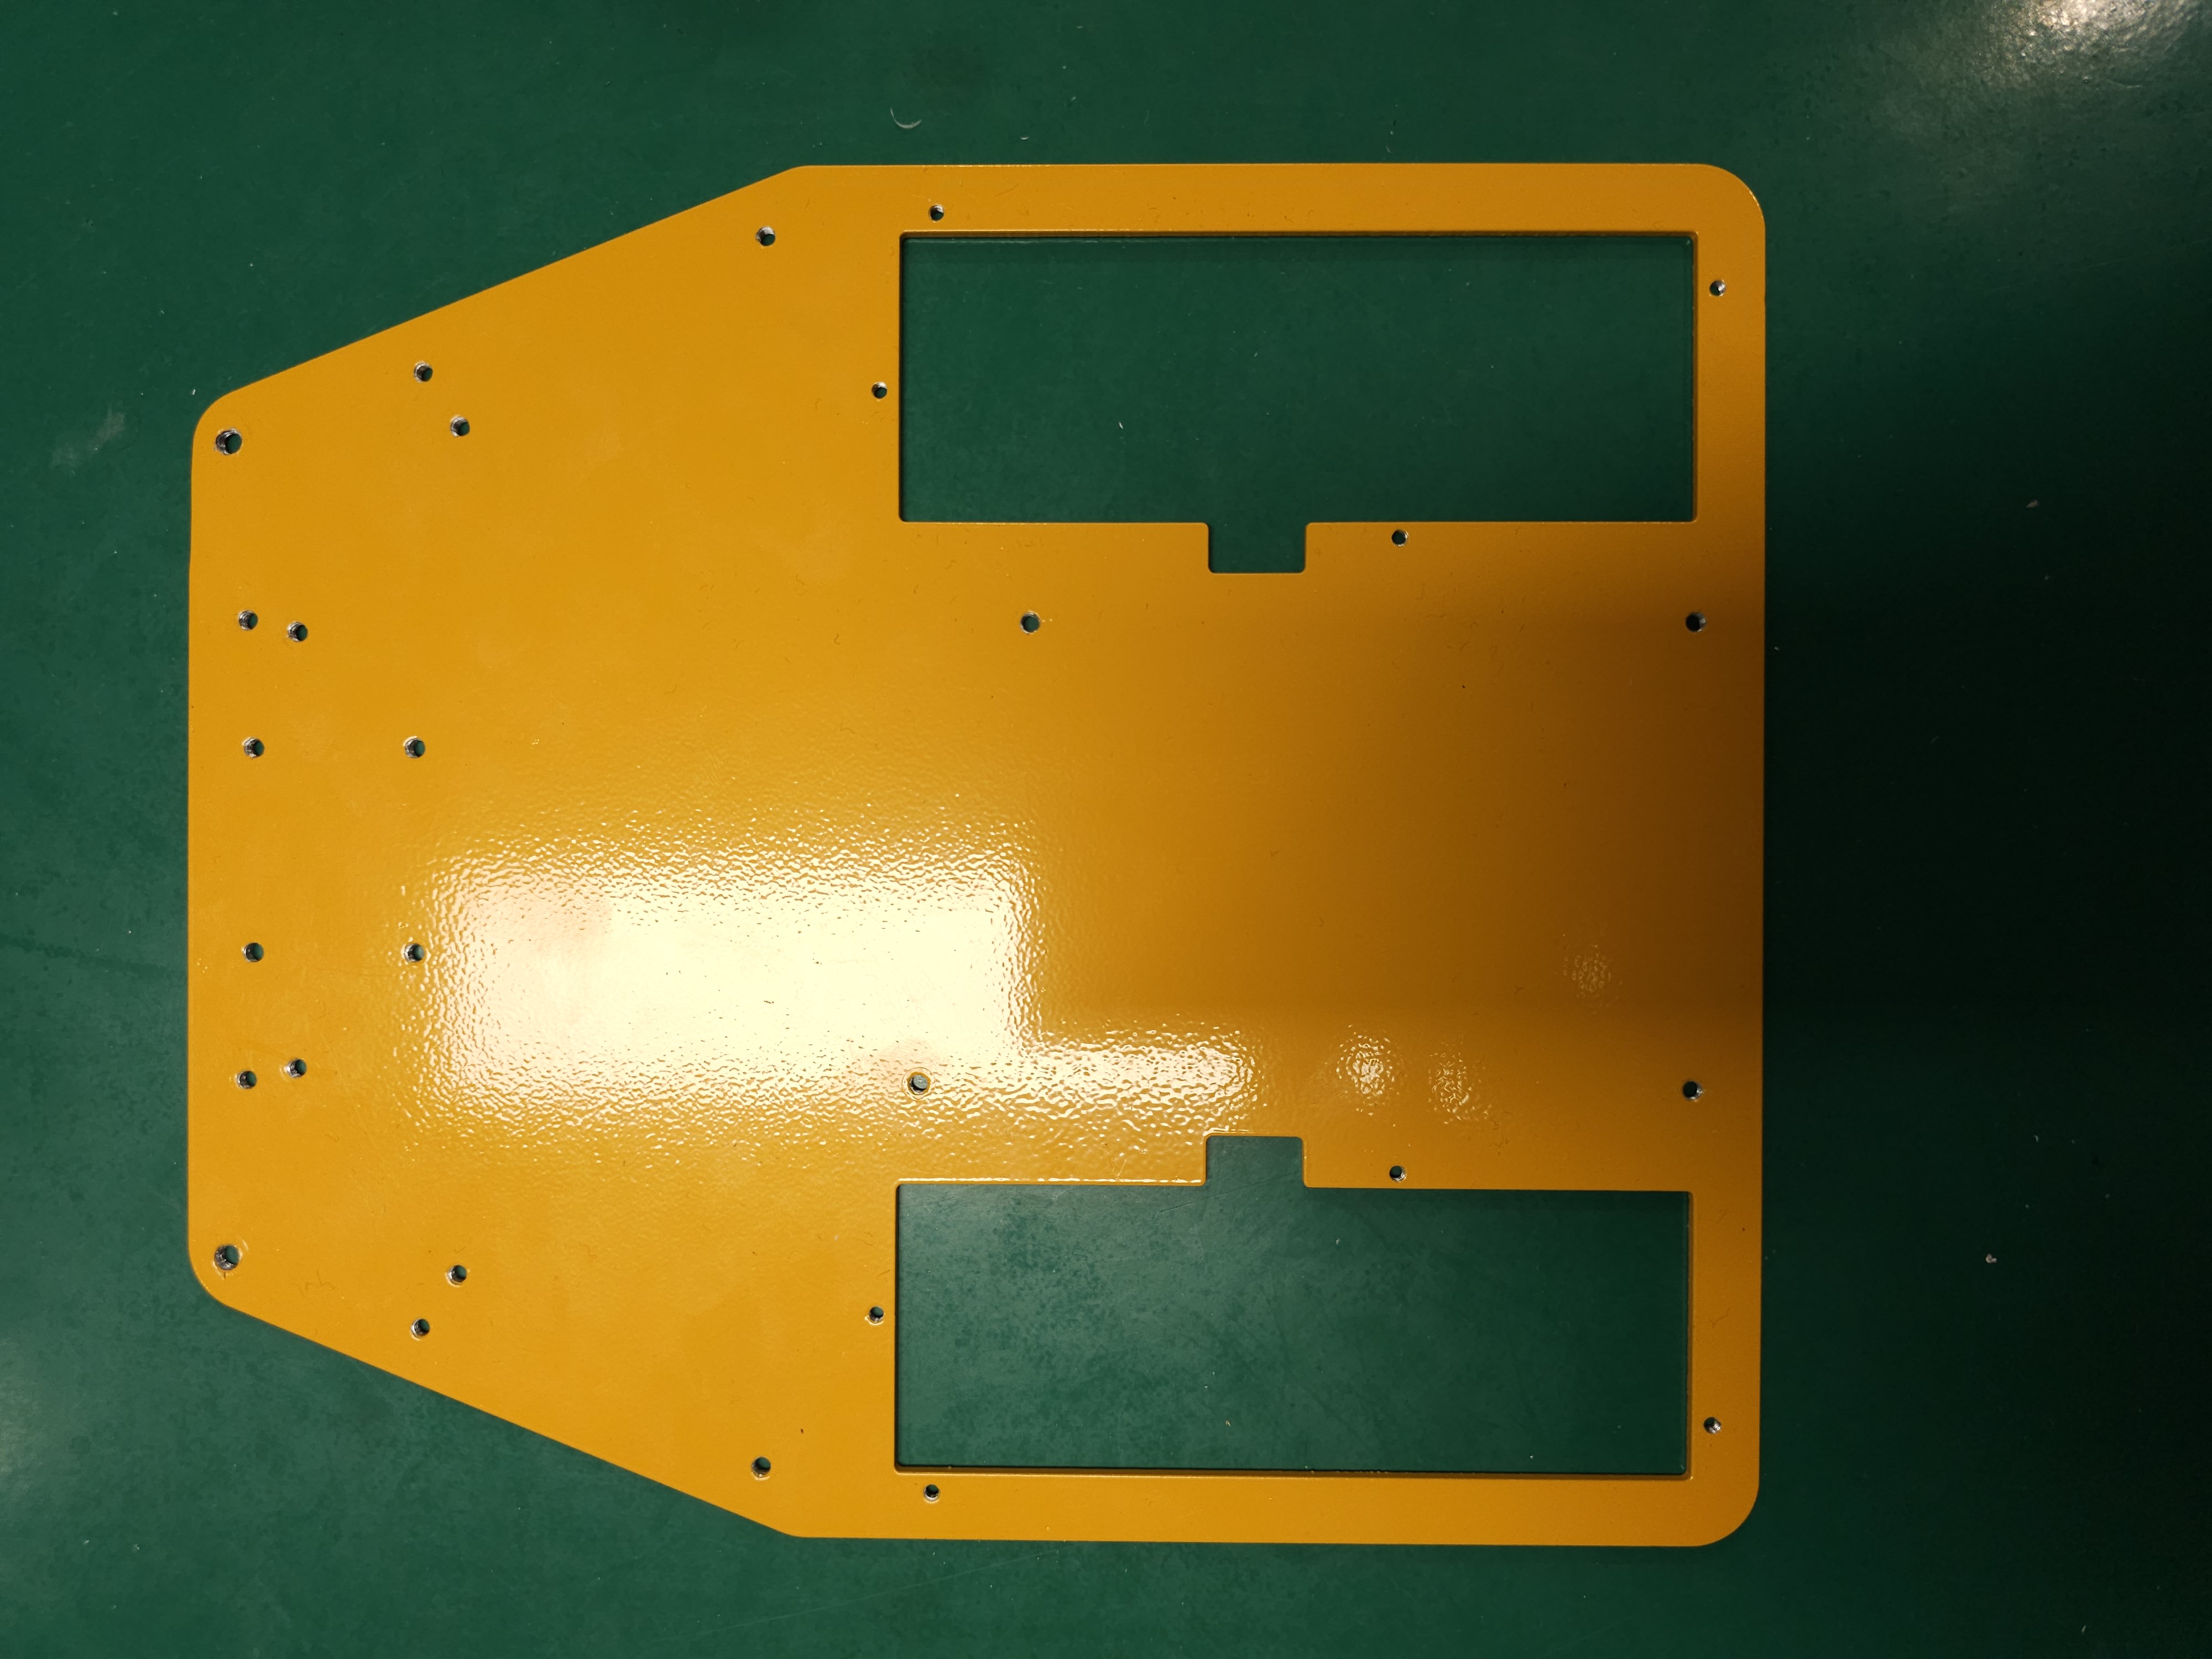
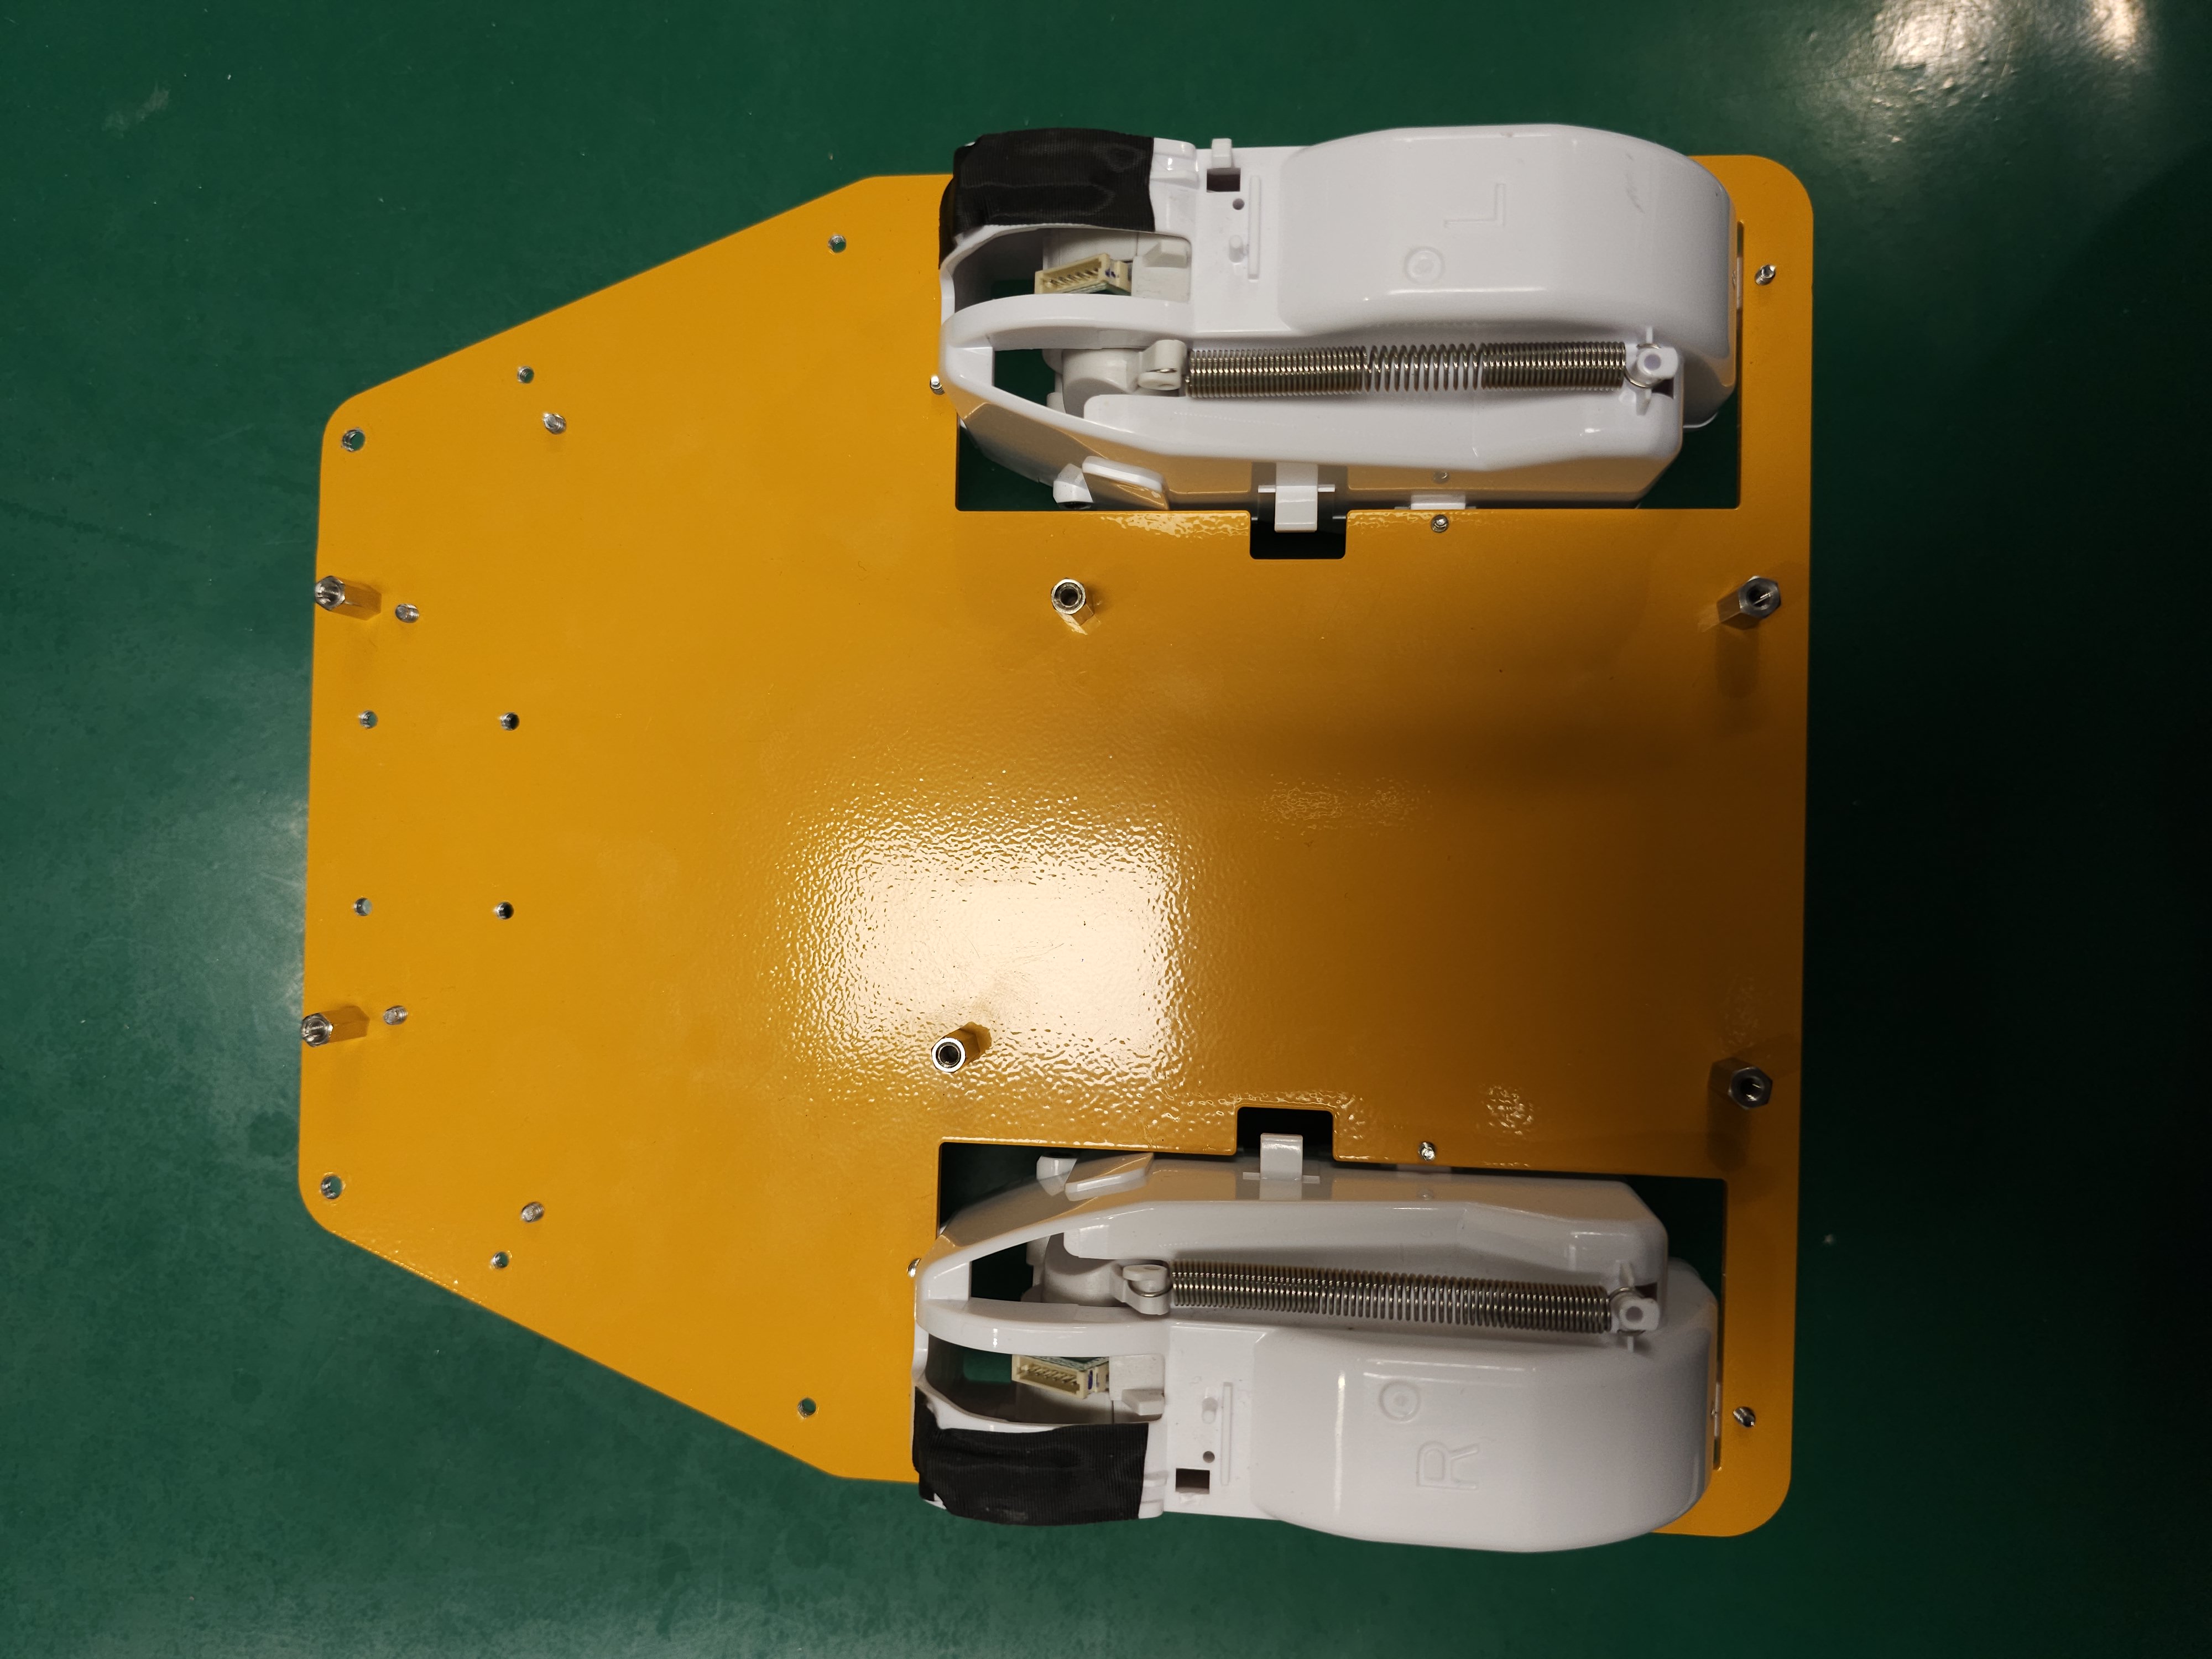
Place the bottom plate.
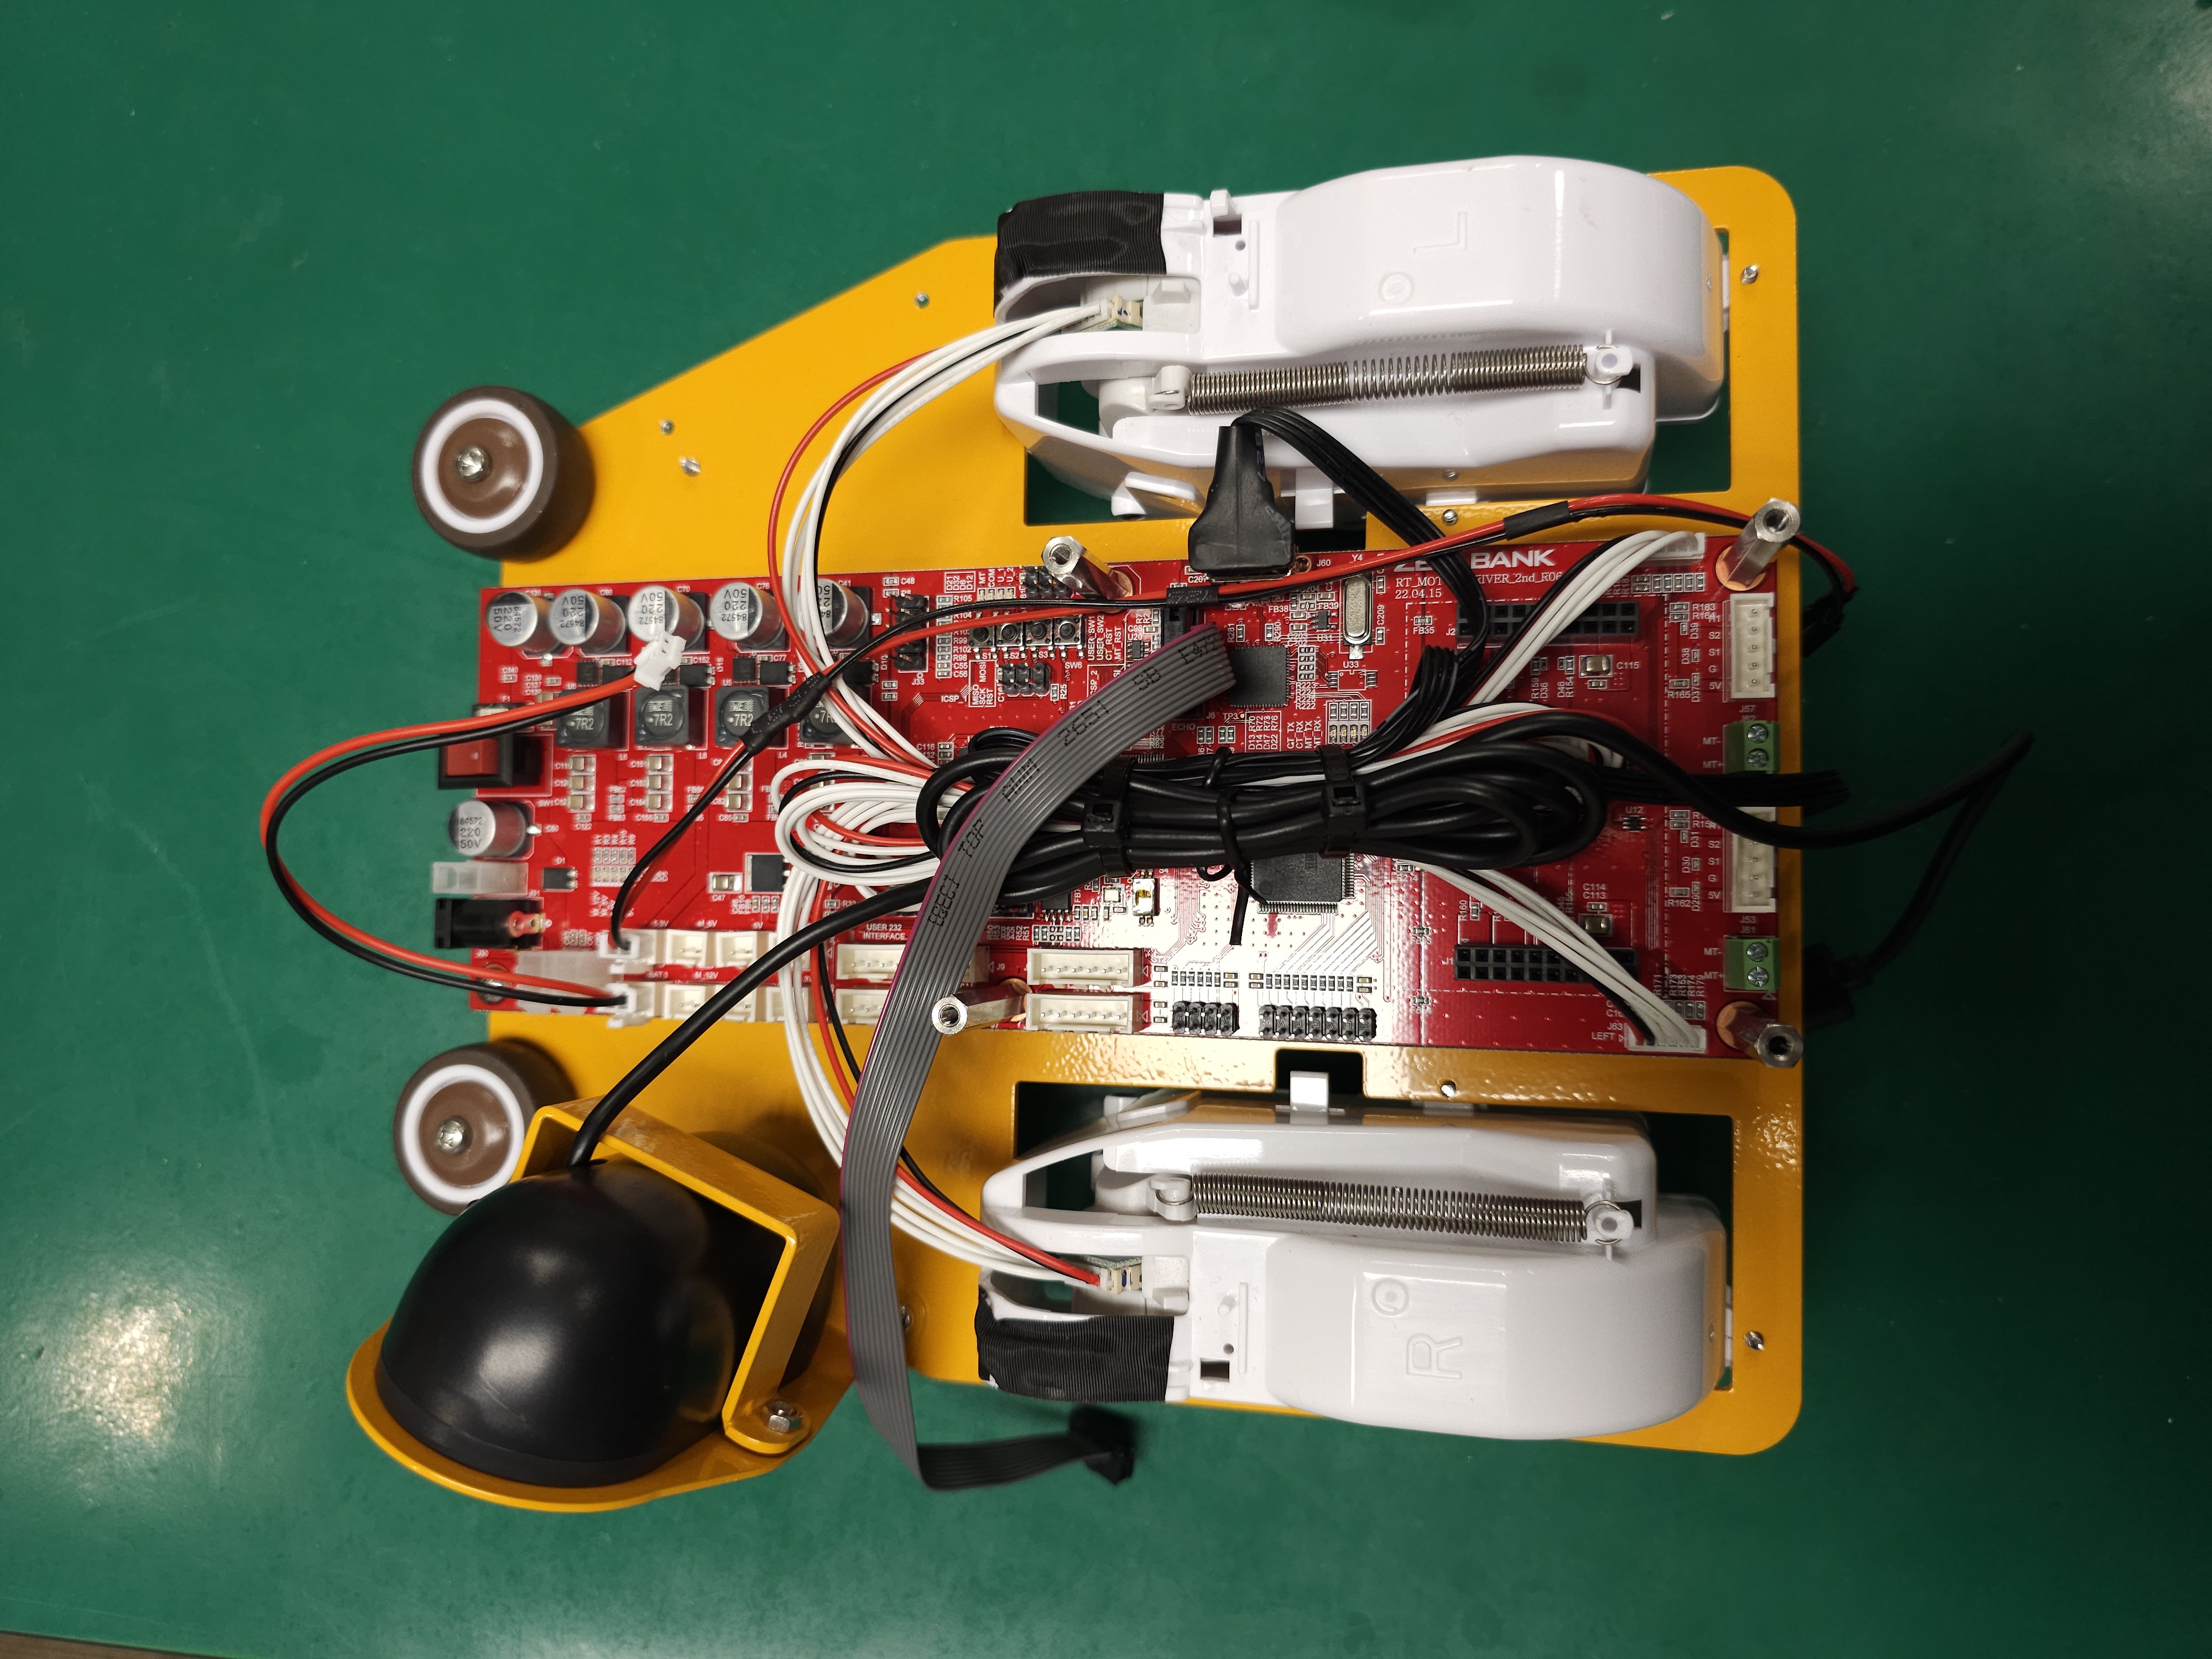
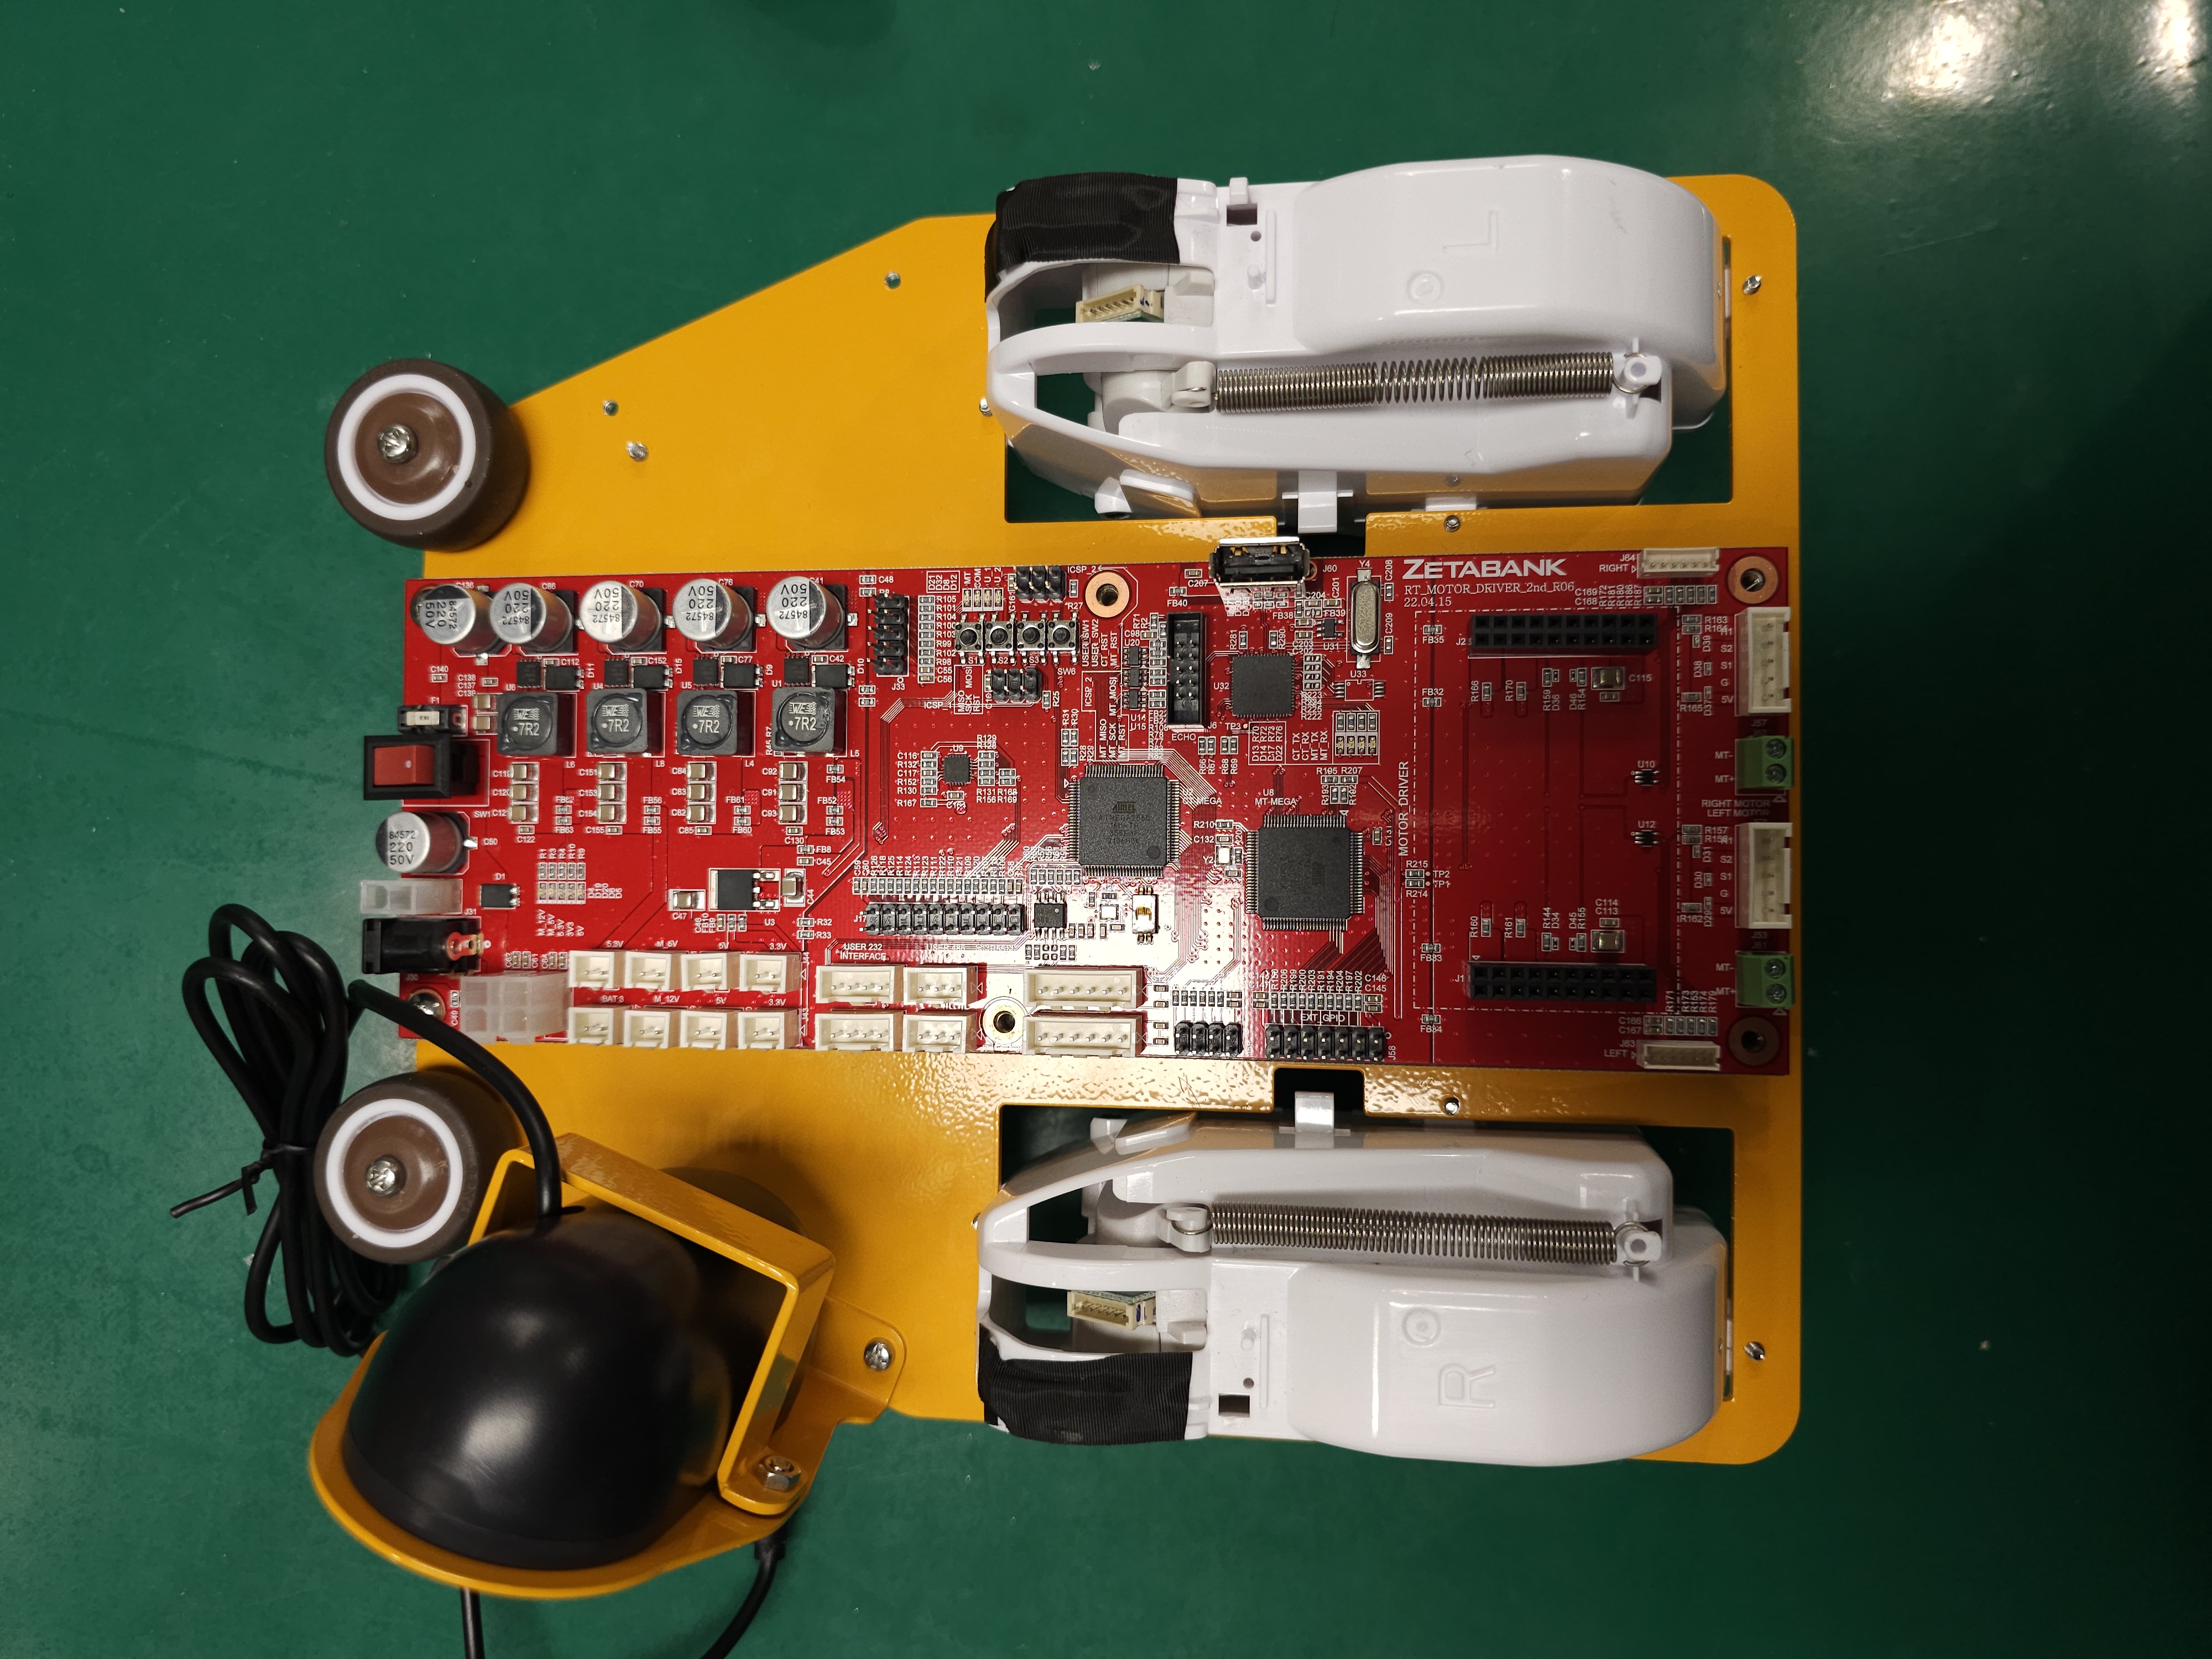
2. Flip the bottom plate over, install the two servomotors. Two servomotors are responsible for the movement and direction control of the robot, with specifications of voltage ranging from 14.4V to 20V, output power ranging from 10W to 25W, speed ranging from 100RPM to 500RPM, and torque ranging from 0.3N·m to 1.2N·m.
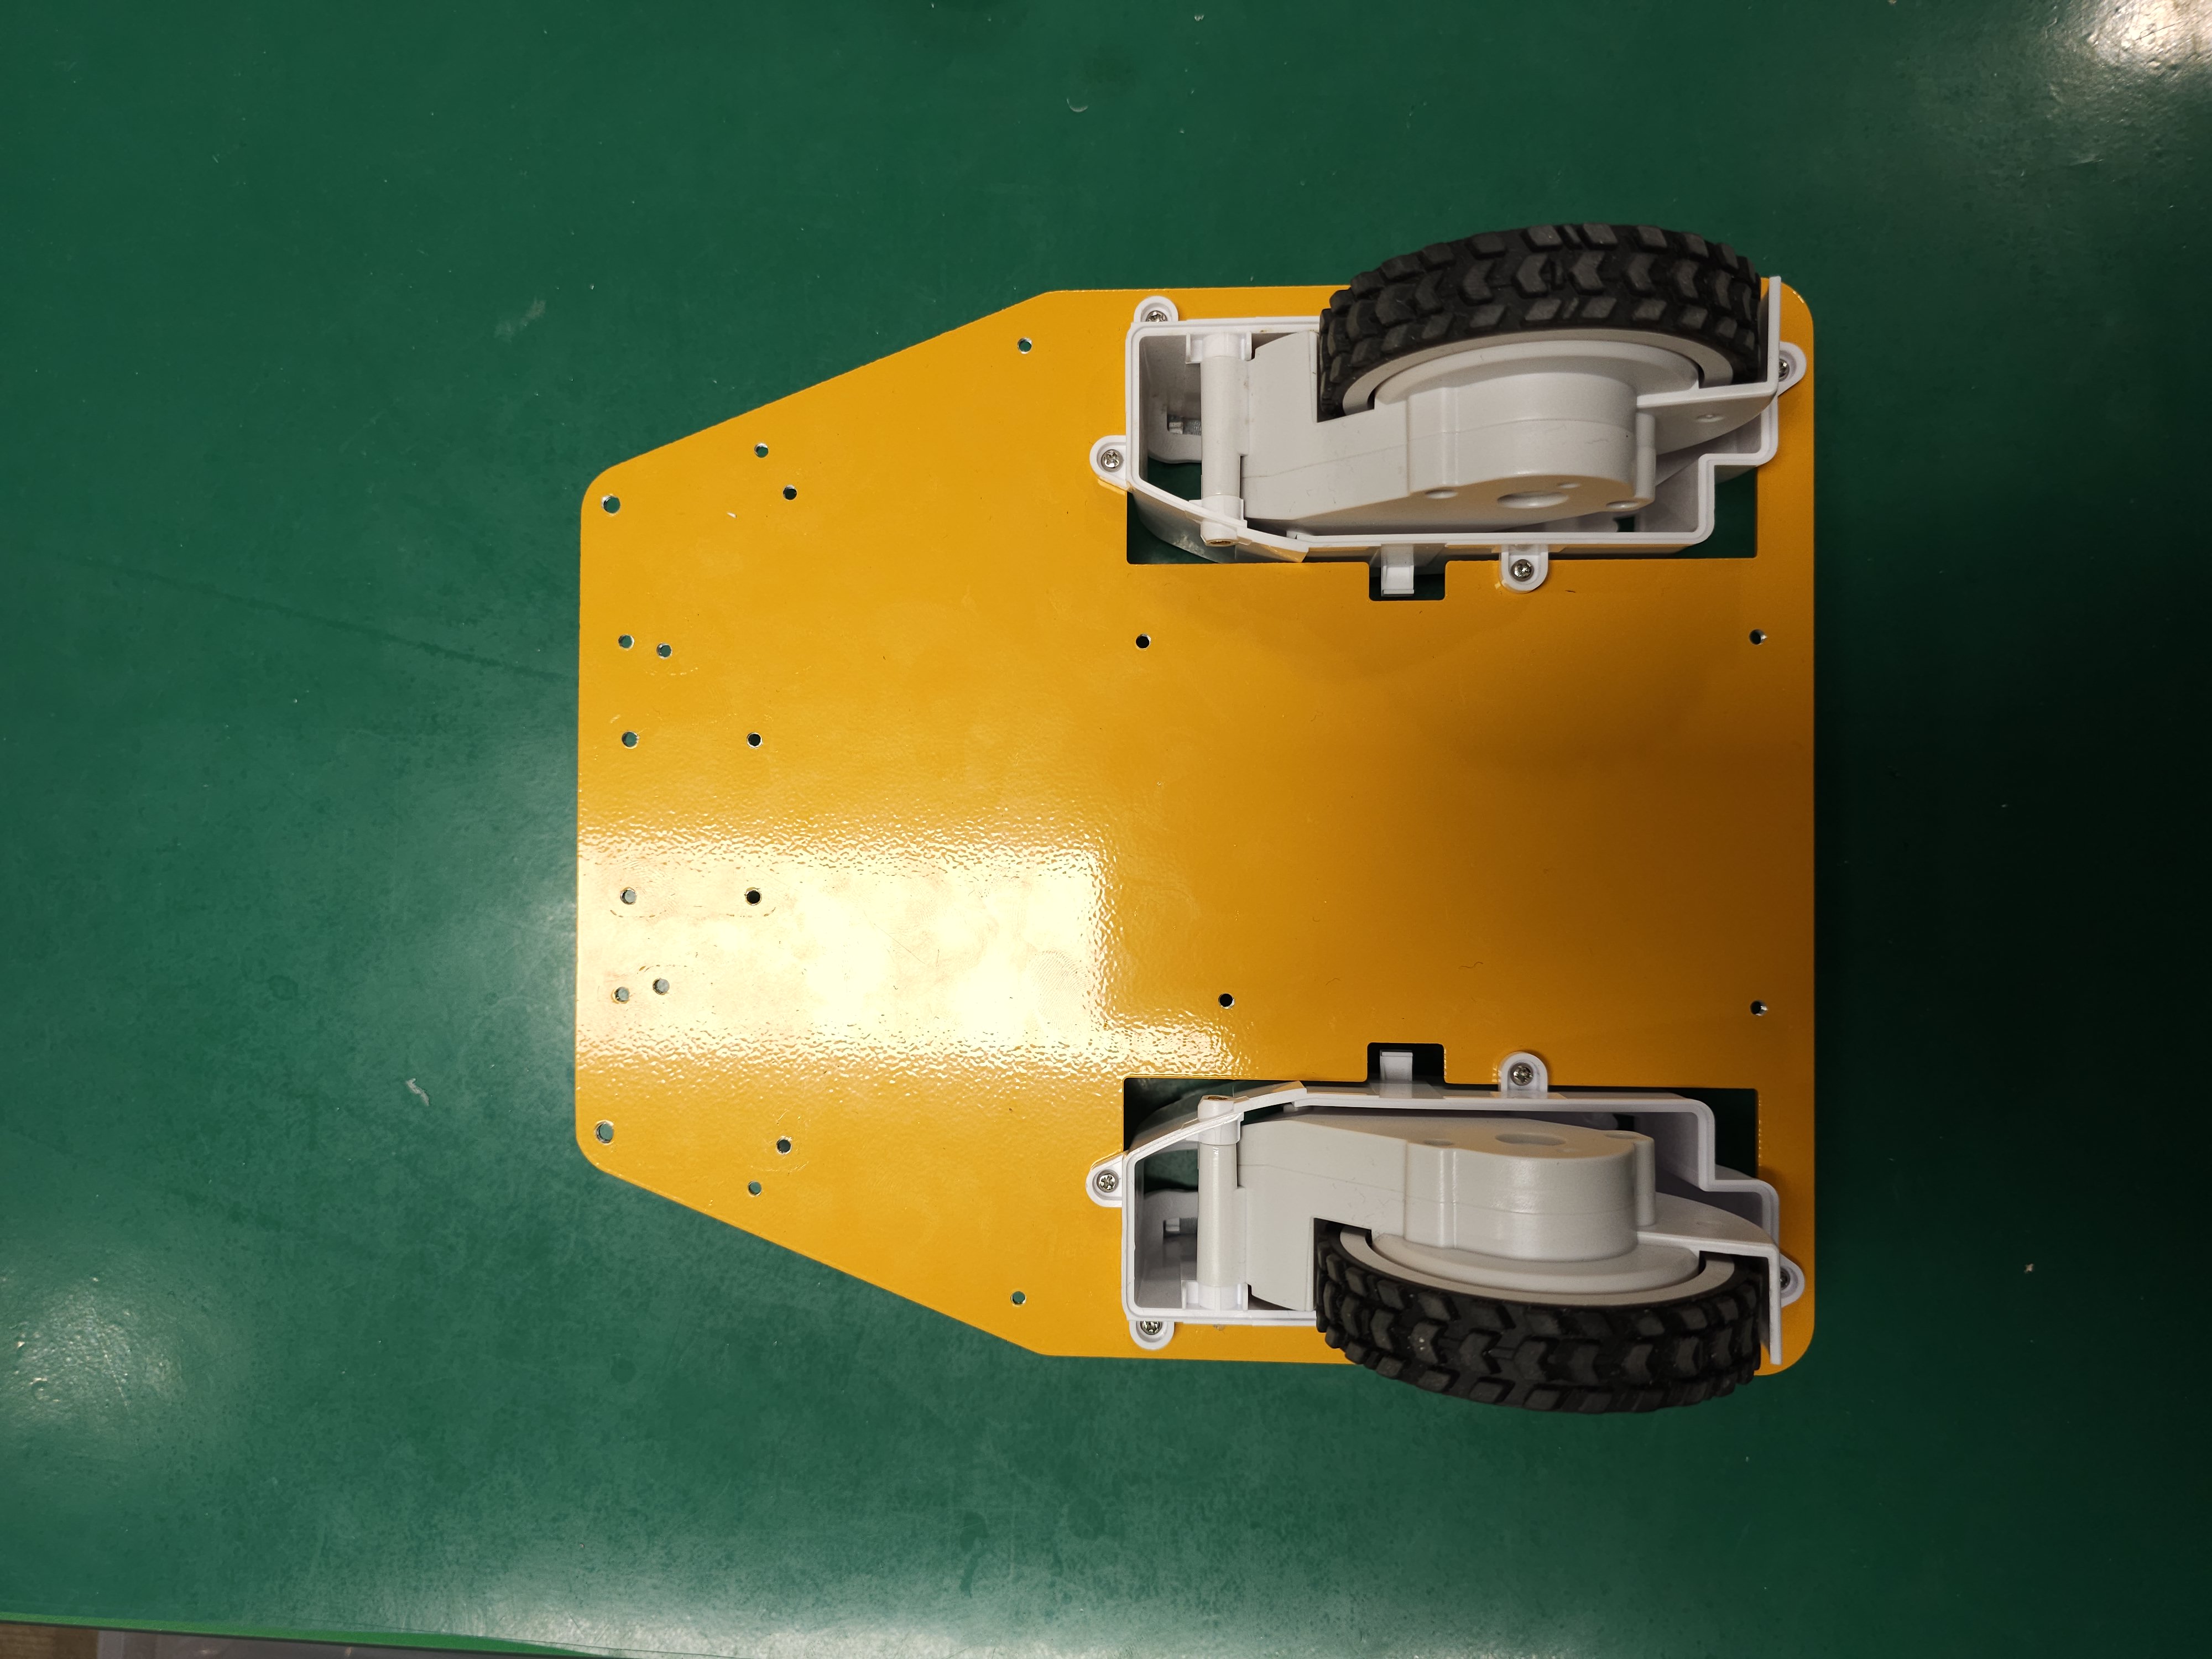
Install the two front wheels.
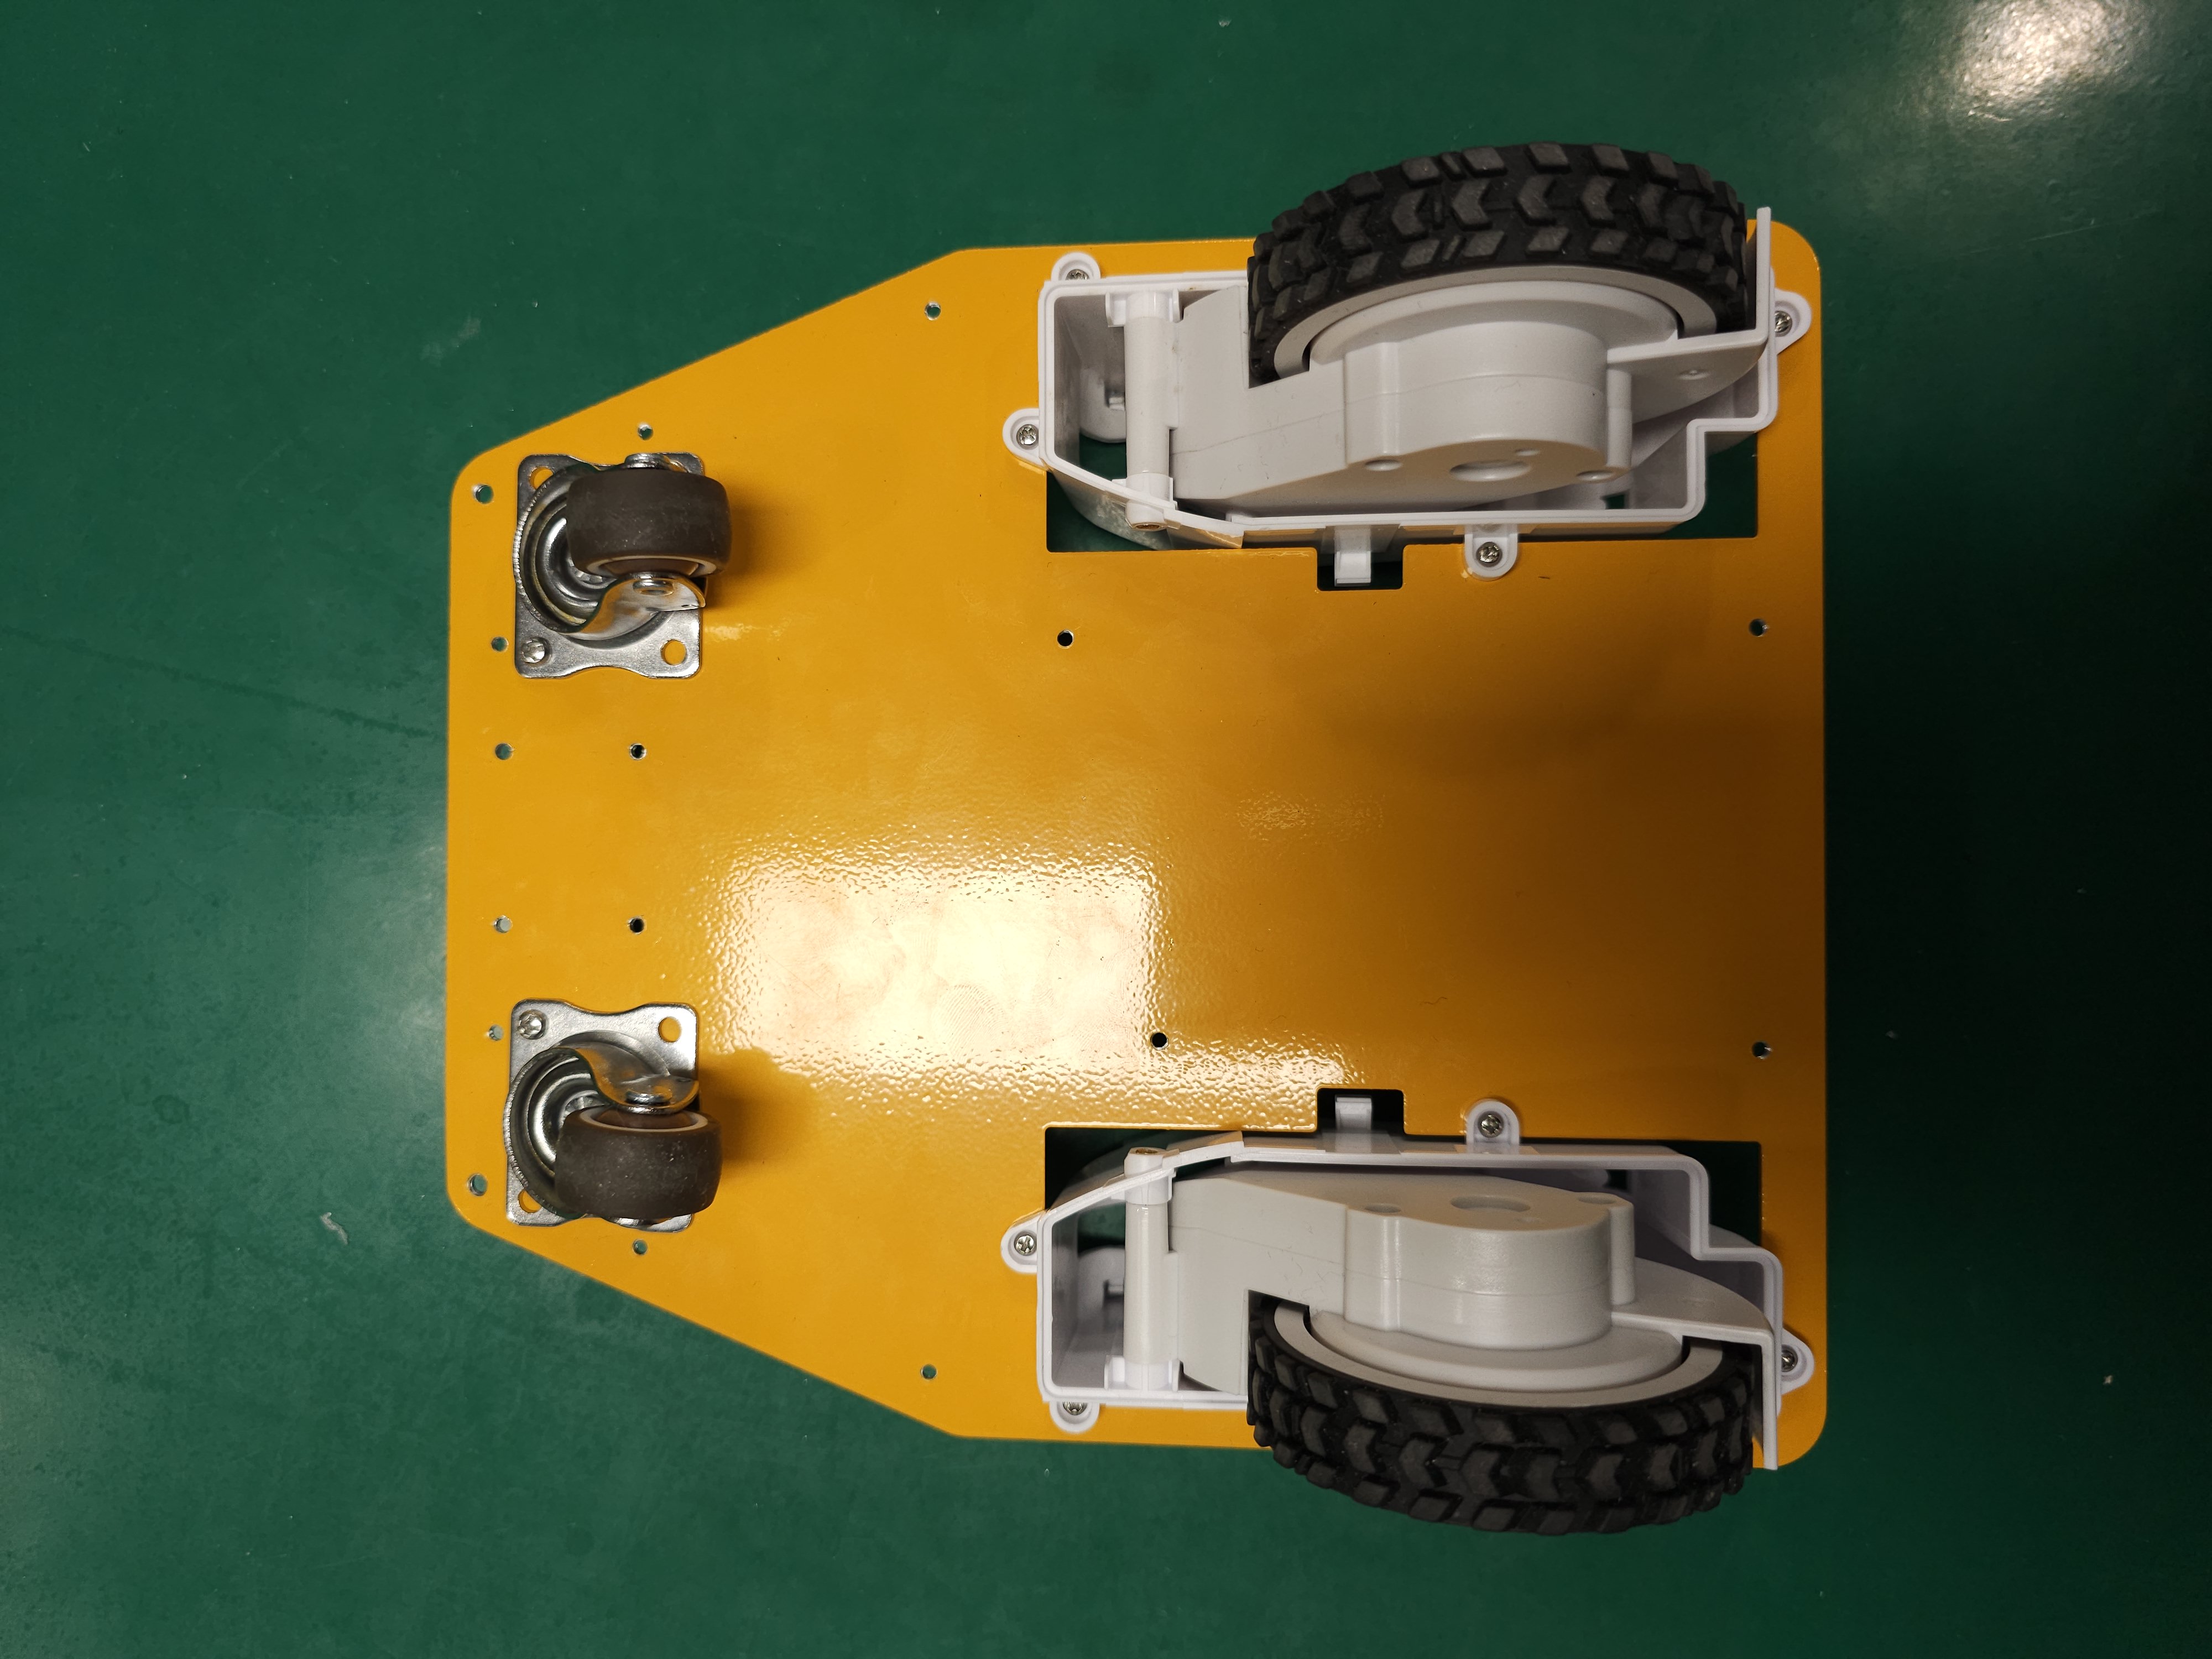
Flip the bottom plate over again.

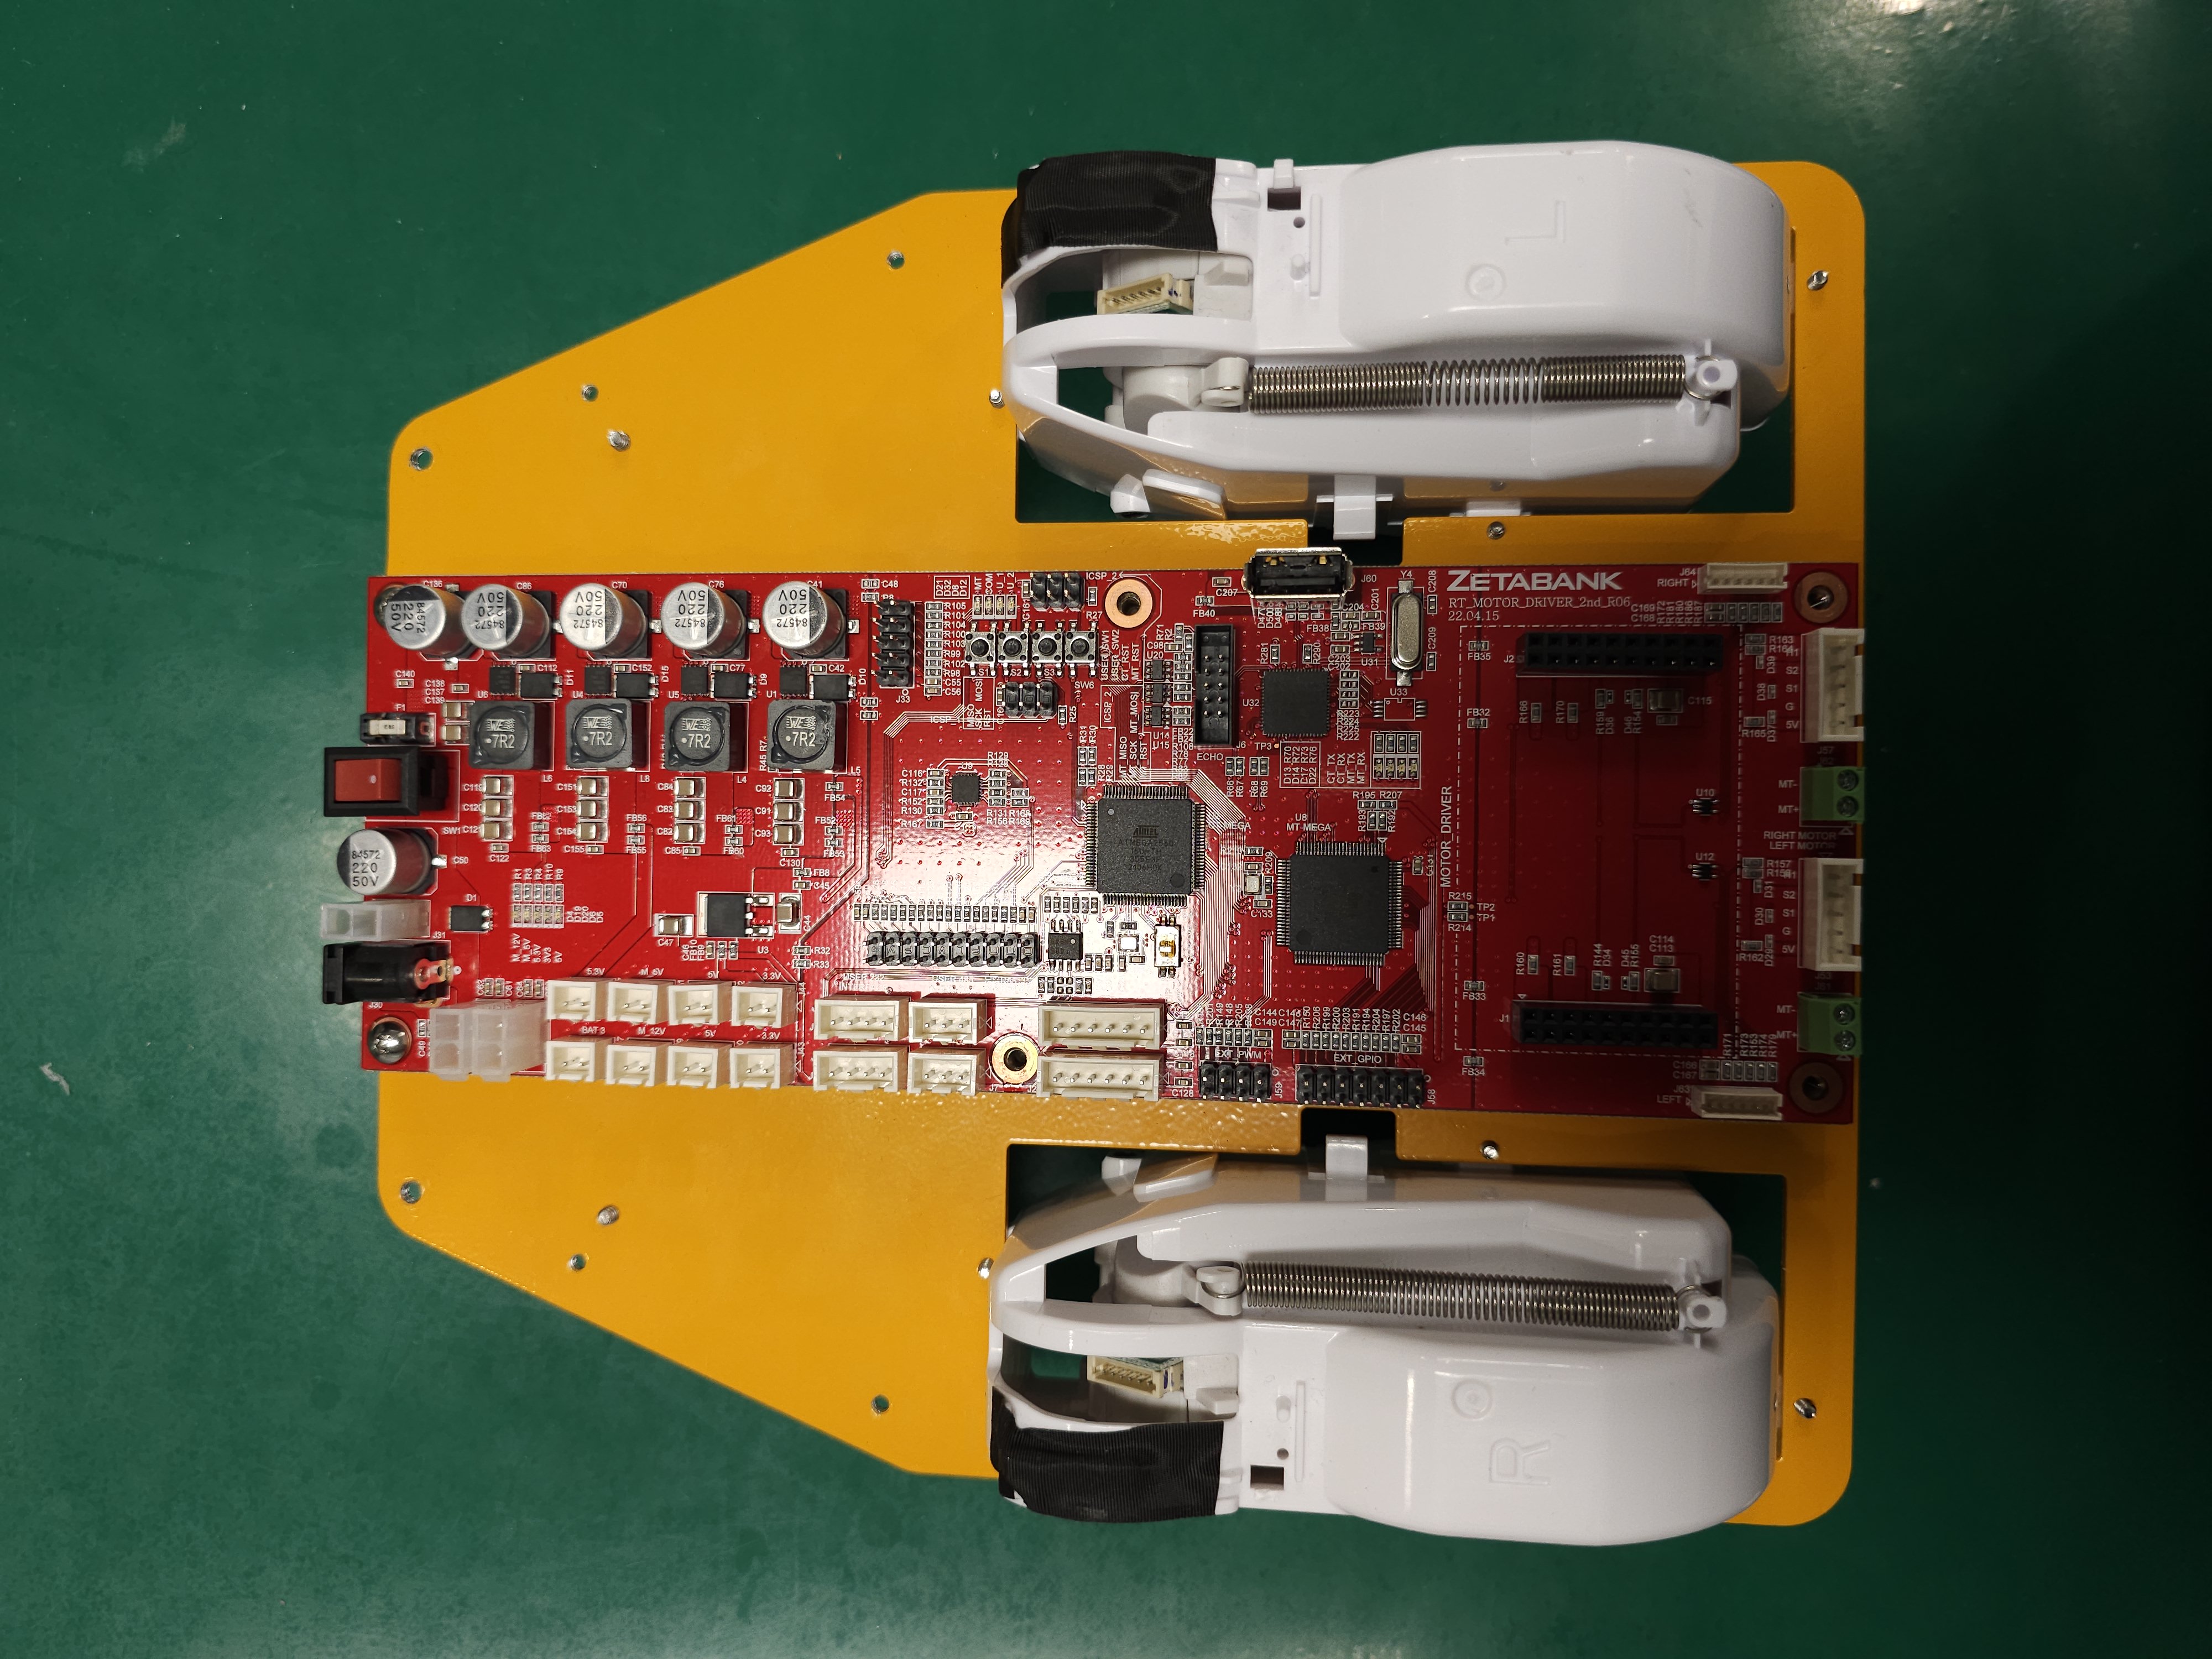
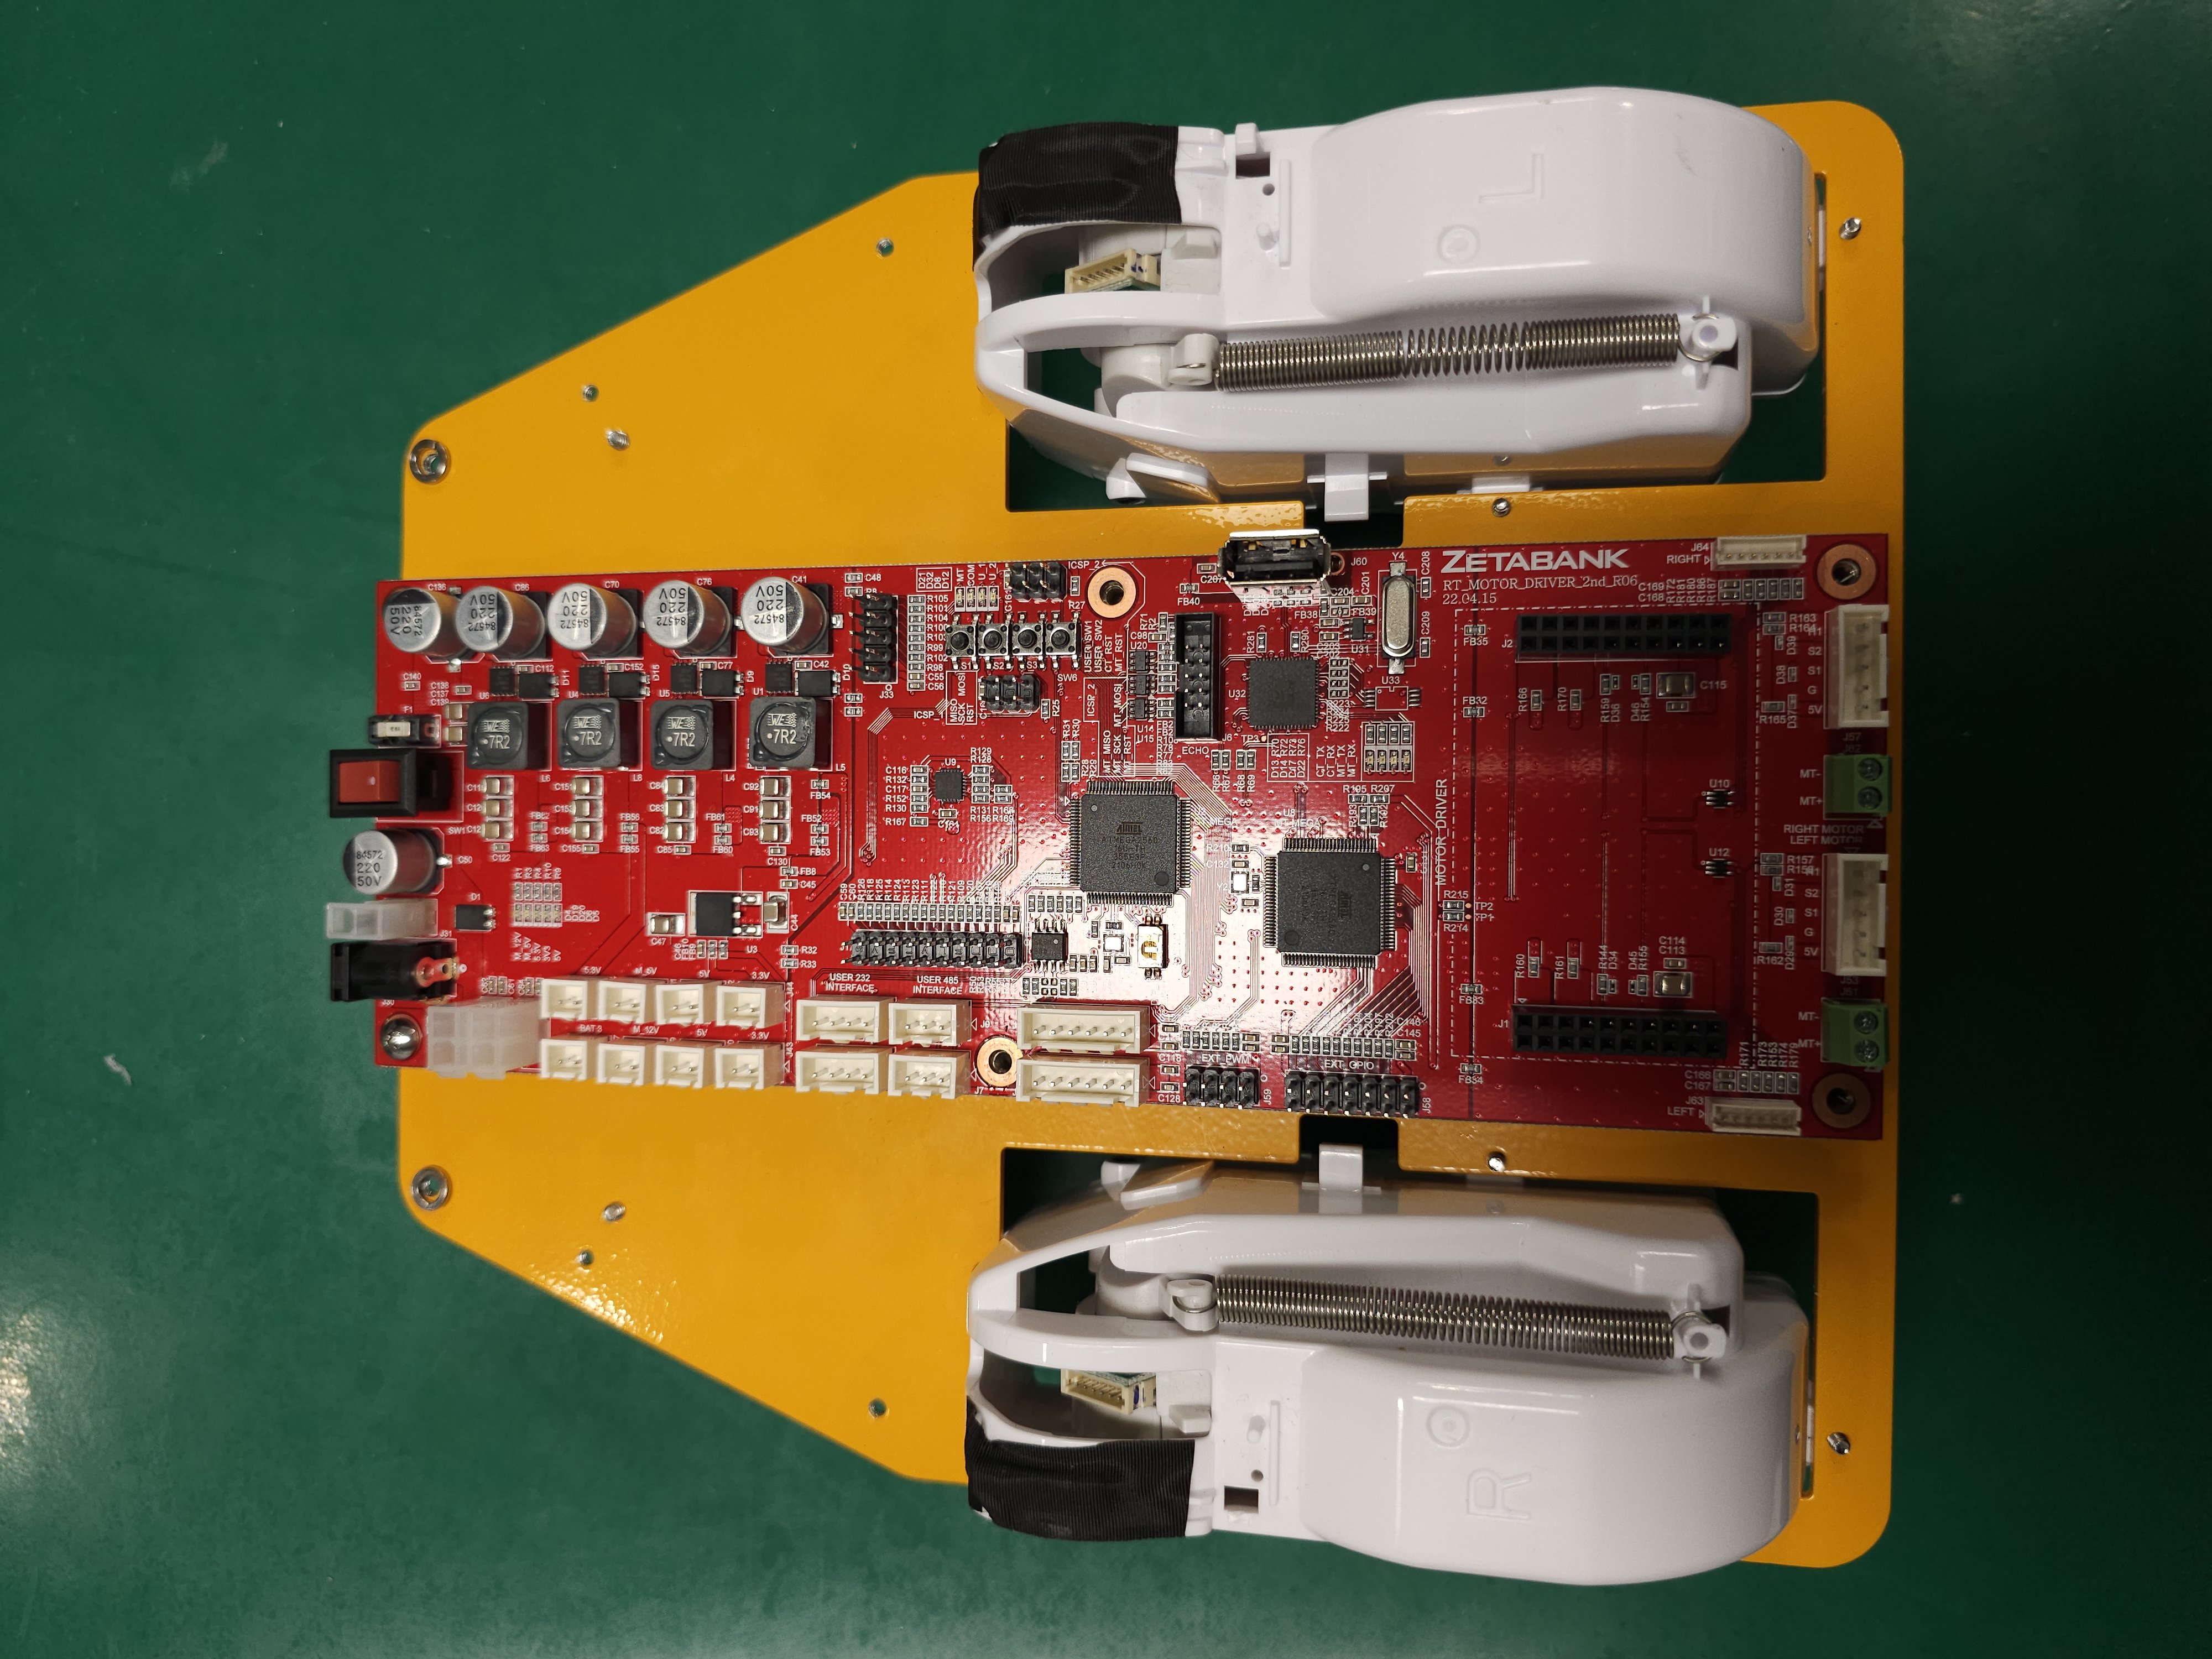
Install six supporters.
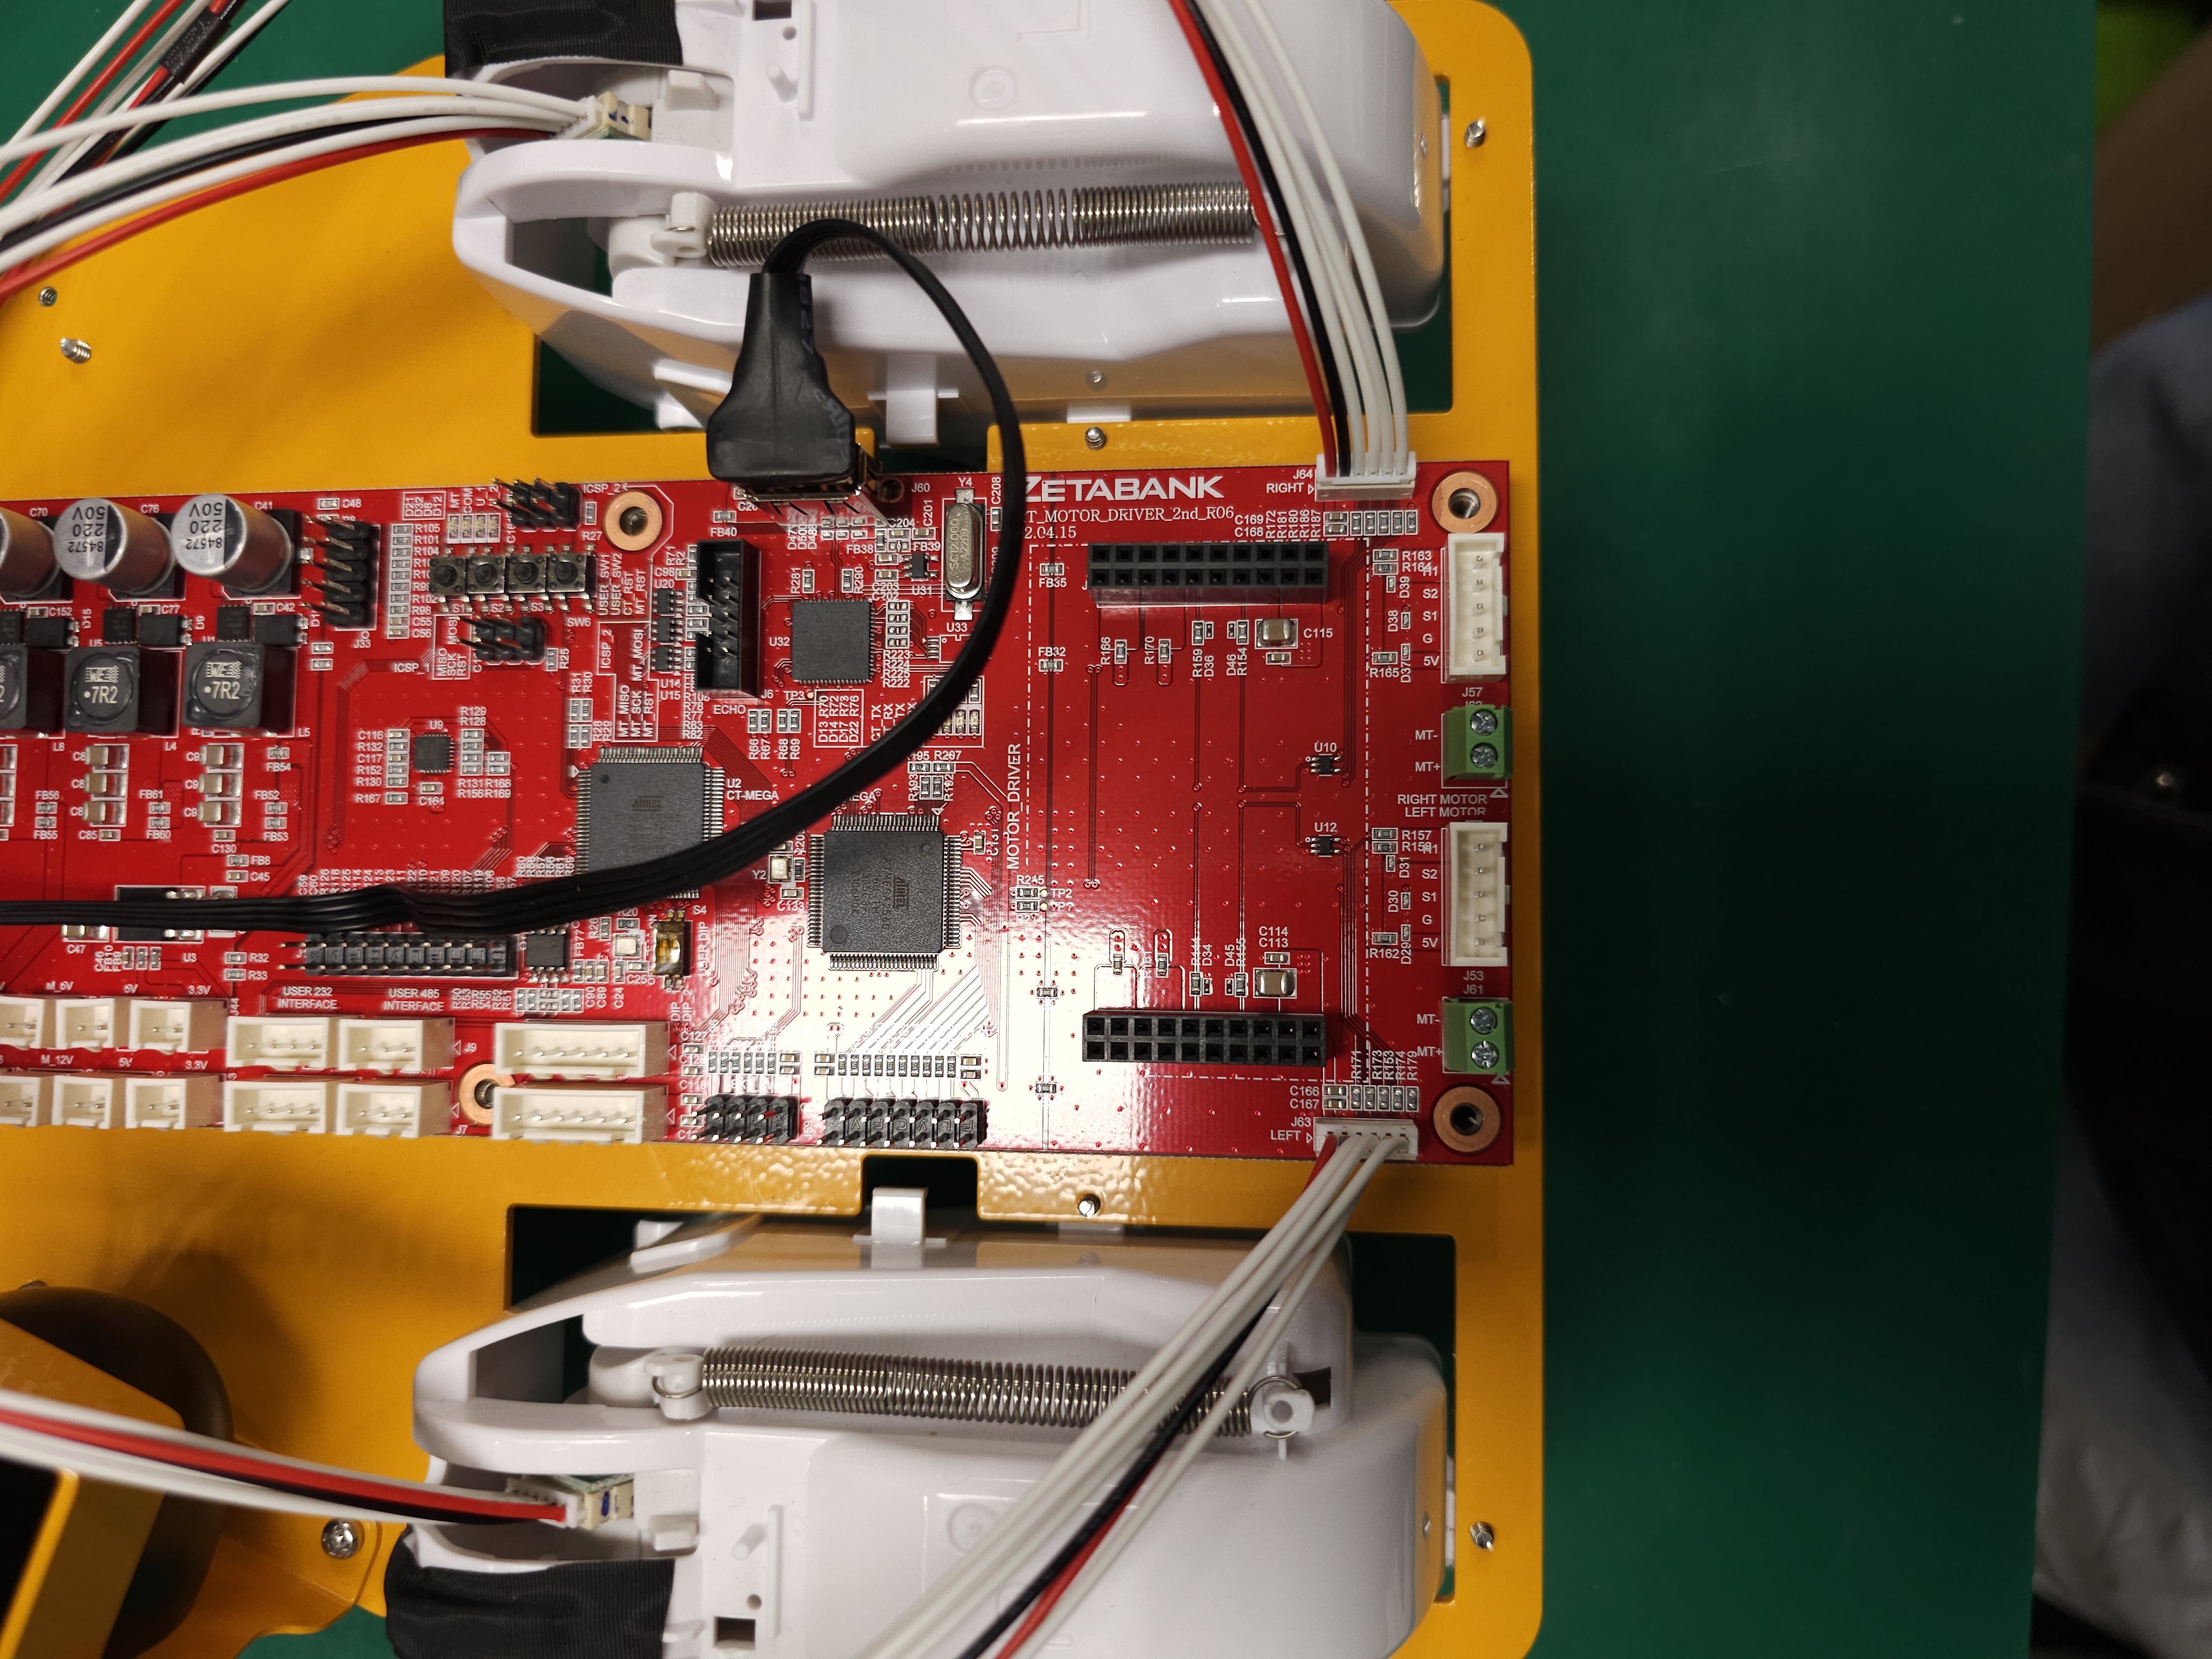
6. Install the power board and tighten the two front screws. A power board oversees the entire electronics, including the battery and motor.
Place two spring washers.
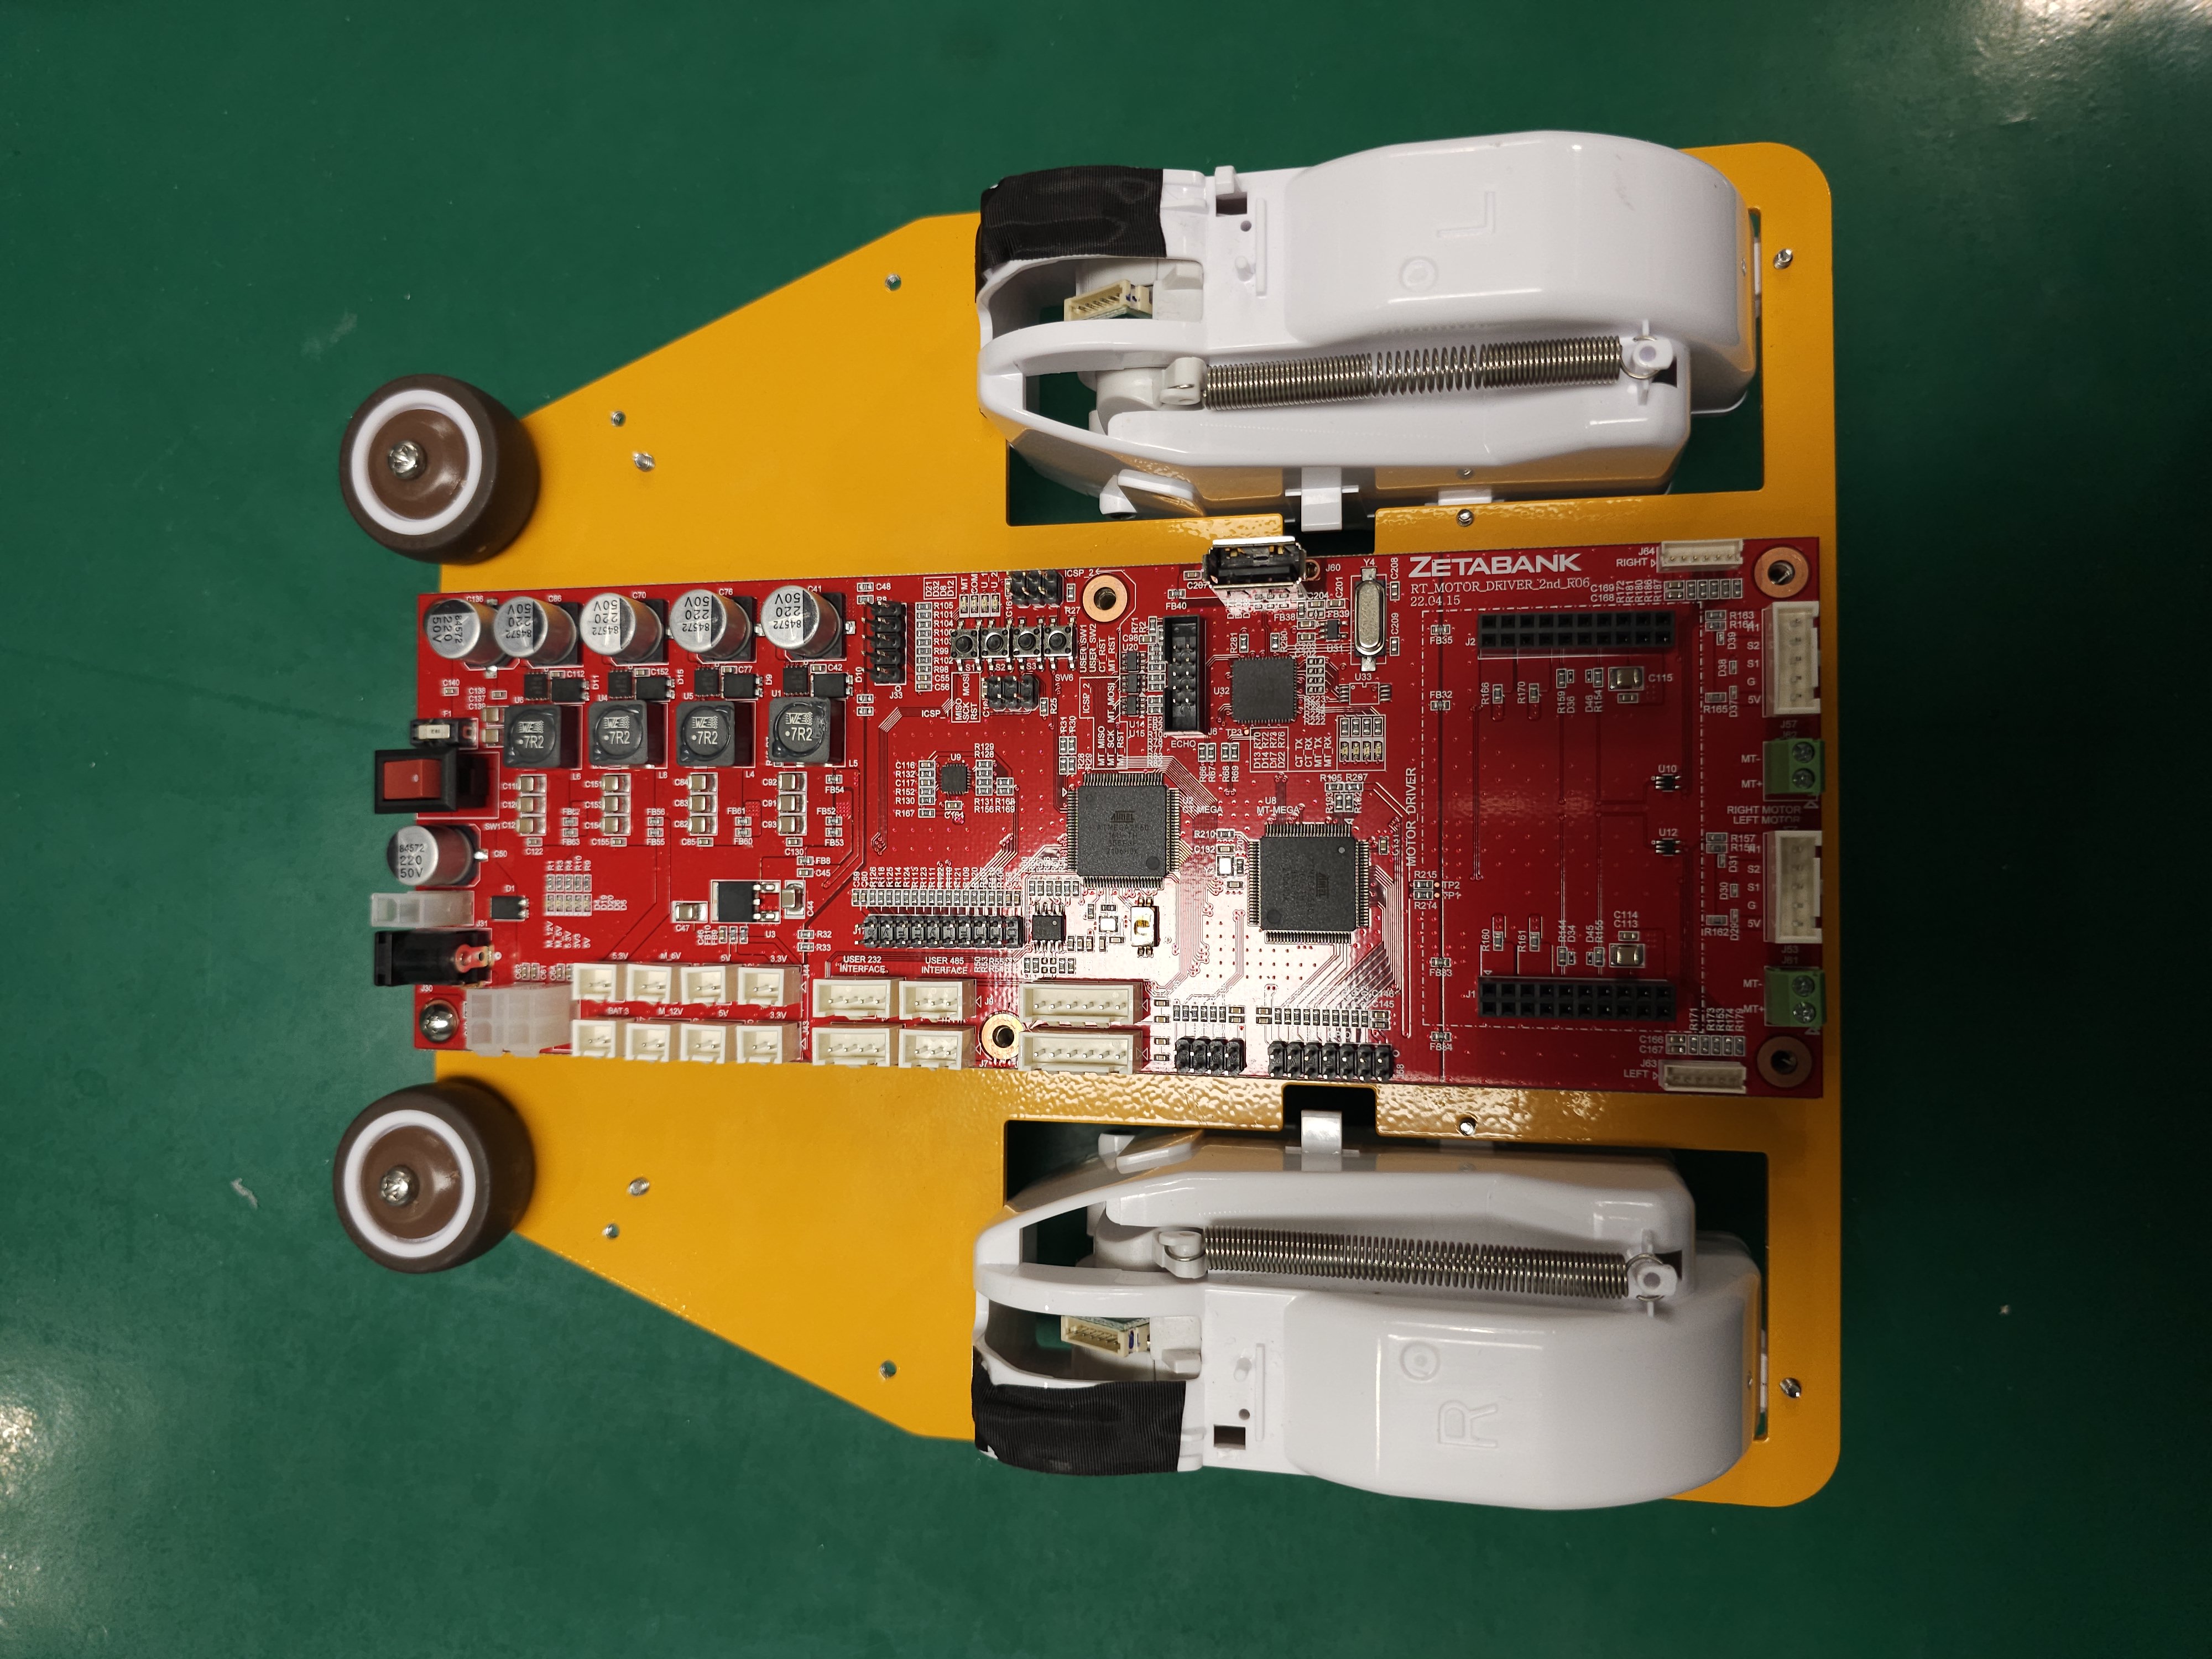
Install the two bumper wheels and tighten the screws.
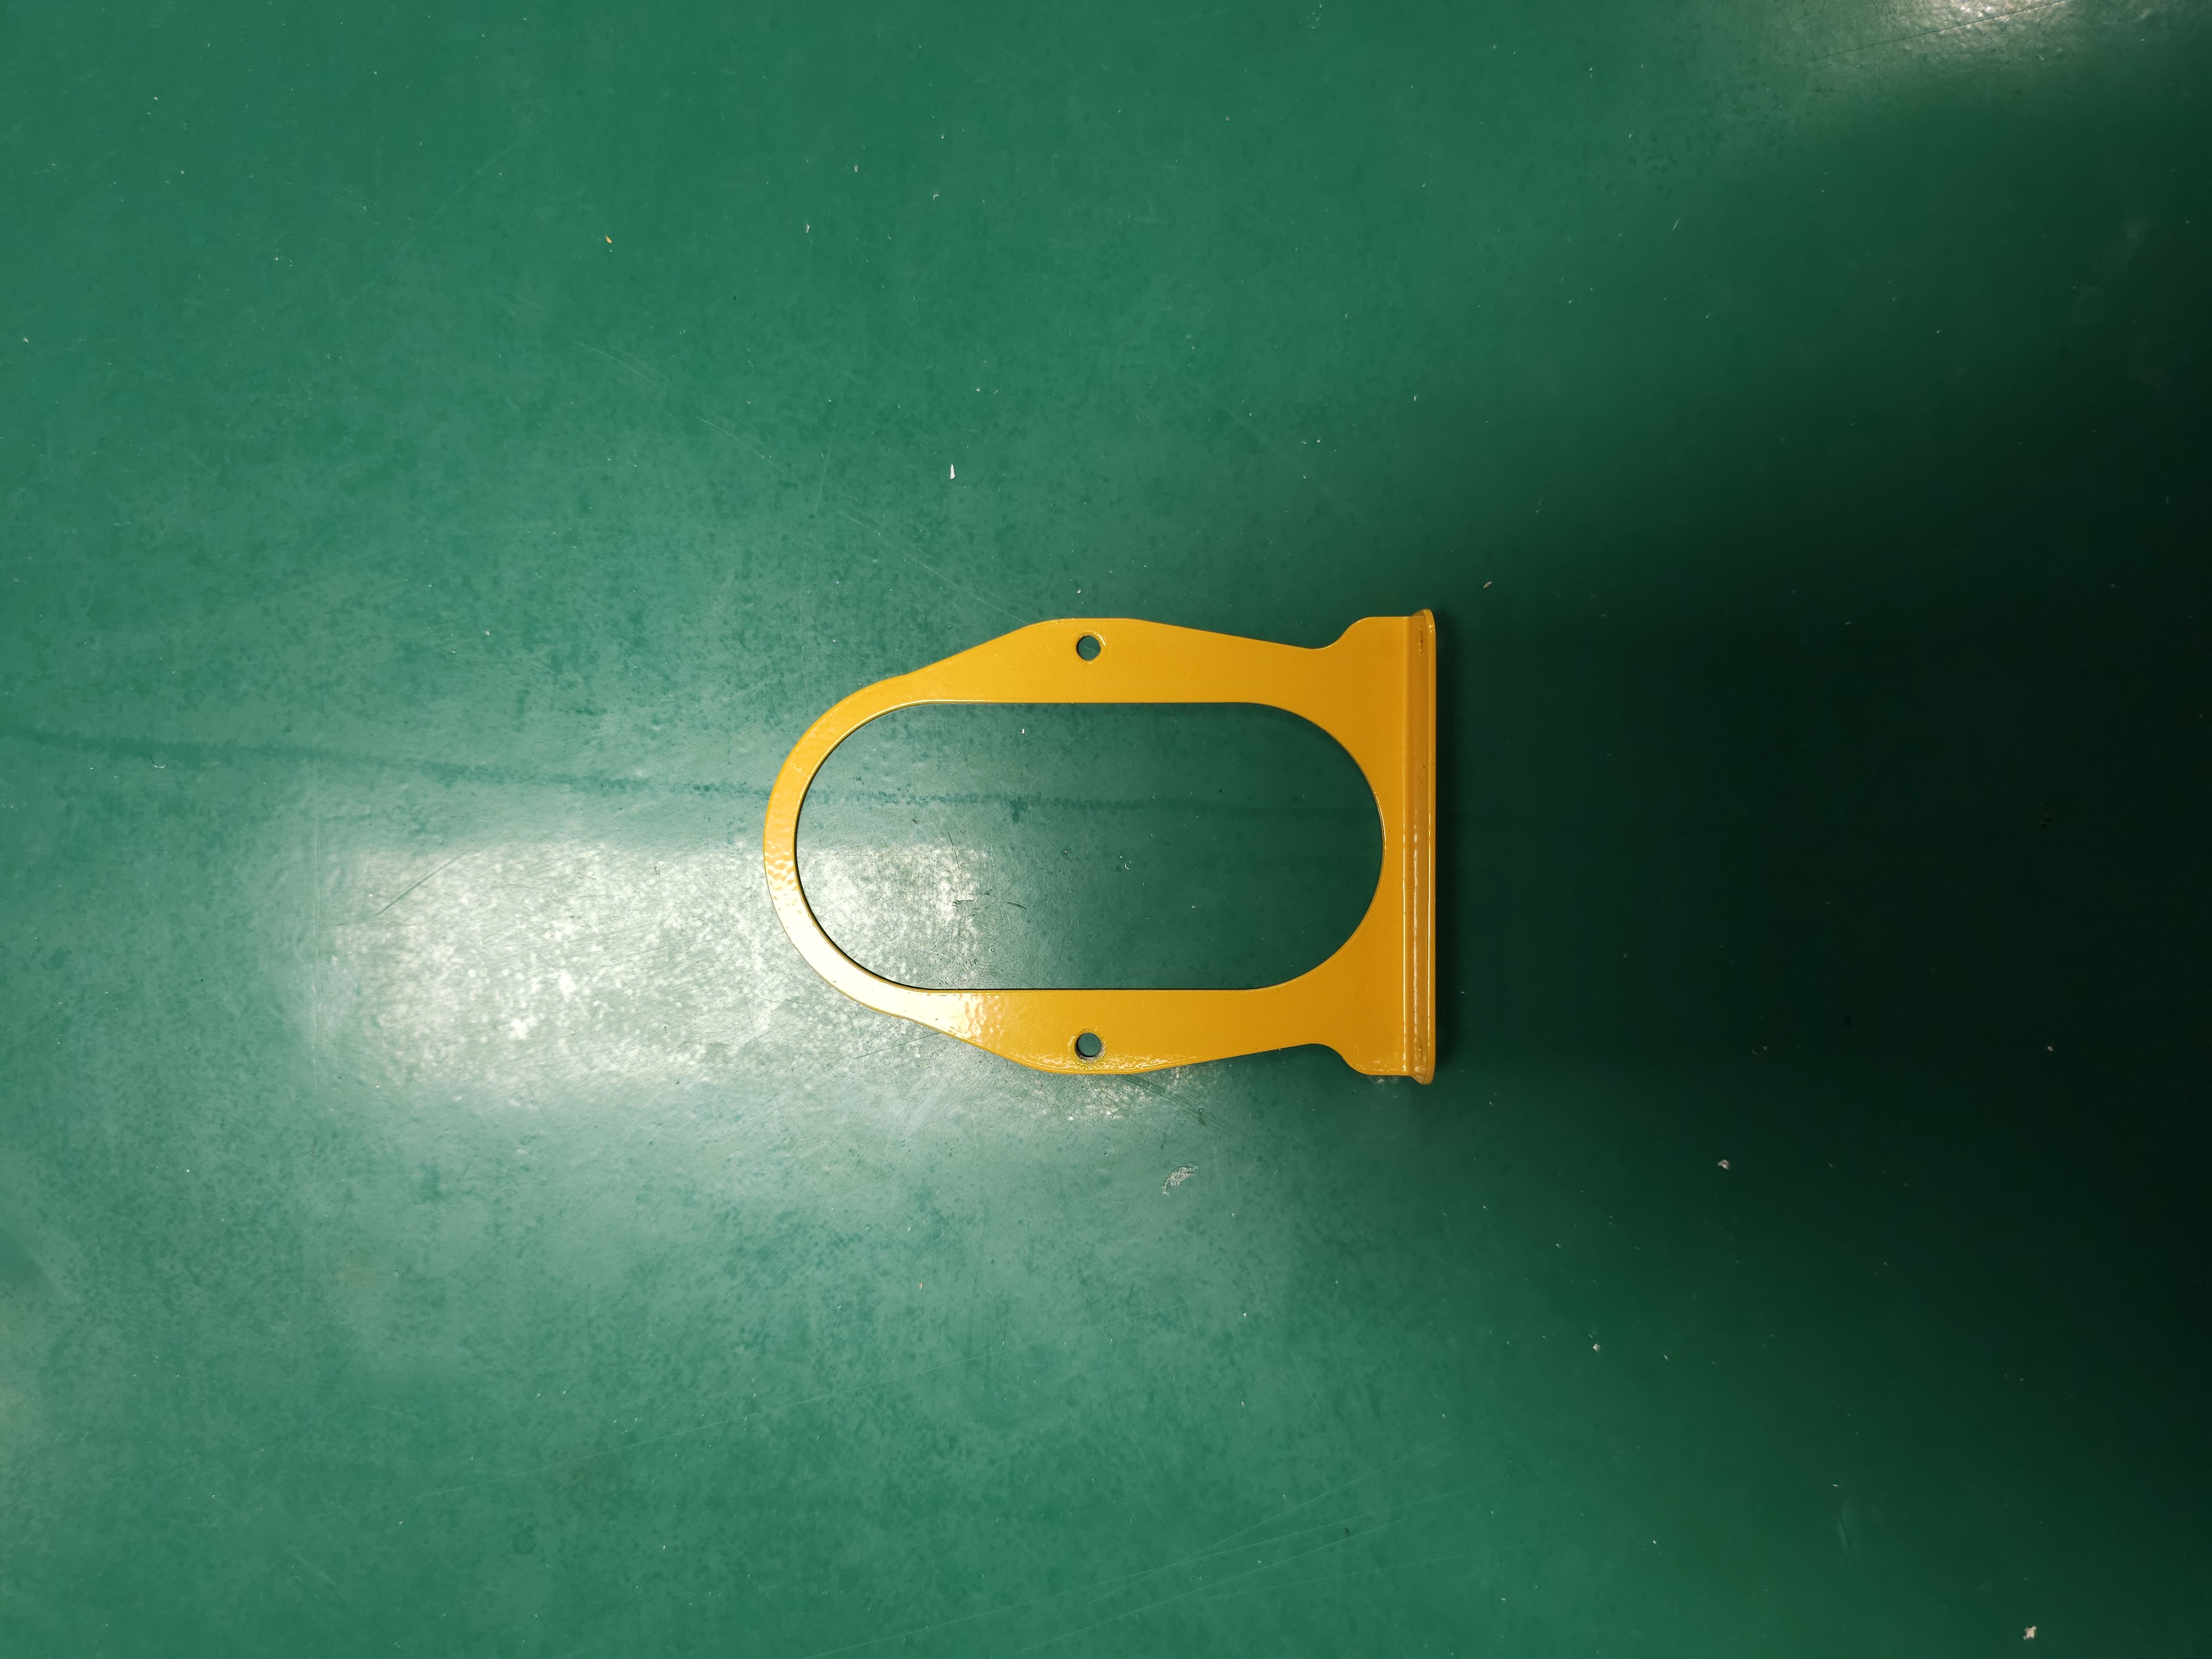
Place the speaker bracket.
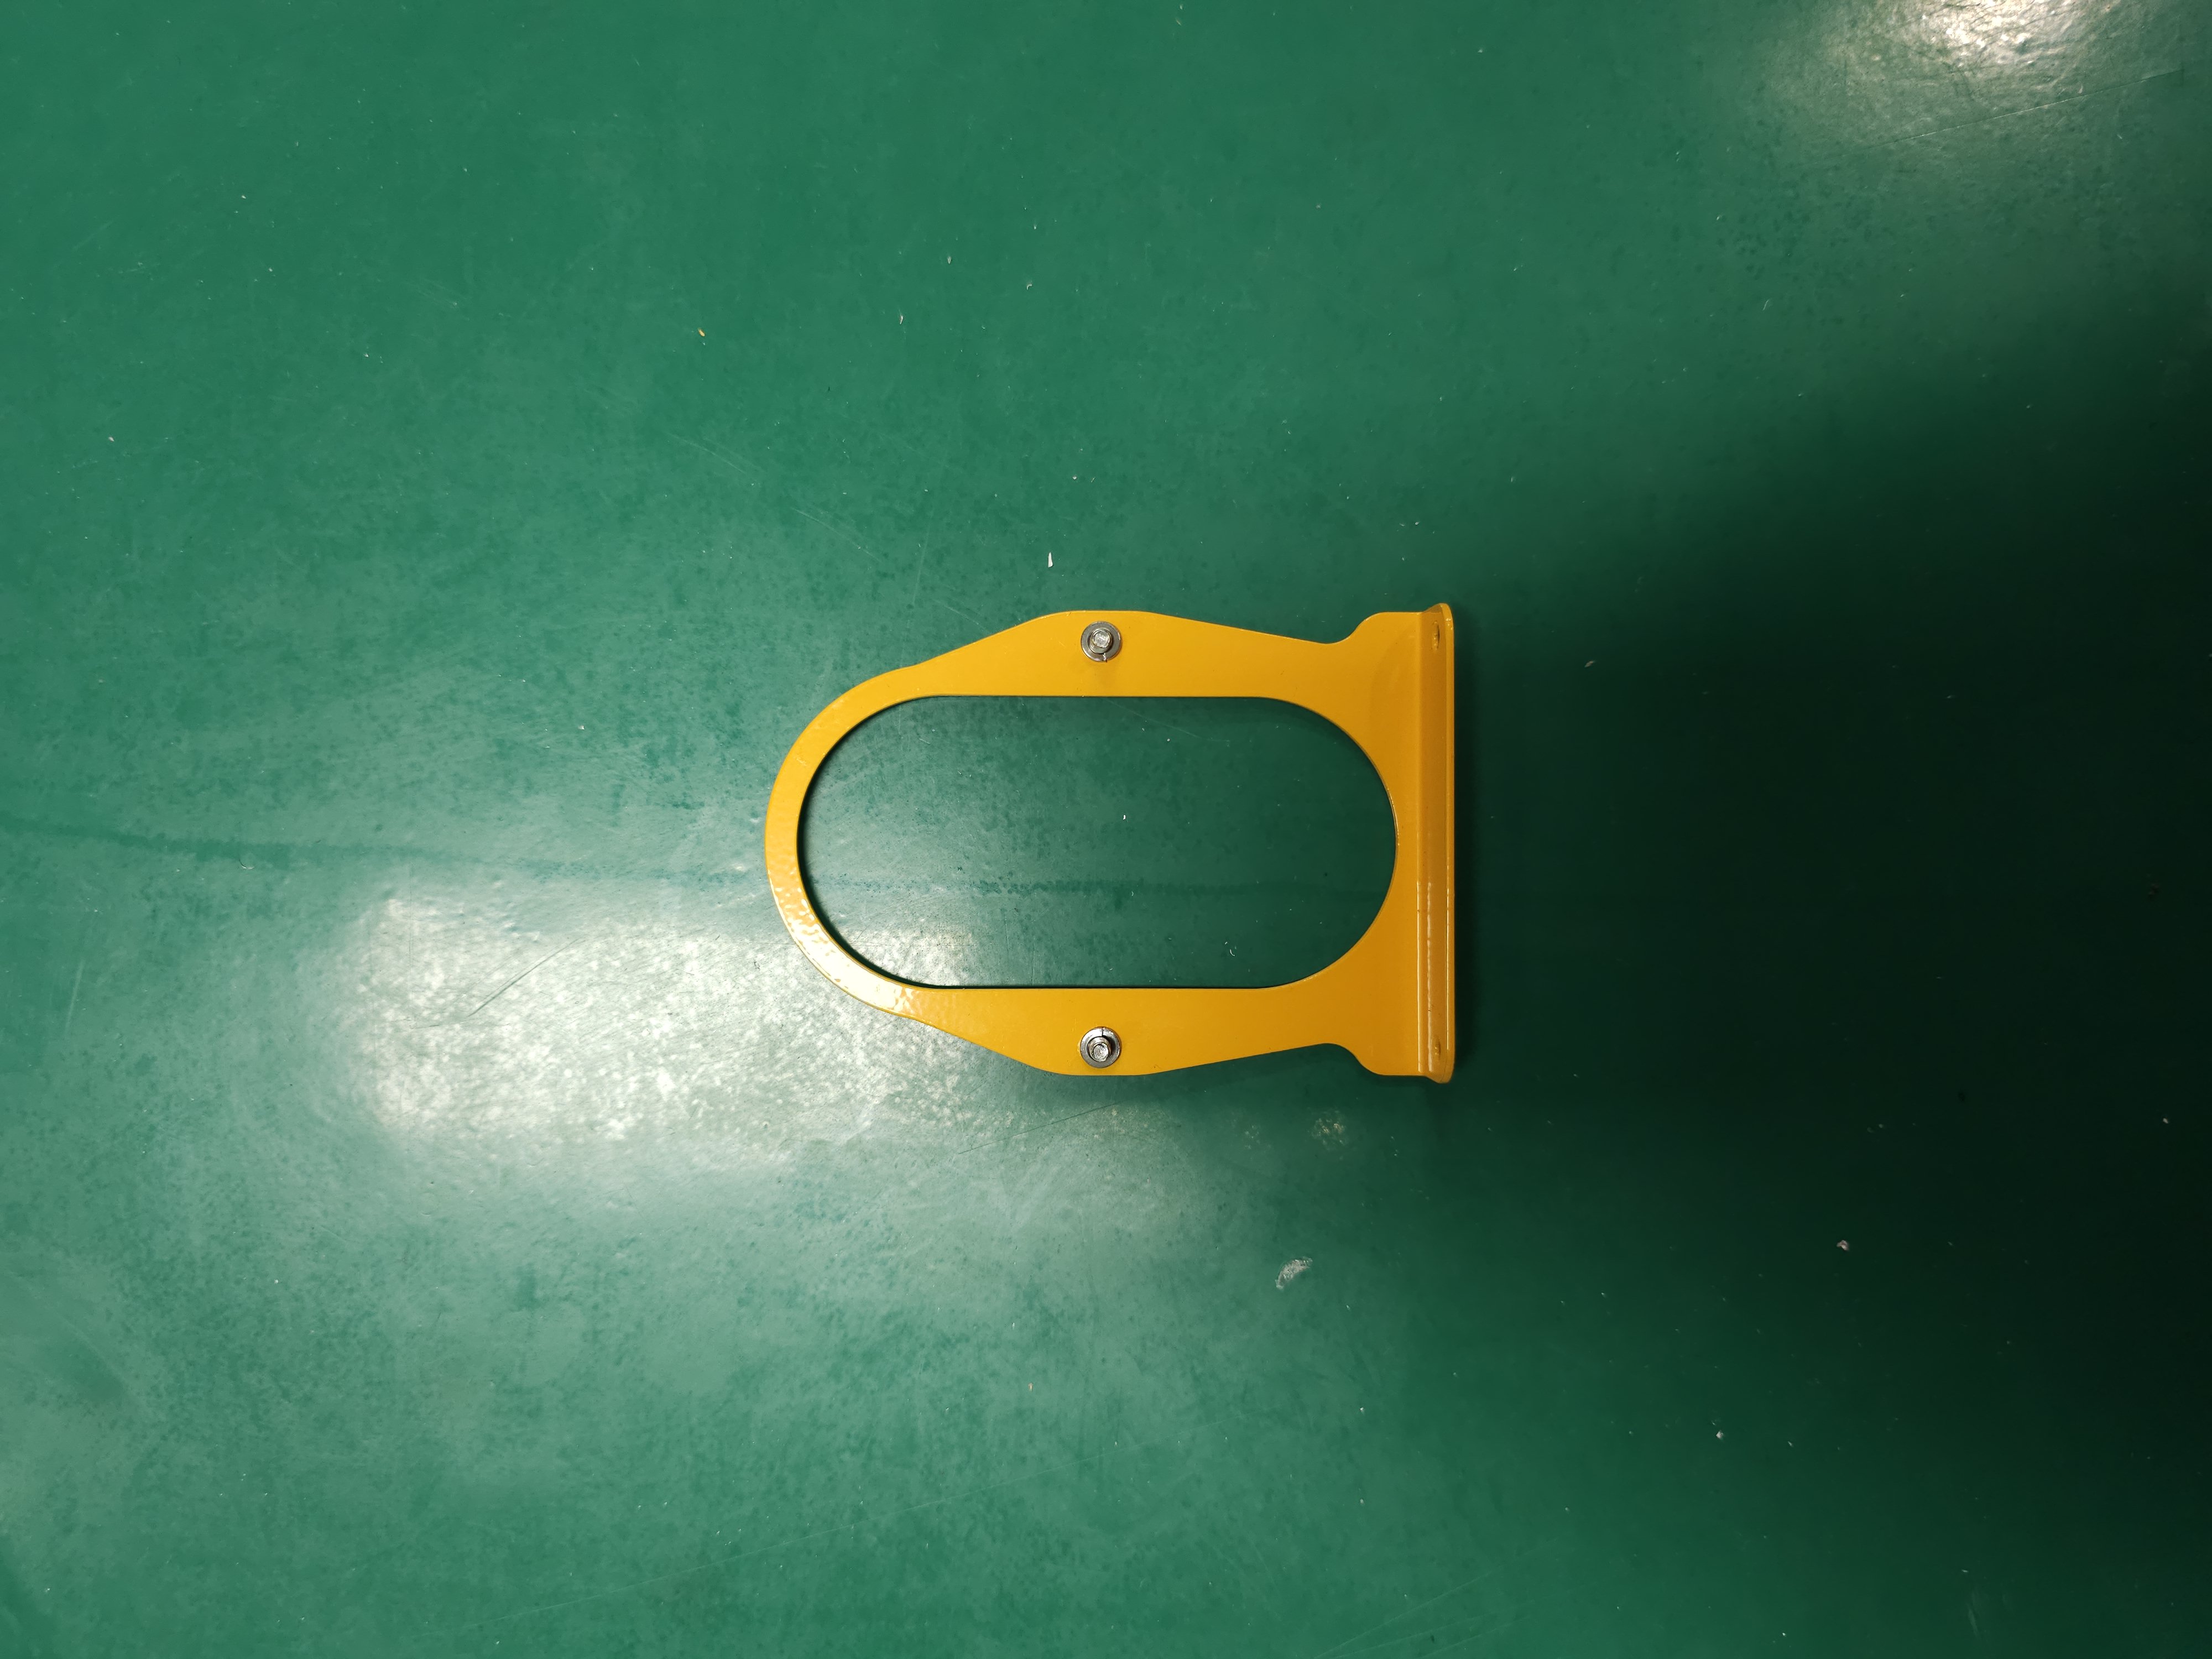
Install two nuts and spring washers.
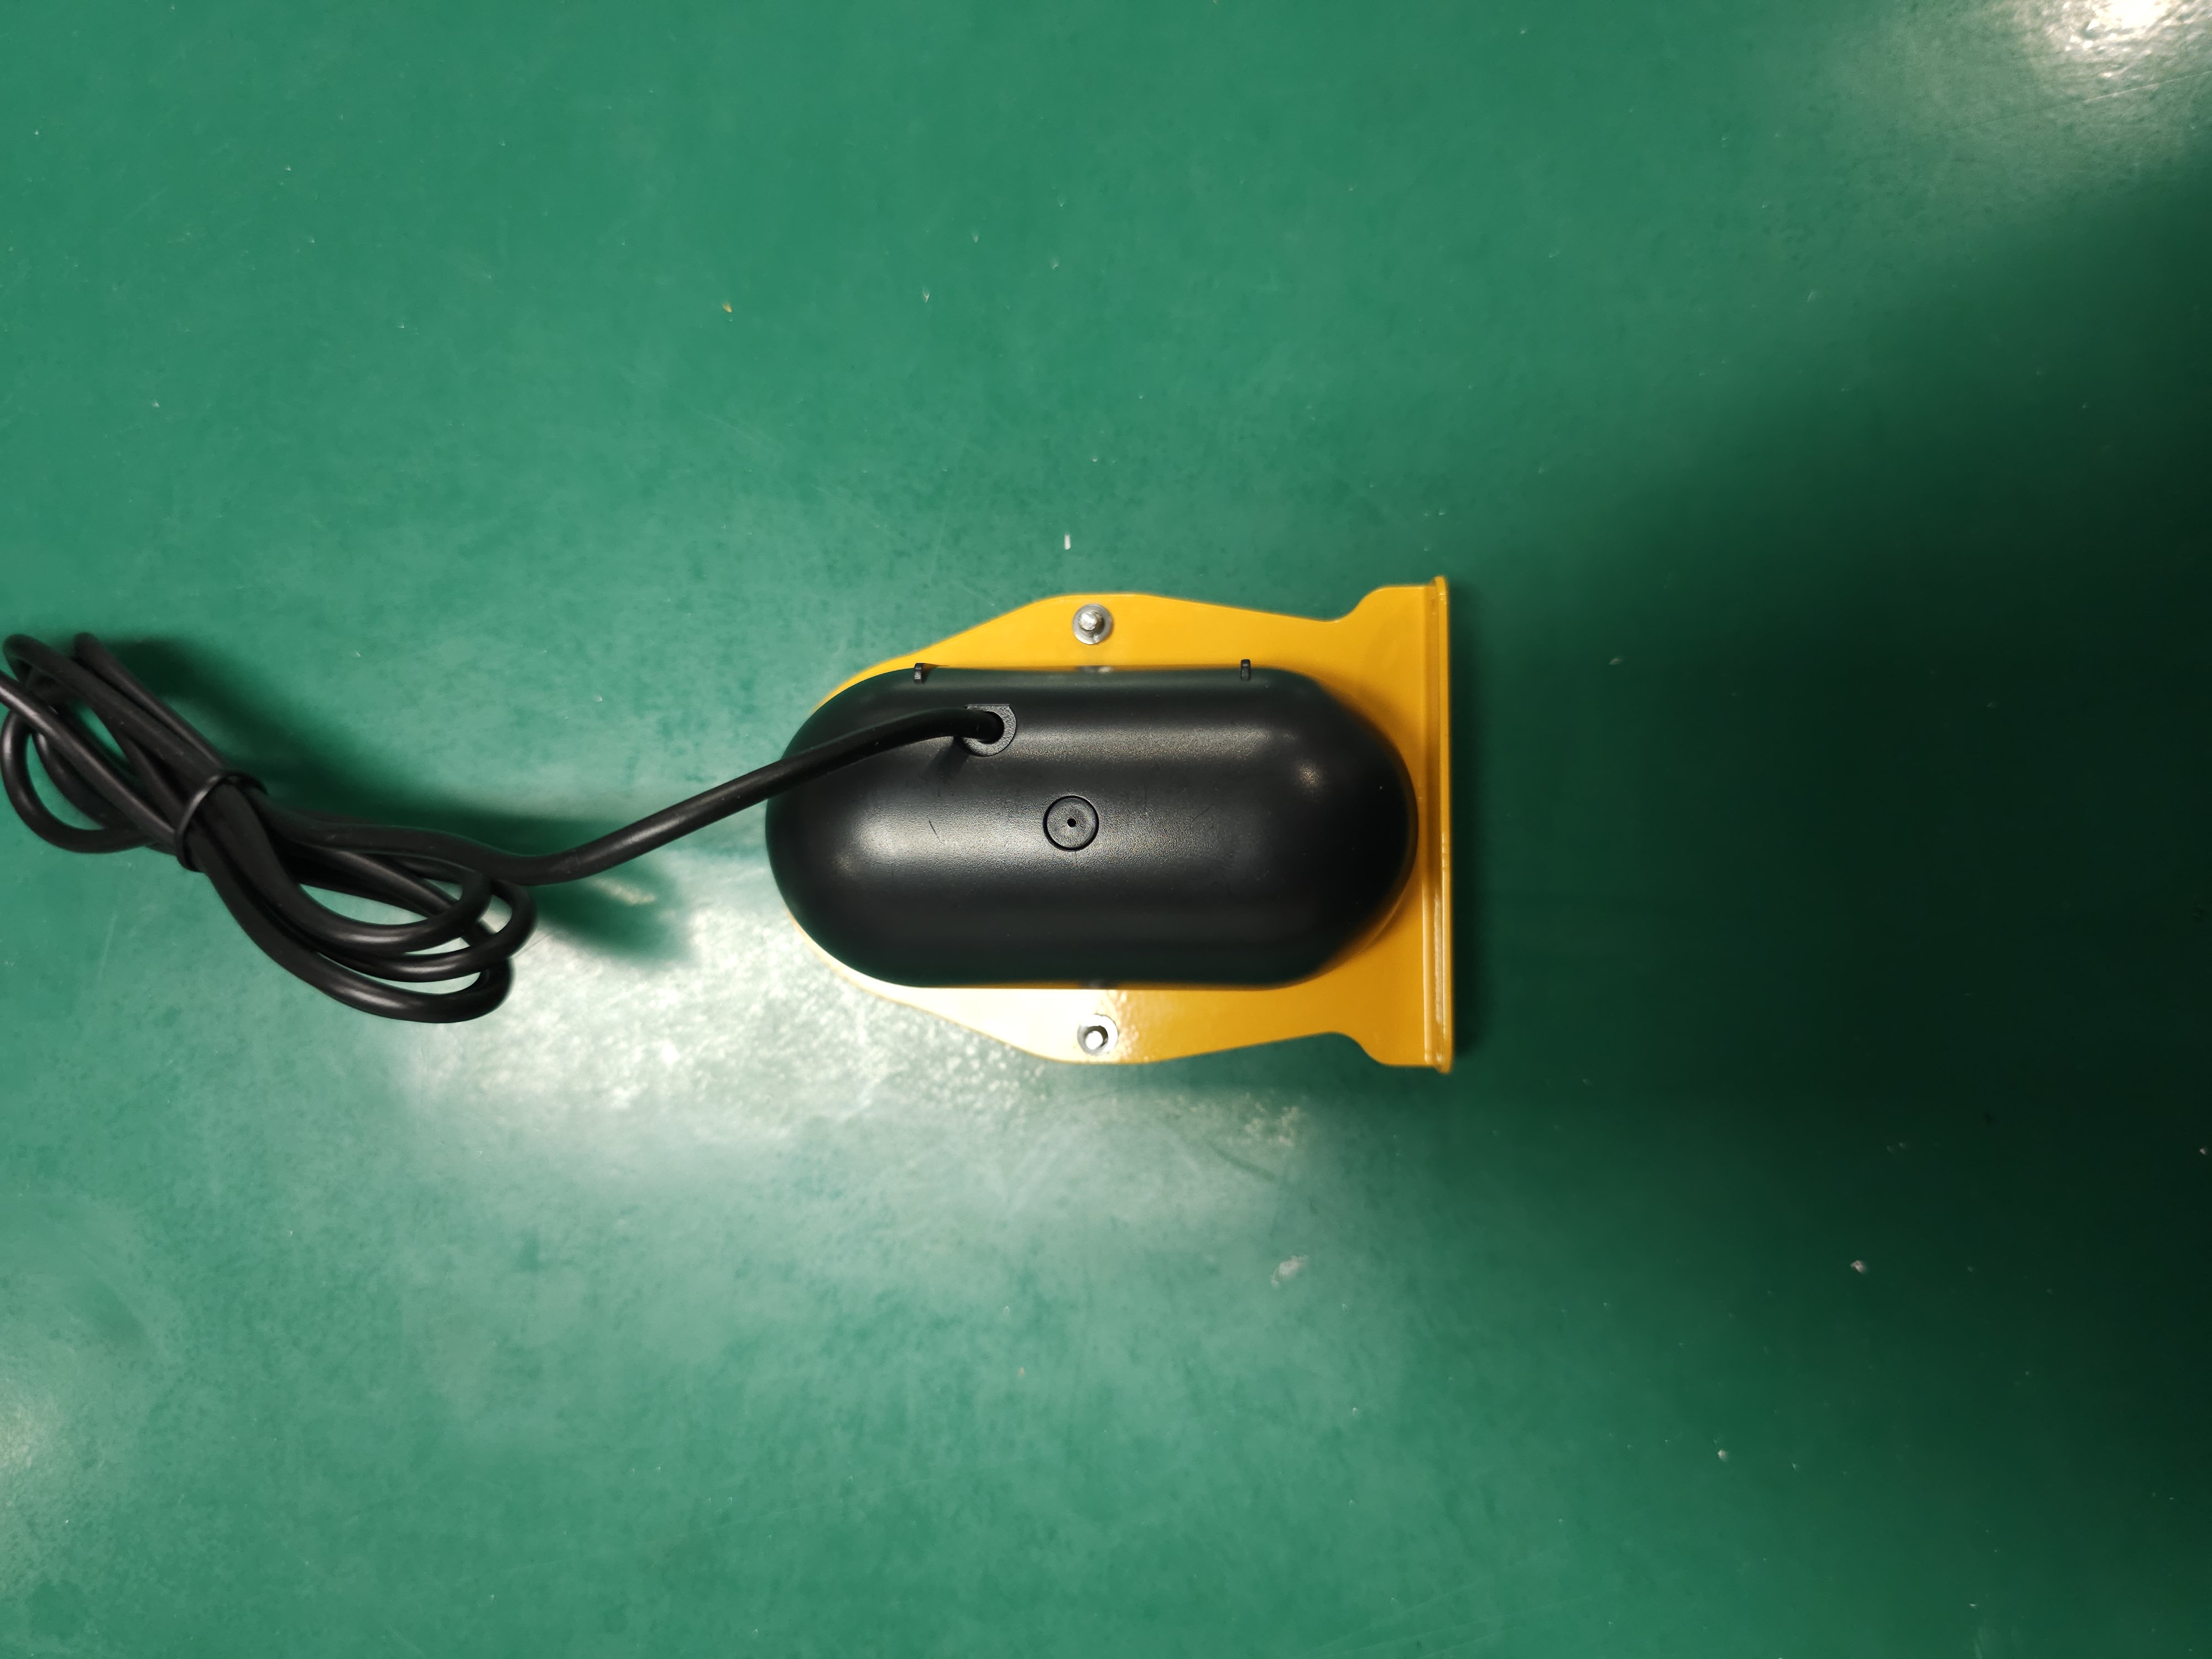
Place the speaker in an appropriate position.
Install the rear speaker bracket and tighten two bolts.
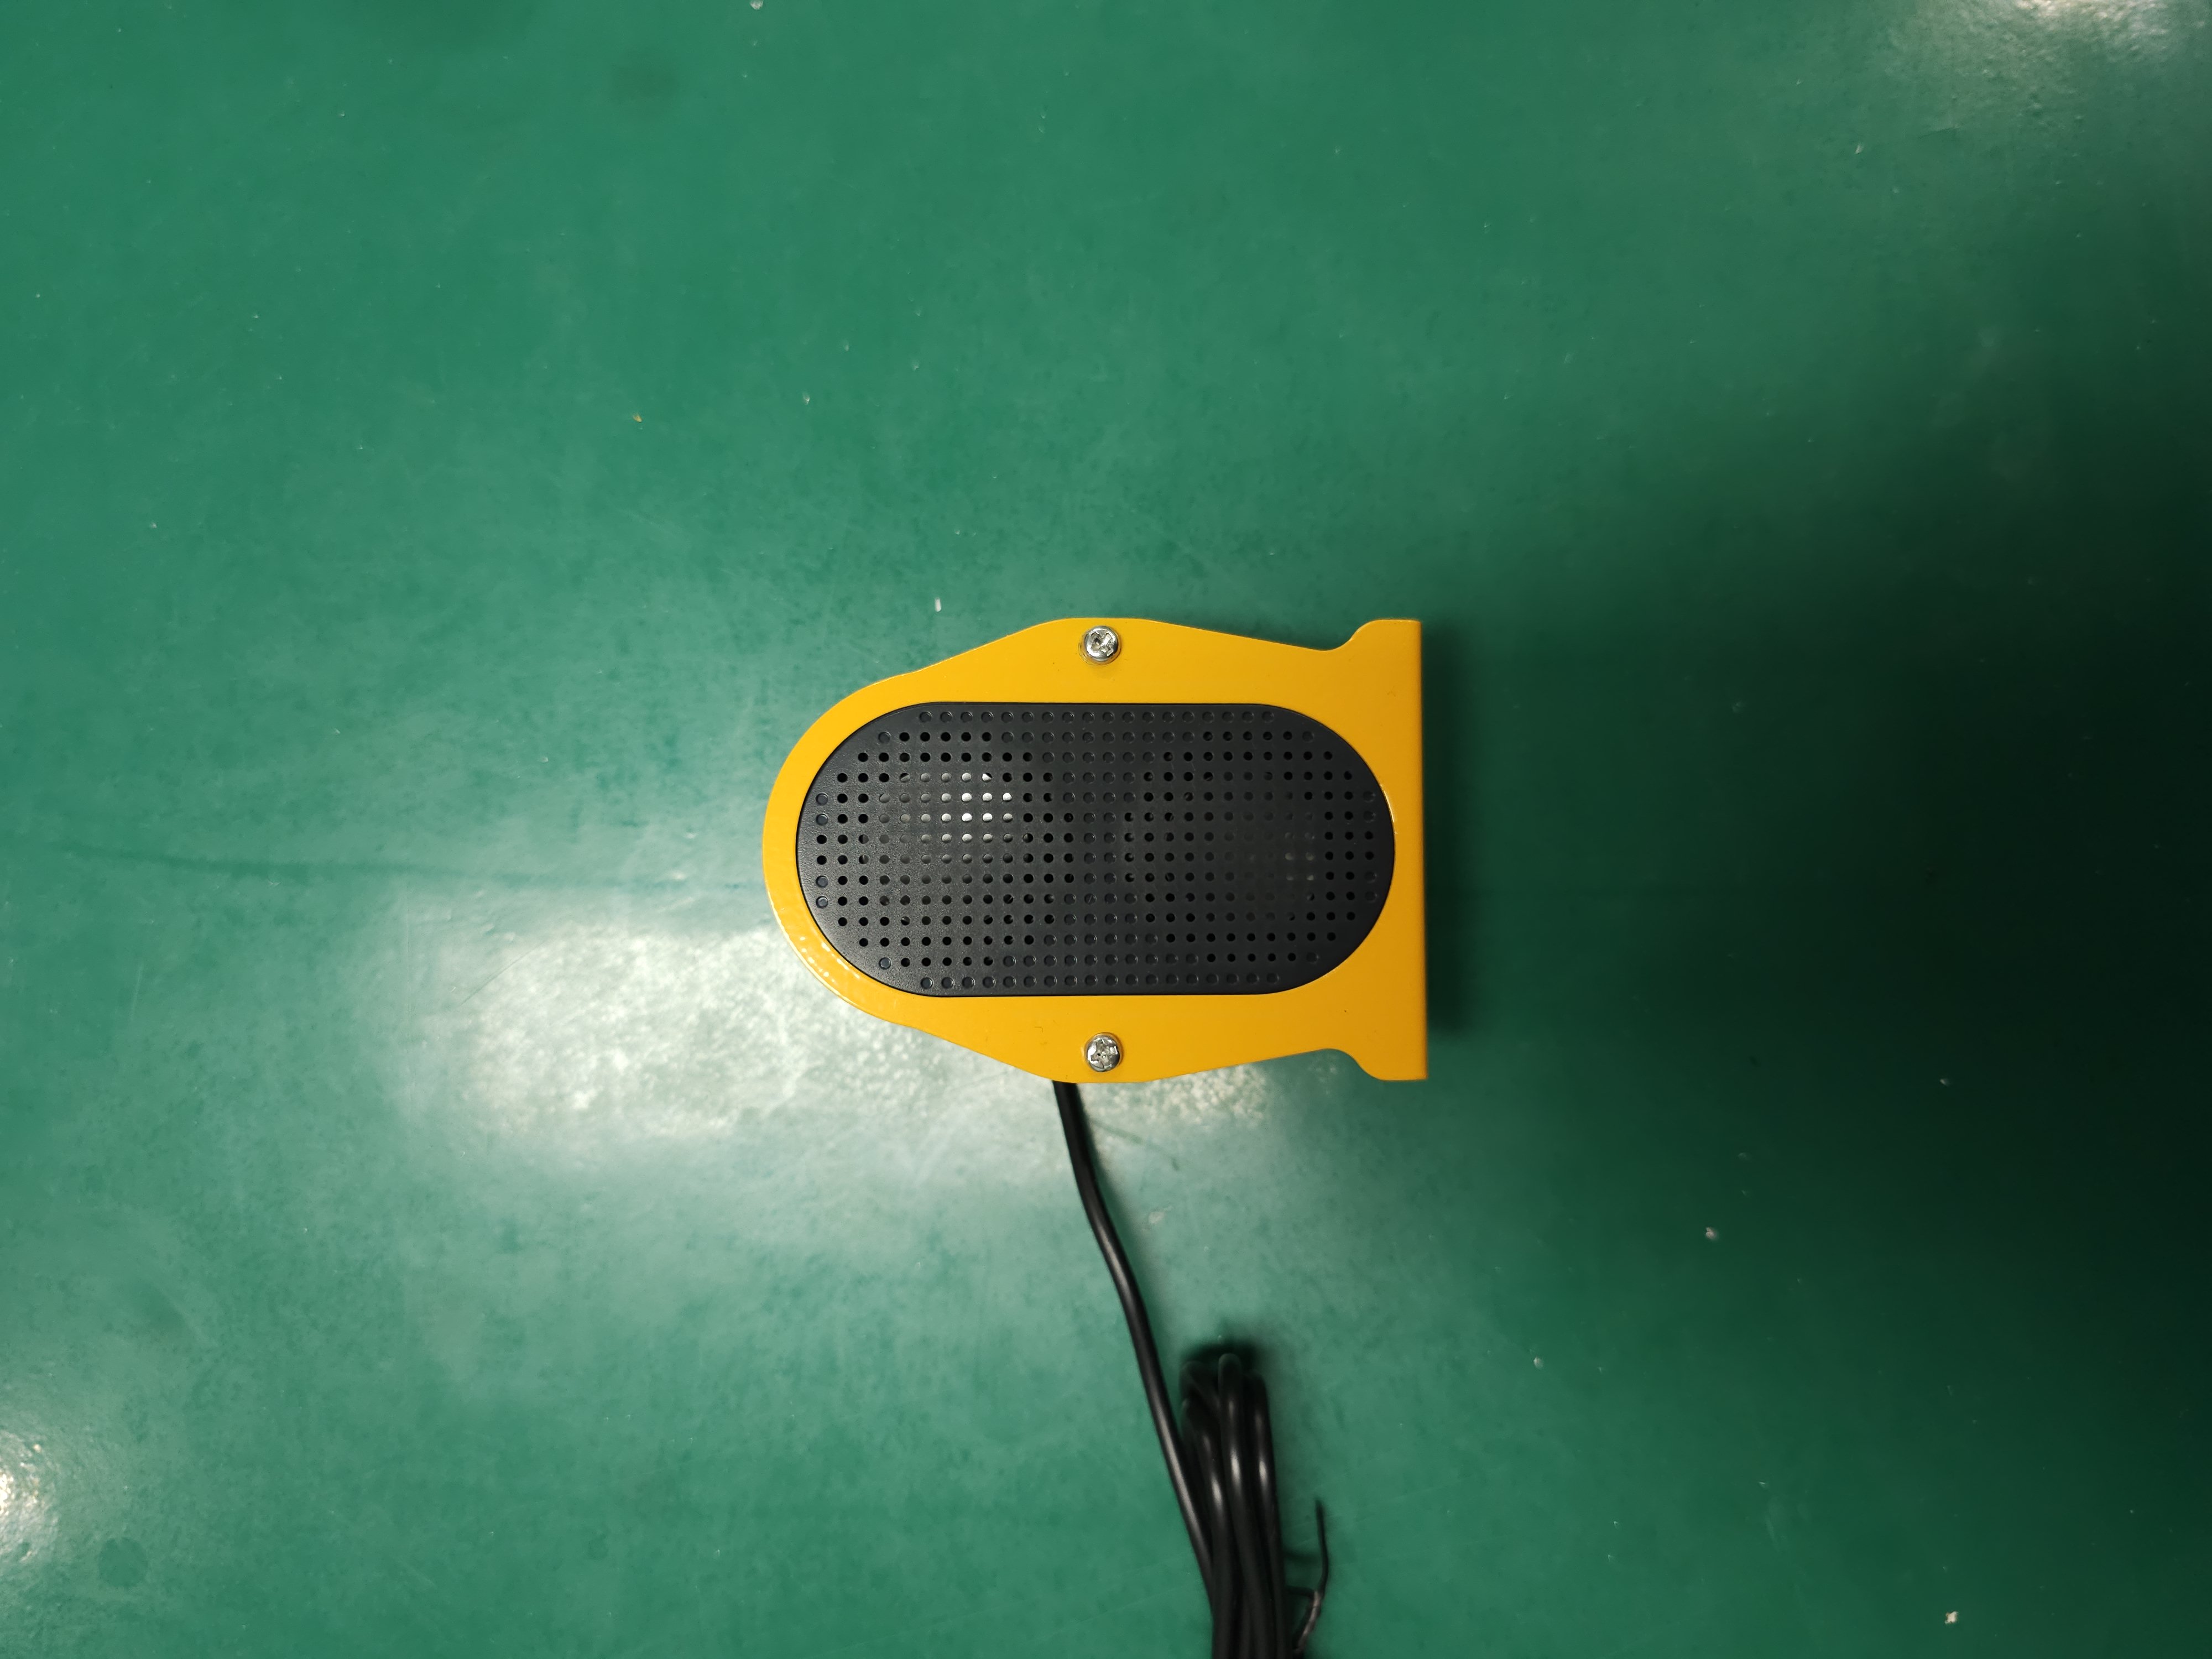
Install the speaker module on the left side.
14. Connect the battery checker cable to the BAT3 terminal on the power board. A battery checker displays the remaining capacity and voltage of a battery.
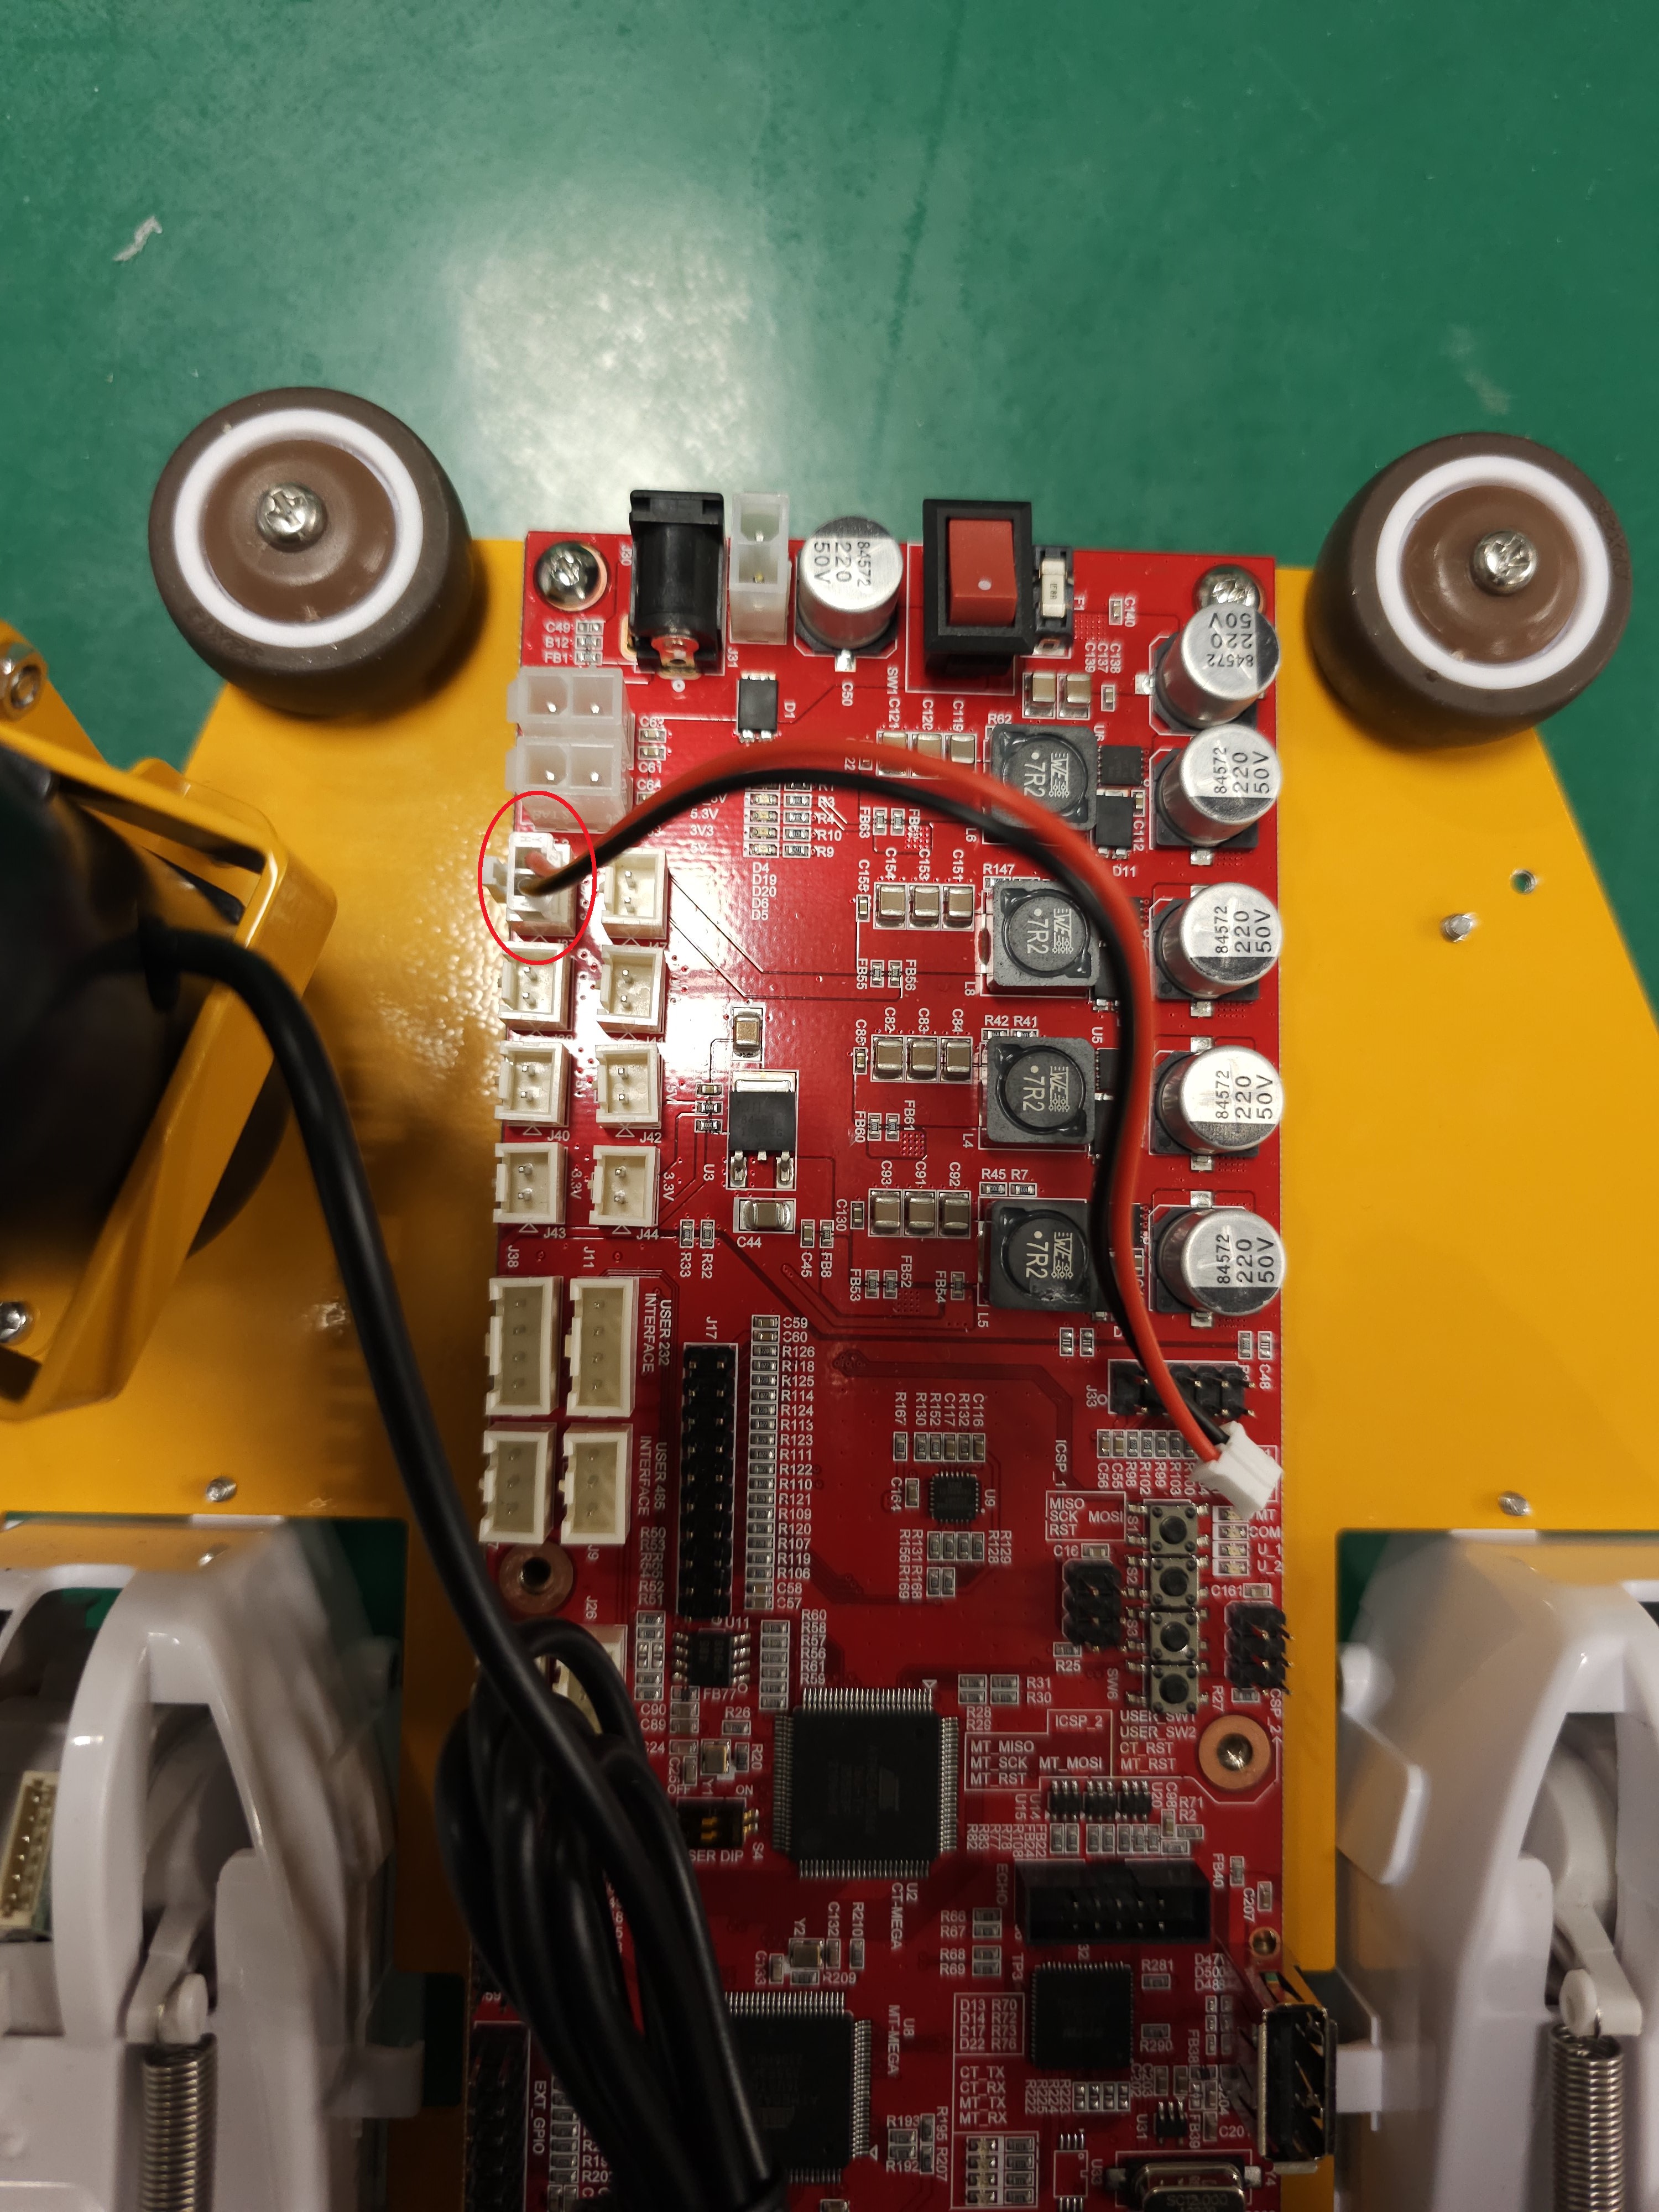
Connect the power cable to the 5.3V terminal on the power board.
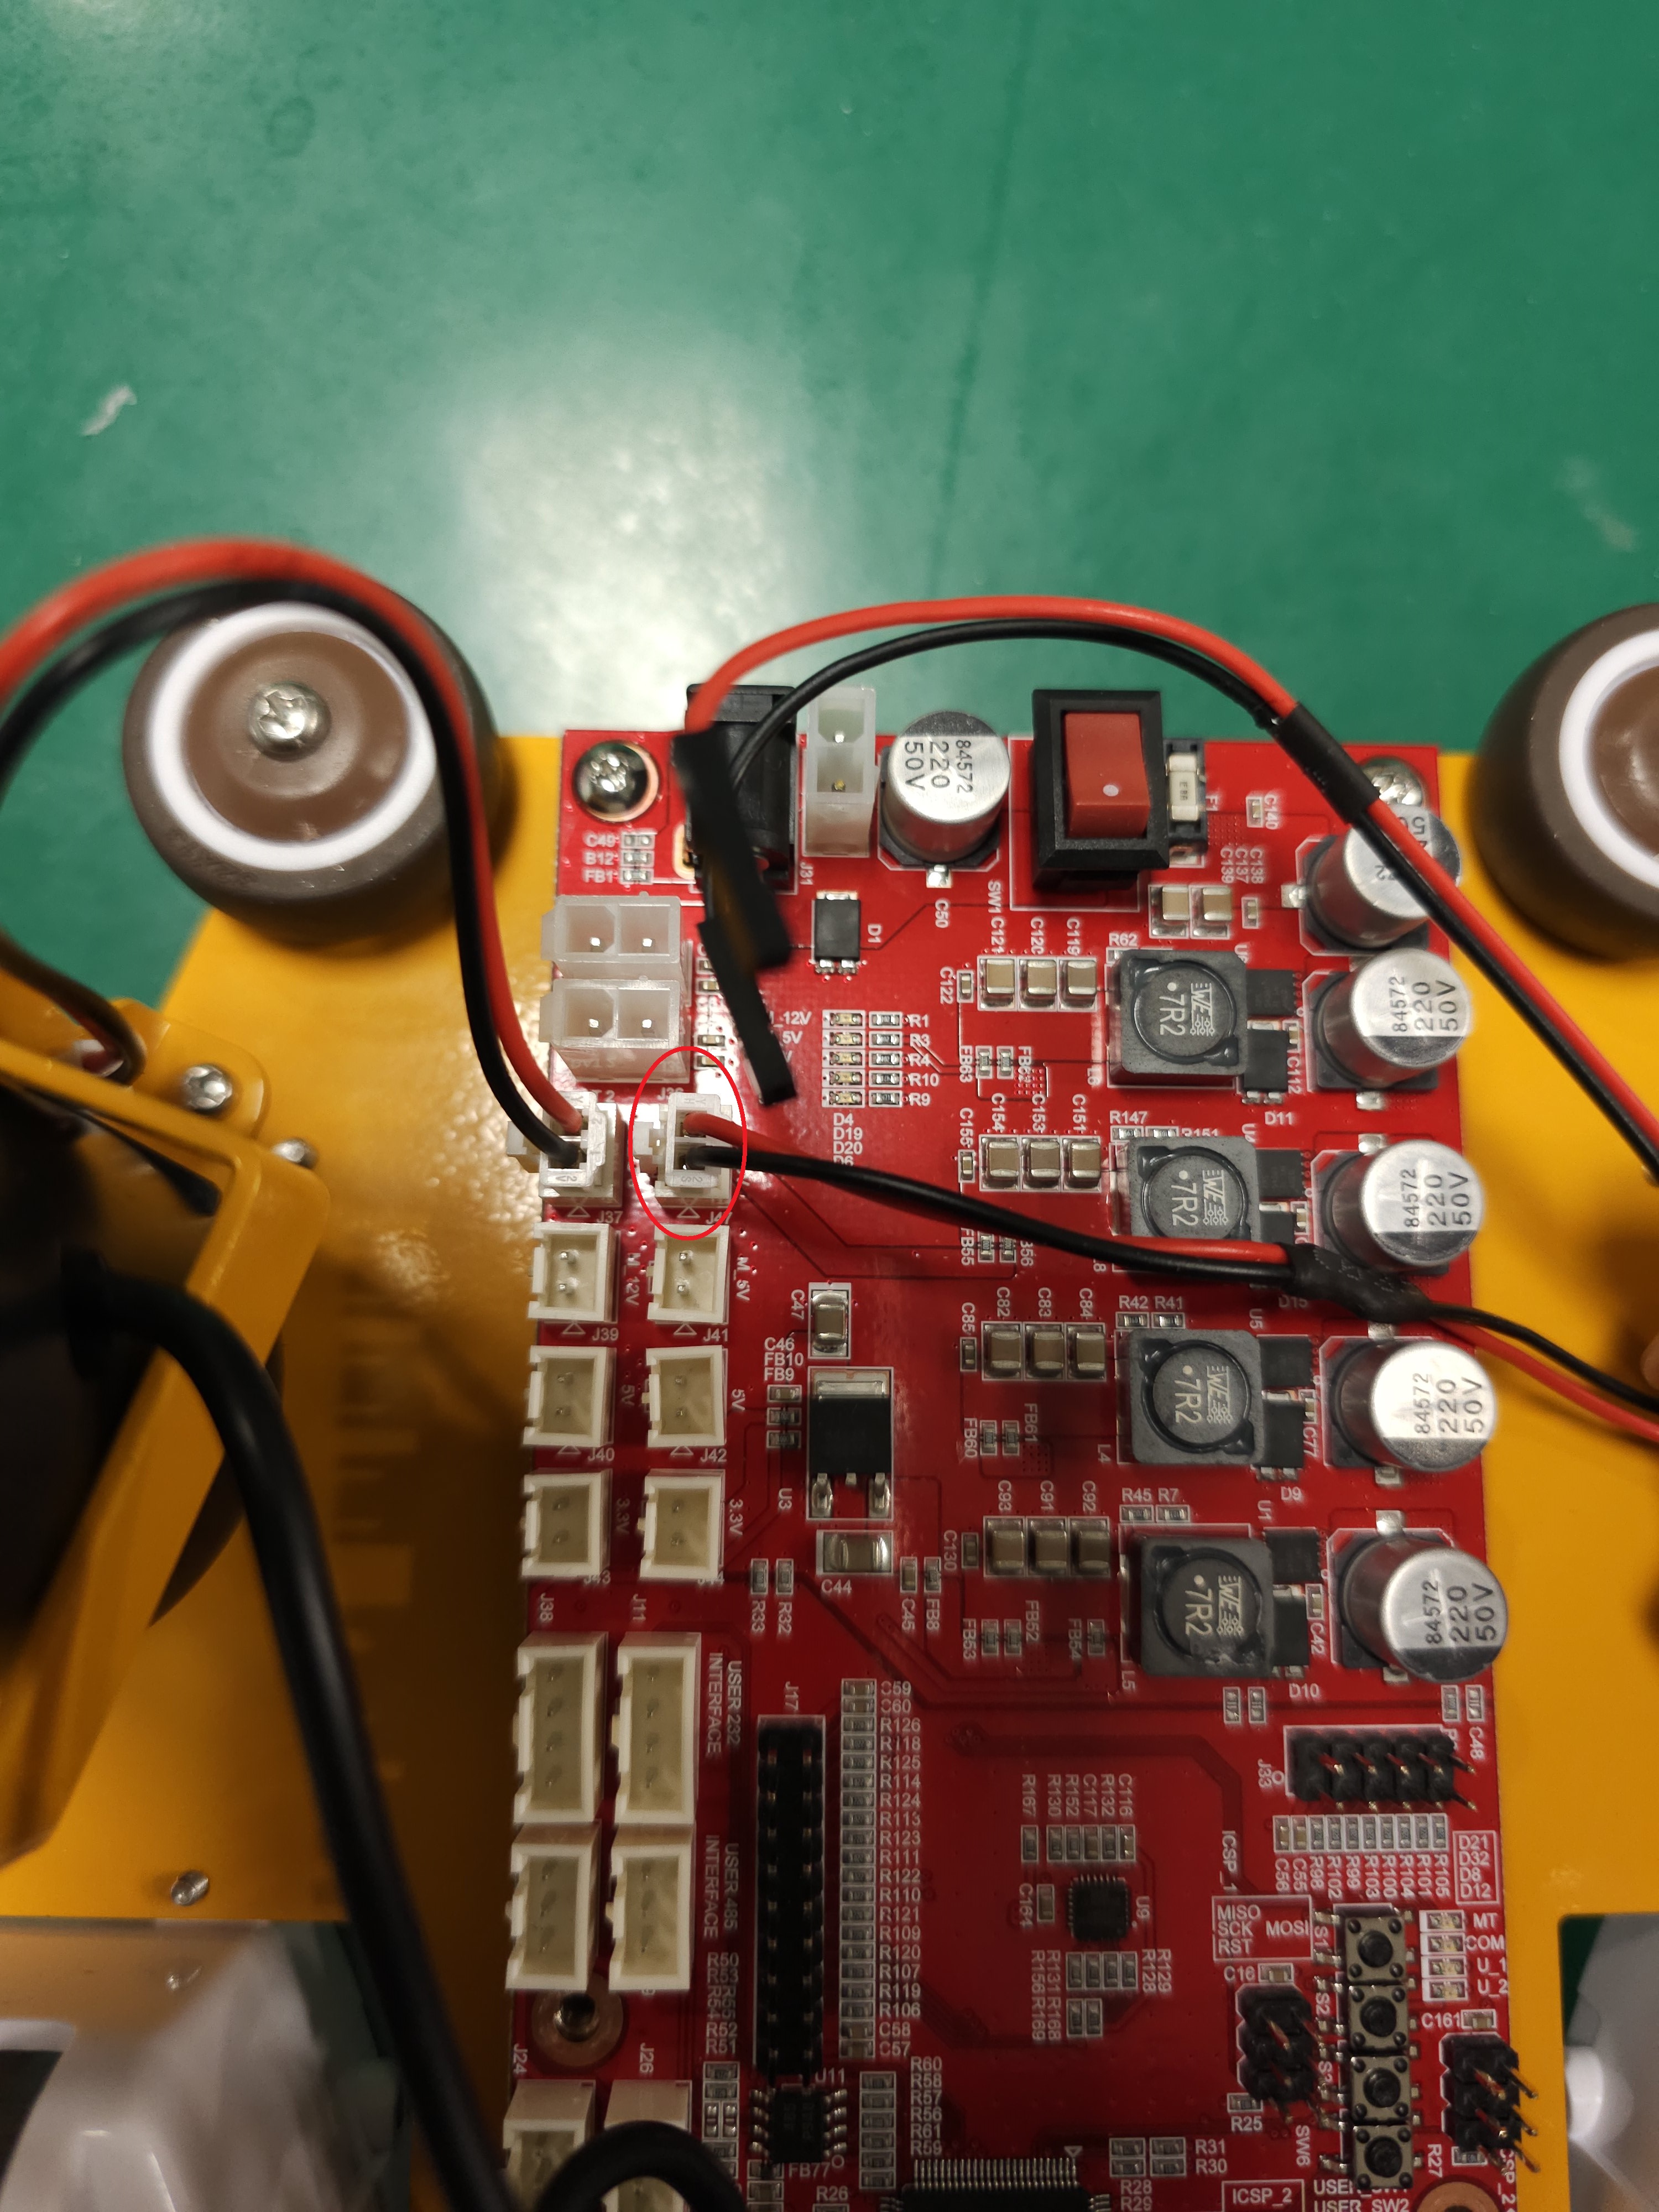
Connect the USB cable to the USB terminal on the power board.
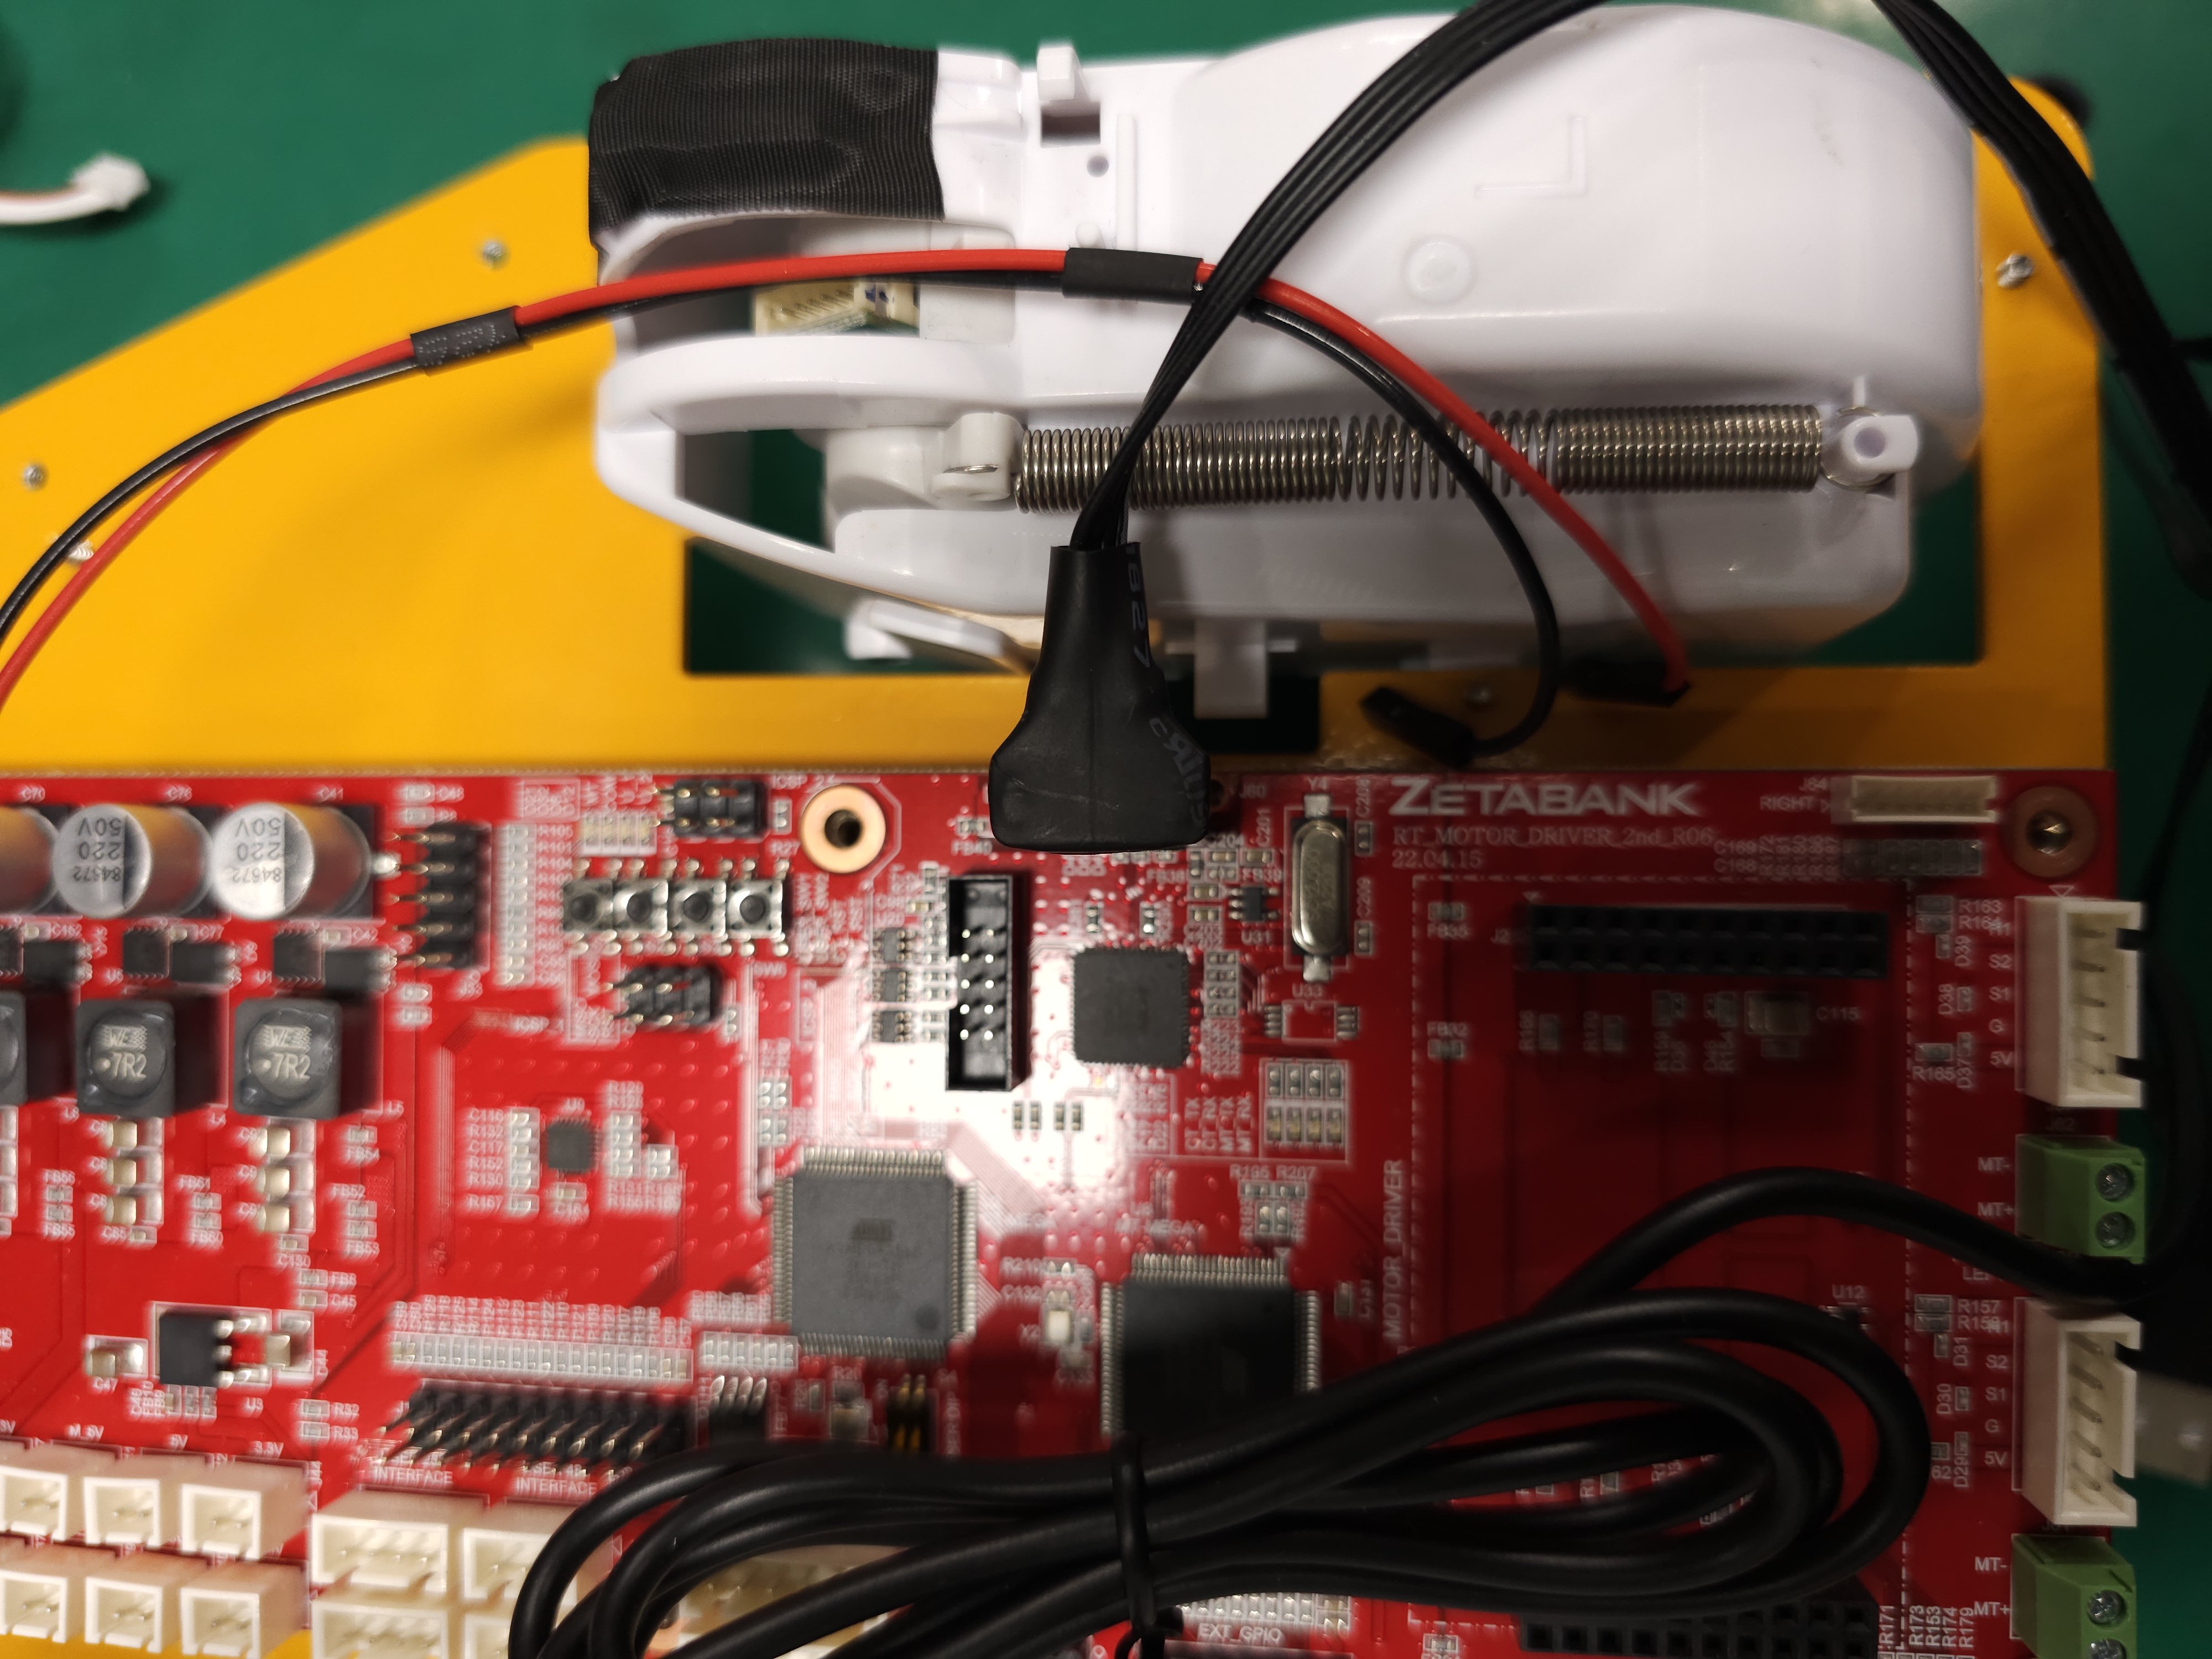
Connect the servo motor cables to the motor terminals on the power board paying attention to the left and right sides.
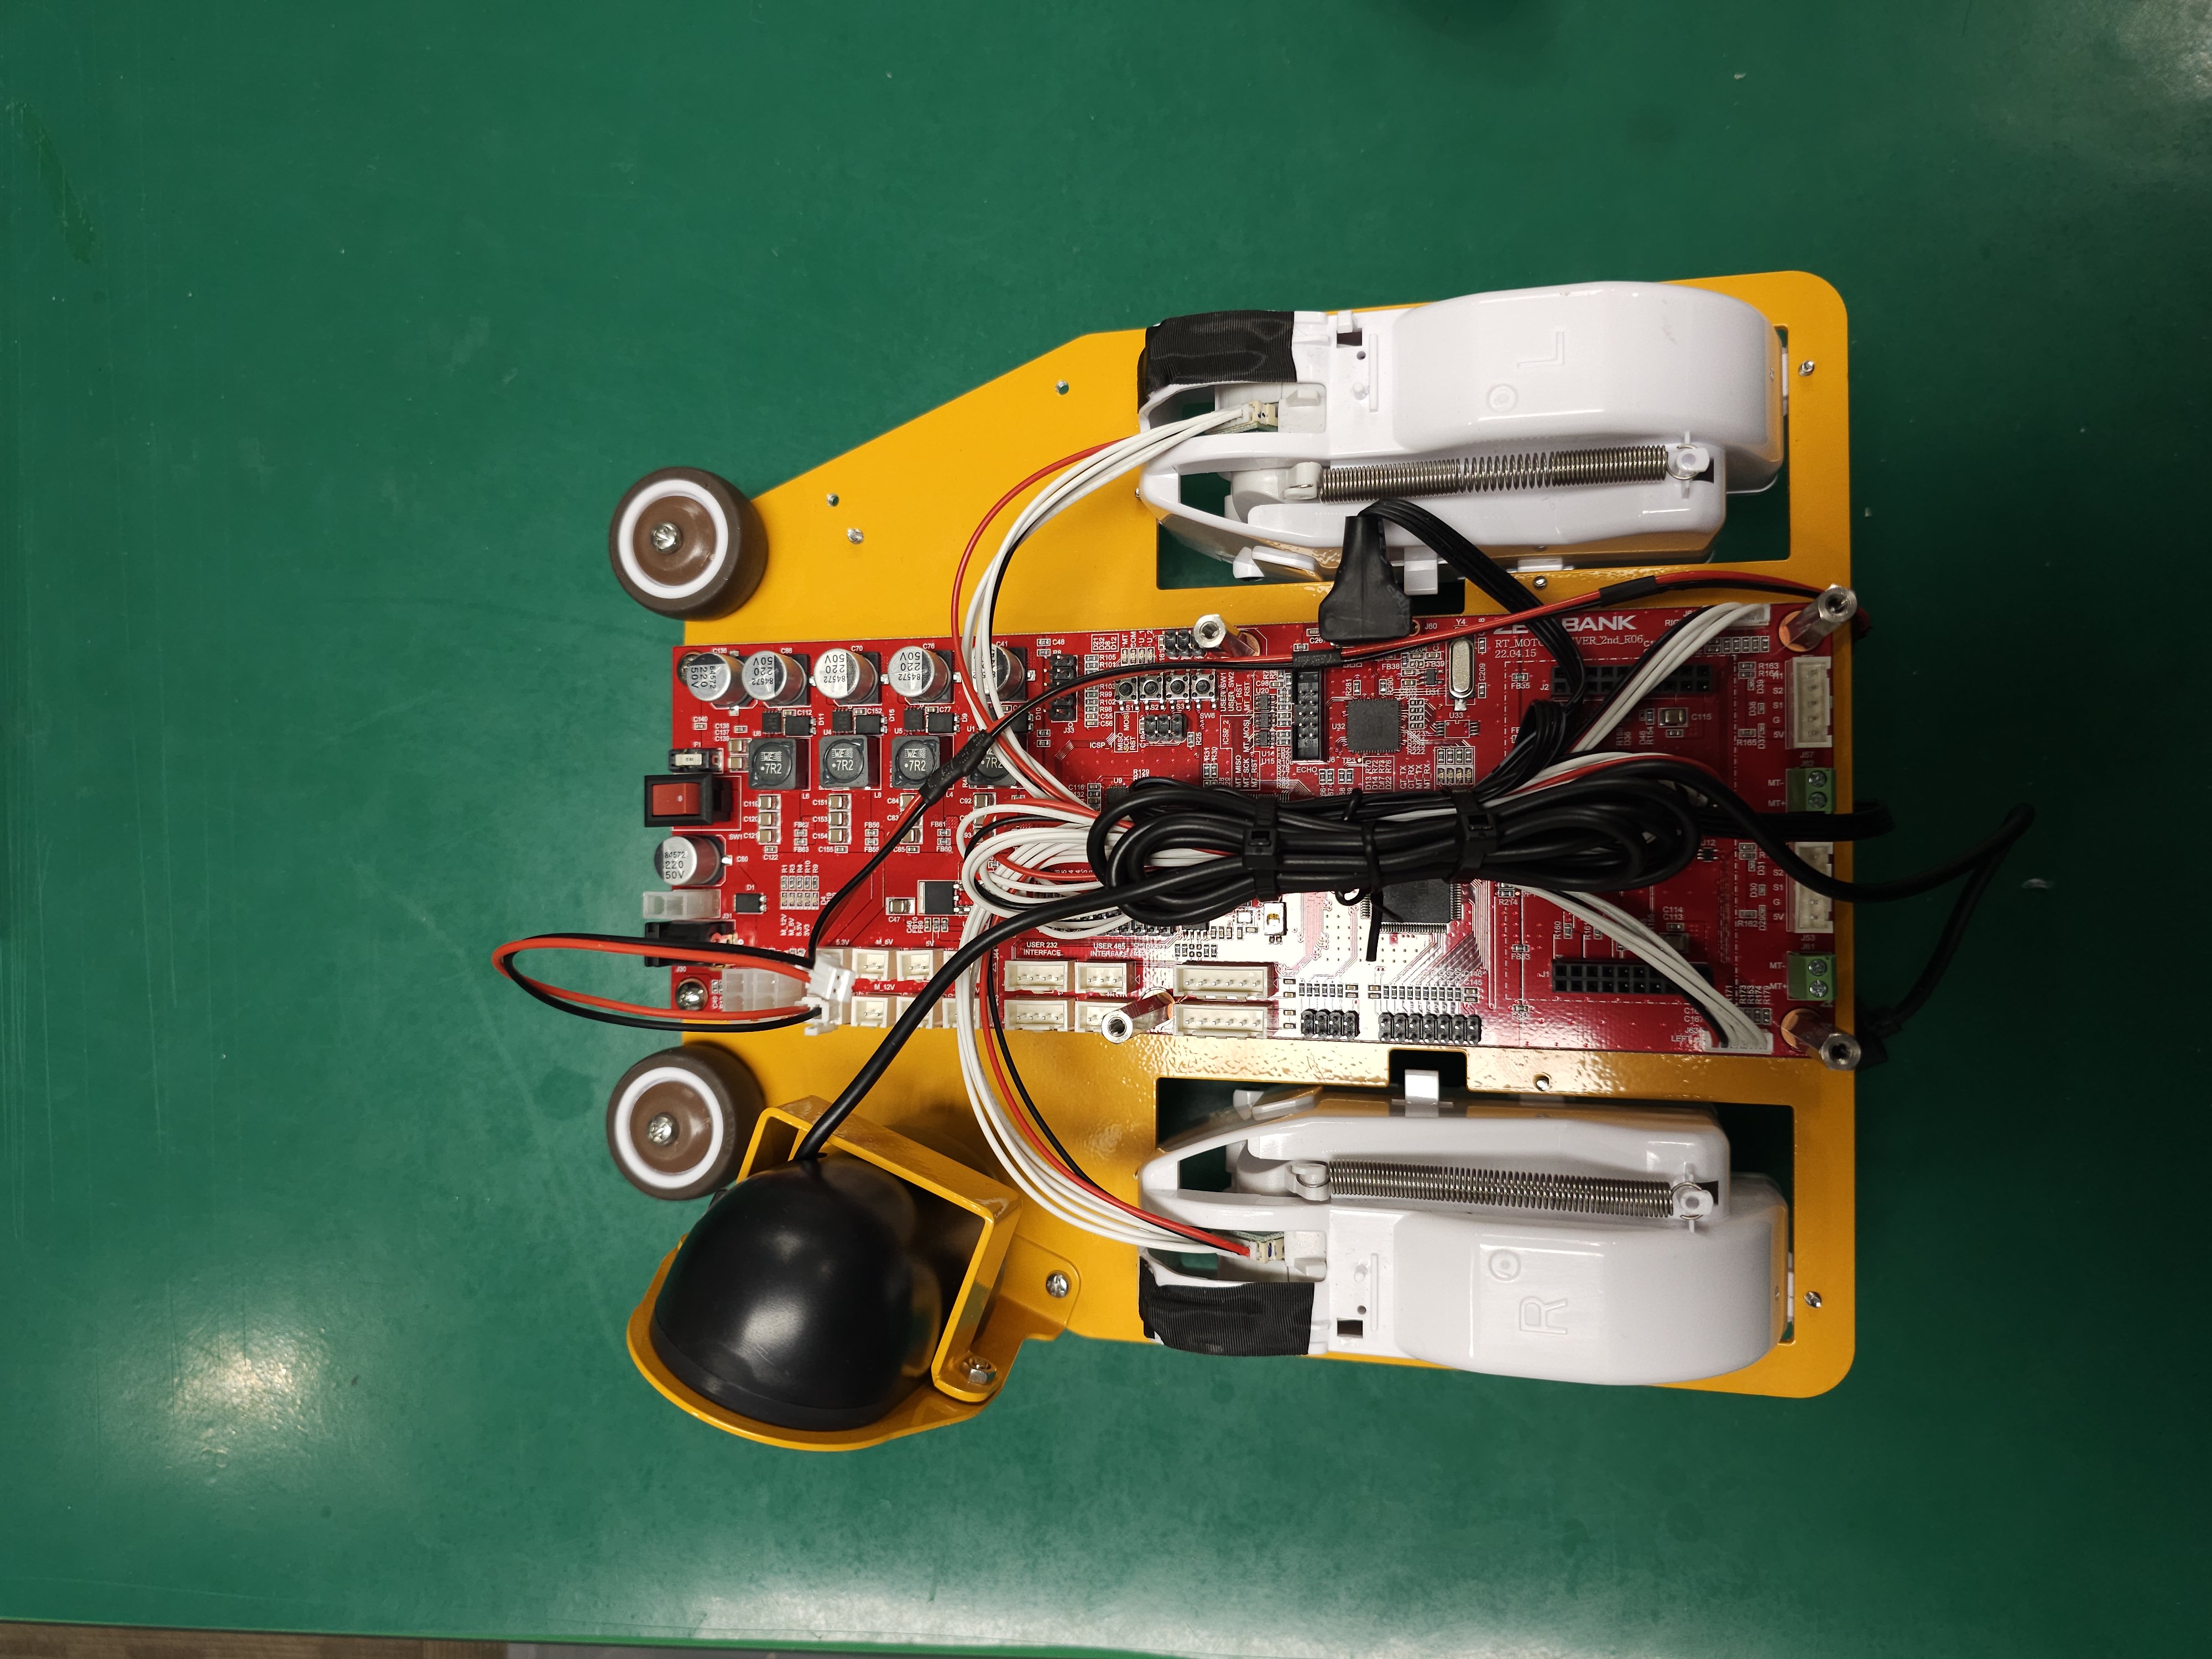
Tidy up the cables to the proper length.
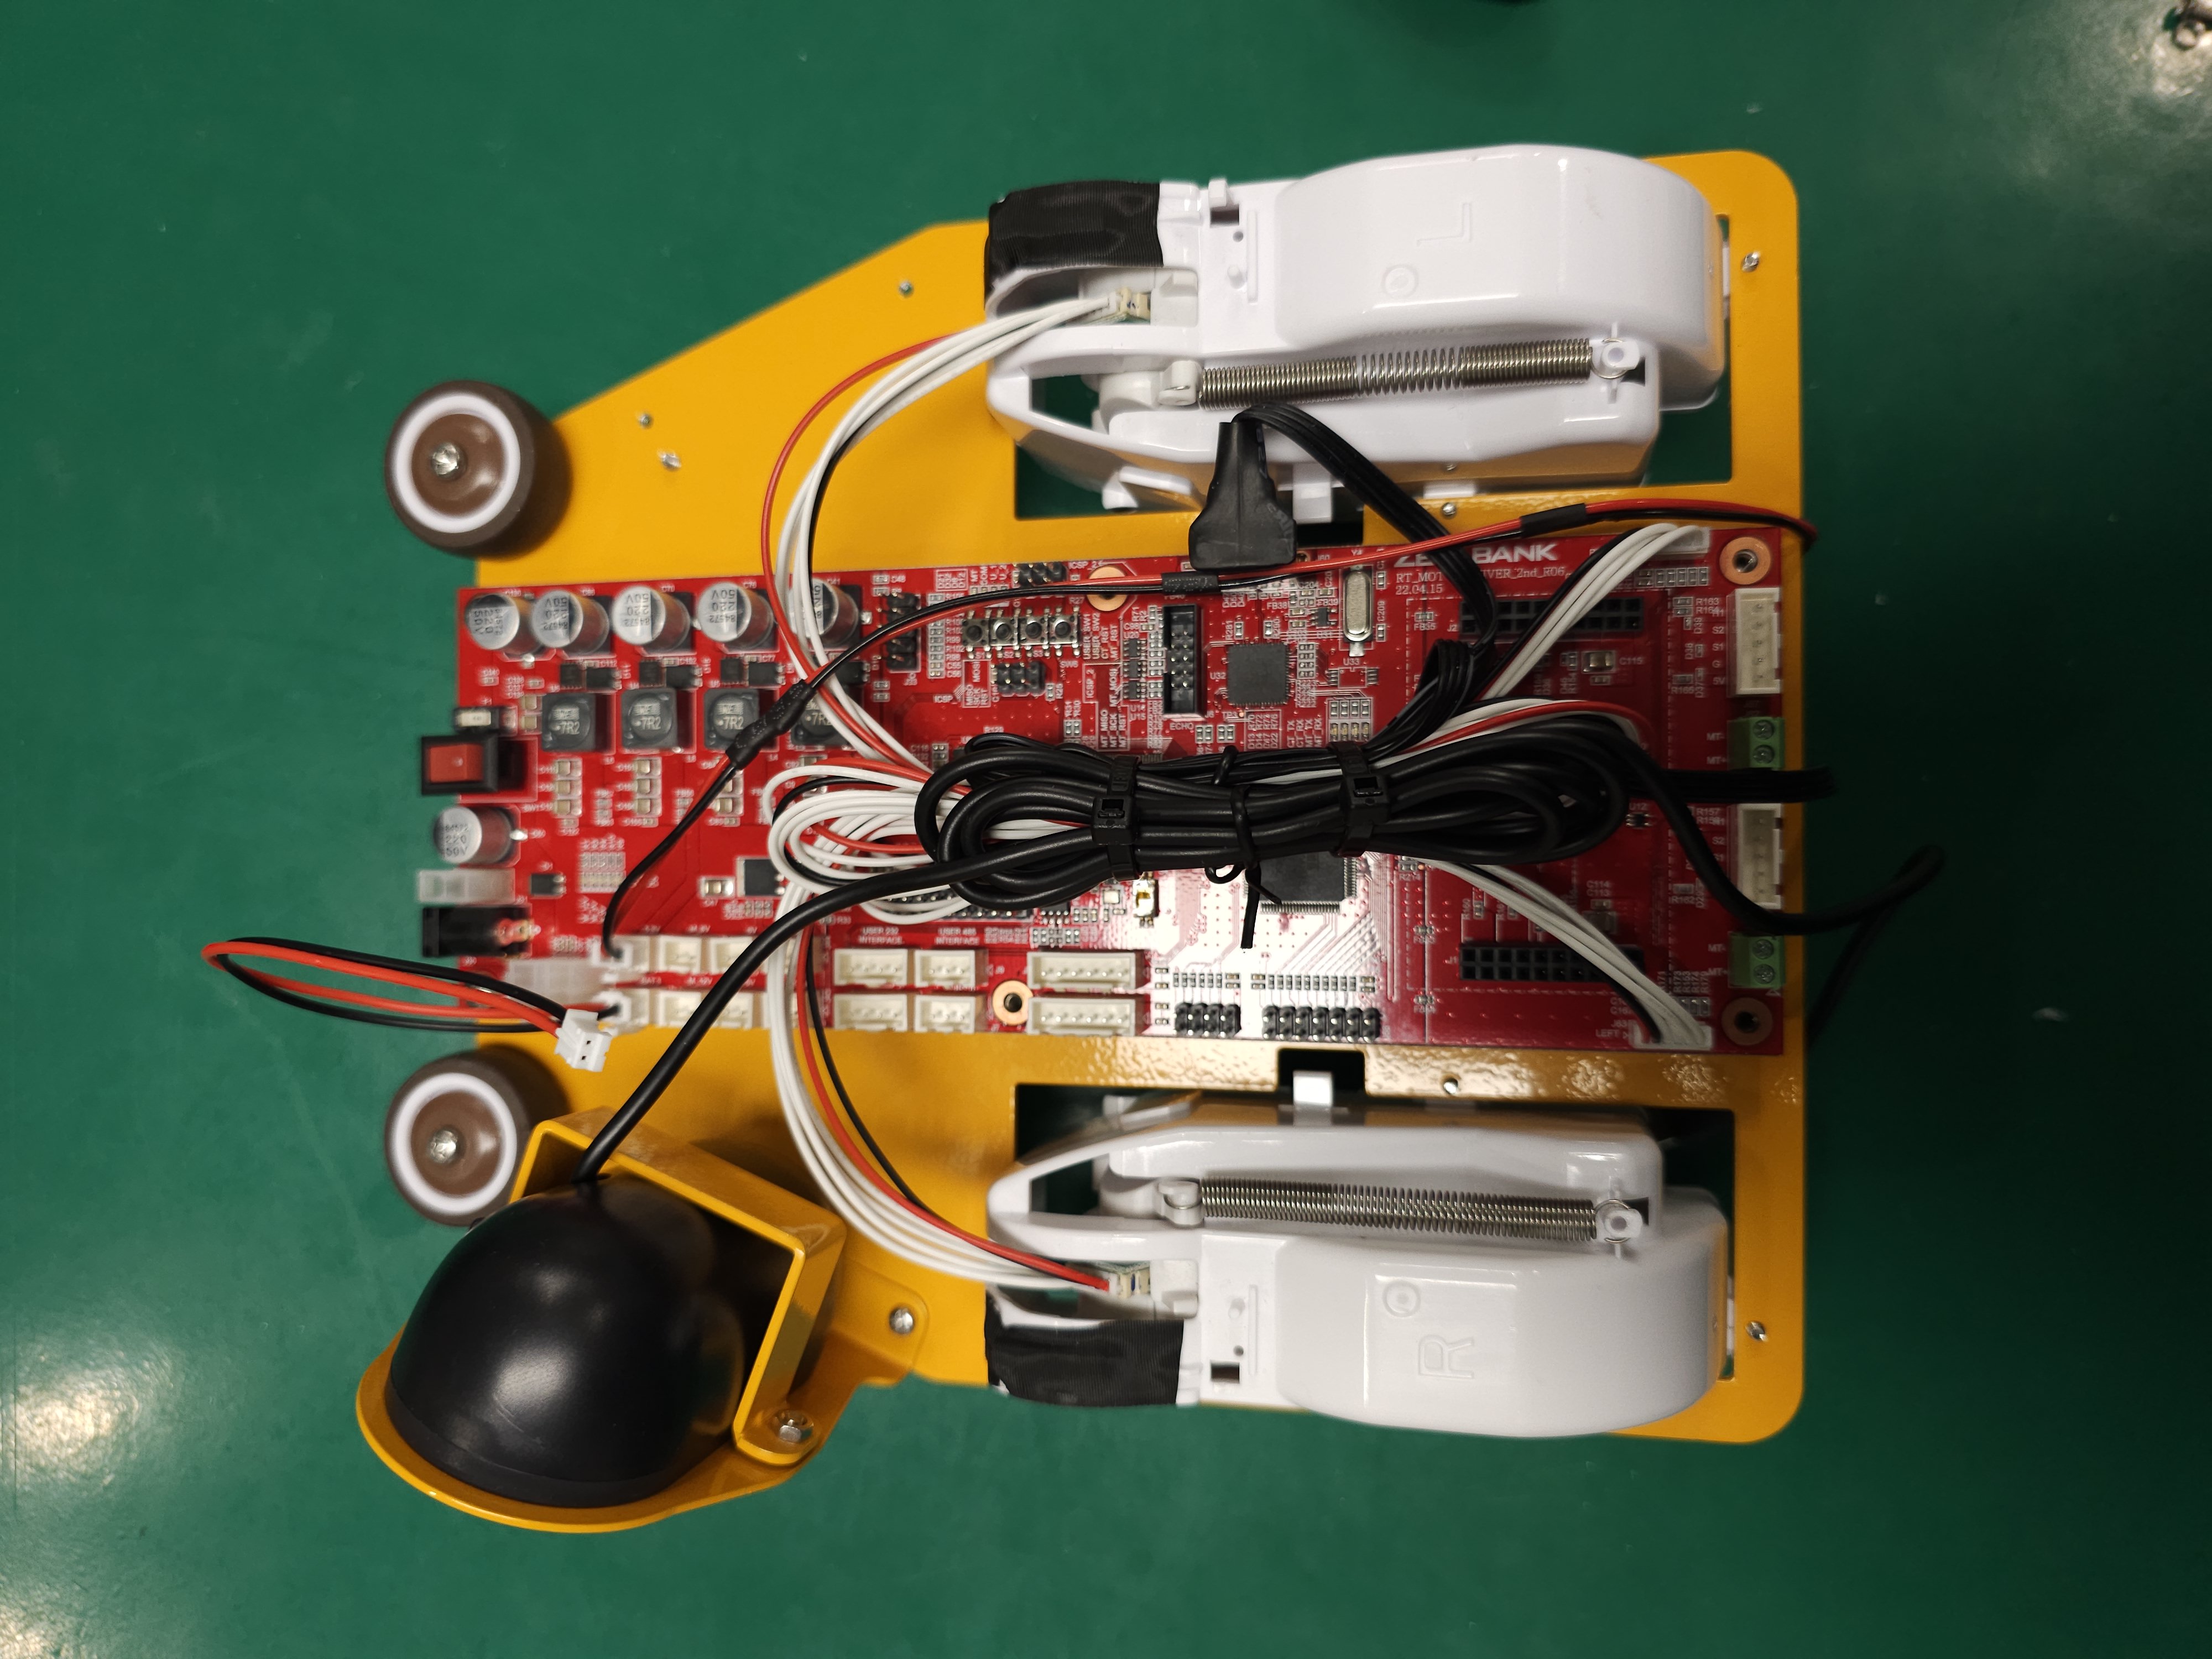
Install four posts into the power board holes.
Connect the sonar sensor cable to the power board.