Mission
Project Name: 3-Stage Distance Detection System
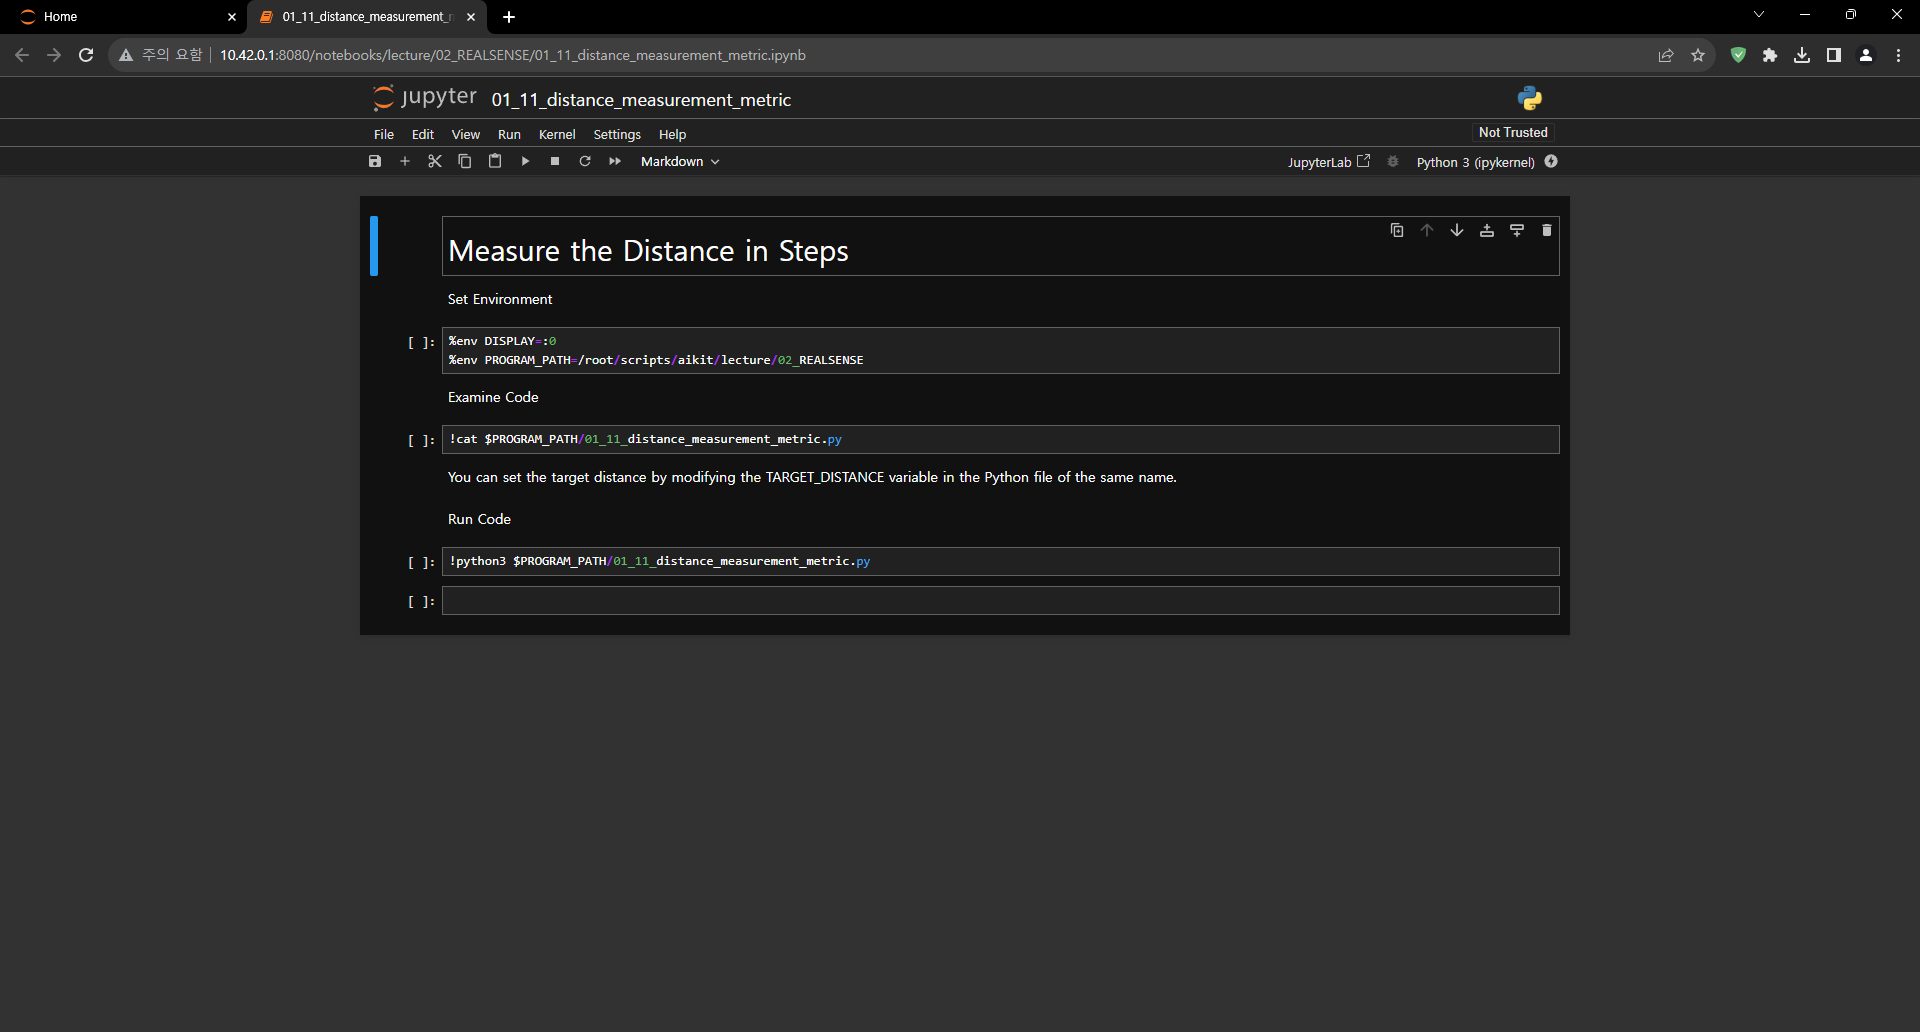
01_11_distance_measurement_metric.ipynb
- Running the cell code.Ctrl + Enter
How to Excute the Python File
Set environment variables before executing a Python file.
%env DISPLAY=:0
%env PROGRAM_PATH==/root/scripts/aikit/lecture/02_REALSENSE
Check the contents of the Python file to be executed.
!cat $PROGRAM_PATH/01_11_distance_measurement_metric.py
Check the contents of the Python file to be executed.
!cat $PROGRAM_PATH/01_11_distance_measurement_metric.py
Excute the Python file.
!python3 $PROGRAM_PATH/01_11_distance_measurement_metric.py
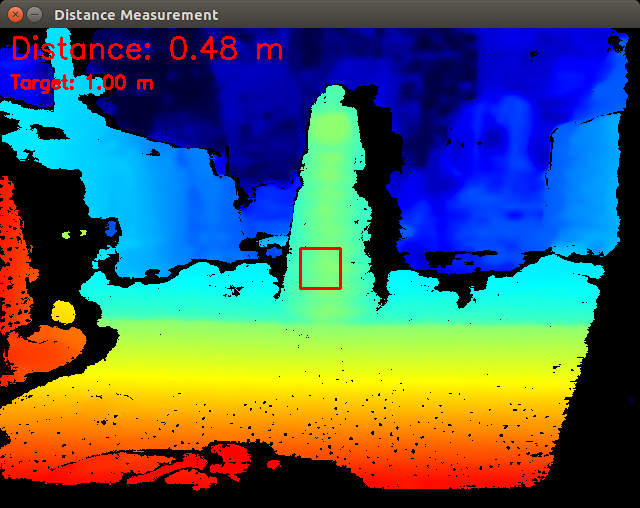
If executed correctly, the following window will appear on the Jetson Nano’s display.
Python File Description
import pyrealsense2 as rs
import cv2
import numpy as np
Importing Libraries: This section imports the necessary Python libraries:
pyrealsense2 as rs: This library provides access to the RealSense camera’s functionality. It allows you to capture depth frames and configure the camera.
cv2: This is the OpenCV library, which is used for various computer vision tasks, including image manipulation and display.
numpy as np: NumPy is a library for numerical operations in Python, often used for working with arrays and matrices.
# Initialize the RealSense pipeline
pipeline = rs.pipeline()
config = rs.config()
config.enable_stream(rs.stream.depth, 640, 480, rs.format.z16, 30)
pipeline.start(config)
Initializing RealSense: In this part, the RealSense camera is initialized:
pipeline = rs.pipeline(): This creates a pipeline object, which manages the flow of data from the RealSense camera to your application.
config = rs.config(): A configuration object is created to set up the camera’s parameters.
config.enable_stream(rs.stream.depth, 640, 480, rs.format.z16, 30): This configures the pipeline to enable the depth stream with specific settings:
rs.stream.depth: Specifies that you want to capture the depth stream.
640, 480: Sets the resolution of the depth stream to 640x480 pixels.
rs.format.z16: The format for the depth values (16-bit).
30: The frame rate is set to 30 frames per second.
# Define the target distance in meters
TARGET_DISTANCE = 1.0

- Defining Target Distance: Here, a constant TARGET_DISTANCE is defined to represent the desired target distance in meters. This will be used for comparison with the actual measured distance.
# Loop to continuously measure and display the distance
while True:
    # Wait for frames from the RealSense camera
    frames = pipeline.wait_for_frames()
    depth_frame = frames.get_depth_frame()
Continuous Loop: This code sets up an infinite loop that continuously measures and displays the distance:
pipeline.wait_for_frames(): This function waits for a set of frames to become available from the RealSense camera. These frames typically include depth data.
frames.get_depth_frame(): It extracts the depth frame from the set of frames. The depth frame contains information about the distances to objects in the camera’s view.
if depth_frame:
    # Measure the distance at the specified pixel
    CENTER_X, CENTER_Y = 320, 240
    distance = depth_frame.get_distance(CENTER_X, CENTER_Y)
Measuring Distance: If a valid depth frame is available, the code proceeds to measure the distance at a specified pixel location:
CENTER_X, CENTER_Y: These constants define the pixel coordinates where the distance will be measured, in this case, the center of the image.
depth_frame.get_distance(CENTER_X, CENTER_Y): This function retrieves the depth value (distance) in meters at the specified pixel coordinates (CENTER_X, CENTER_Y) in the depth frame. The result is stored in the distance variable.
# Create a colorizer to map depth values to colors
colorizer = rs.colorizer()
colorized_depth = np.asanyarray(colorizer.colorize(depth_frame).get_data())
Colorizing Depth Data: In this section, a colorizer is used to map the raw depth values in the depth frame to colors:
rs.colorizer(): A colorizer object is created to perform the colorization.
colorizer.colorize(depth_frame): The colorize method takes the depth frame as input and returns a colorized depth frame. In this frame, depth values are represented as colors, typically with closer objects appearing in warmer colors (e.g., red) and farther objects in cooler colors (e.g., blue).
np.asanyarray(…) is used to convert the colorized depth frame into a NumPy array for easier manipulation.
# Flip the colorized depth image horizontally
colorized_depth_flipped = cv2.flip(colorized_depth, 1)
Horizontal Flipping: The colorized depth image is horizontally flipped using OpenCV. This step is often performed for visualization purposes, ensuring that the image’s orientation matches the real-world camera view.
# Draw a red rectangle around the specified location
rect_size = 20
cv2.rectangle(colorized_depth_flipped, (CENTER_X - rect_size, CENTER_Y - rect_size),
              (CENTER_X + rect_size, CENTER_Y + rect_size), (0, 0, 255), 2)
Drawing Rectangle: A red rectangle is drawn around the specified pixel location (CENTER_X, CENTER_Y). This is done using OpenCV’s cv2.rectangle function. The rectangle’s size is determined by rect_size, and the color is specified as (0, 0, 255) (red). The 2 indicates the thickness of the rectangle’s border.
# Display the distance measurement compared to the target distance
distance_text = f"Distance: {distance:.2f} m"
target_text = f"Target: {TARGET_DISTANCE:.2f} m"
cv2.putText(colorized_depth_flipped, distance_text, (10, 30), cv2.FONT_HERSHEY_SIMPLEX, 1, (0, 0, 255), 2)
cv2.putText(colorized_depth_flipped, target_text, (10, 60), cv2.FONT_HERSHEY_SIMPLEX, 0.6, (0, 0, 255), 2)
Adding Text: Textual information is added to the colorized depth image:
distance_text: This variable is created to display the actual measured distance with two decimal places.
target_text: Another variable displays the target distance with two decimal places.
cv2.putText(…): OpenCV’s putText function is used to overlay the text on the colorized depth image. It includes the text content, position, font type, font scale, color, and thickness.
# Display the colorized depth image with flipped data
cv2.imshow("Distance Measurement", colorized_depth_flipped)
Displaying the Image: The colorized depth image, which now includes the rectangle and text, is displayed in an OpenCV window titled “Distance Measurement” using cv2.imshow().
# Break the loop when 'q' key is pressed
if cv2.waitKey(1) & 0xFF == ord('q'):
    break
Loop Termination: The program checks if the ‘q’ key is pressed within the OpenCV window. If the ‘q’ key is pressed, the loop is terminated, and the program will exit.
# Stop the RealSense pipeline and close the OpenCV windows
pipeline.stop()
cv2.destroyAllWindows()
Cleanup: After exiting the loop, the RealSense pipeline is stopped using pipeline.stop(), which releases the camera and associated resources. cv2.destroyAllWindows() closes any open OpenCV windows, ensuring a clean shutdown of the program.
Let’s Start the Mission
Misson : Goal: Let’s measure the distance of an object using the distance detecting function.
In this mission, the goal is to measure the distance of an object using the distance detecting function provided in the code.
The purpose of this mission is to demonstrate how to use the distance measuring capabilities of a RealSense depth camera to determine the distance to a specific object.
Mission Steps:
Step 1: Initialization and Configuration
Begin by initializing the RealSense pipeline and configuring the depth stream settings. This step is already provided in the code, so no additional action is needed here.
Step 2: Define the Target Distance
You will define the target distance that you want to measure. The code already includes a constant for this purpose:
TARGET_DISTANCE = 1.0 # Set the desired target distance in meters
Adjust the value of TARGET_DISTANCE to represent the specific distance you want to measure to the object.
Step 3: Continuous Distance Measurement
The code includes a continuous loop that measures and displays the distance to a specified point (typically the center of the image) in real-time. This part of the code already performs the distance measurement using the RealSense depth data.
Step 4: Visualization
The code visualizes the distance measurement by displaying a colorized depth image with a rectangle around the measurement point and text indicating the actual measured distance compared to the target distance.
Step 5: Cleanup
After exiting the loop, the code ensures proper cleanup by stopping the RealSense pipeline and closing any open OpenCV windows.
Your mission is to follow these steps and execute the code to measure the distance of an object using the provided distance detecting function. Adjust the TARGET_DISTANCE value to set the desired target distance, and observe how the code continuously displays the measured distance compared to the target distance in real-time. This mission will demonstrate how to use the RealSense depth camera for precise distance measurements, which can be valuable in various applications.