Crop Image File
Follow along: Crop Image File
The program launching process along with parameter settings are all simplified and set up on the Jupyter Notebook Environment.
- Create a new *.ipynb file Jupyter Notebook
- Fill in the content below in the newly created file
- Follow and Execute the example codes
(The Jetson Board used for these examples are => Jetson Nano)
2.crop.py
import cv2
import numpy as np
# Load an image
image = cv2.imread('image.jpg')
# Define the coordinates of the ROI (top-left and bottom-right corners)
x1, y1, x2, y2 = 75, 80, 135, 140
# Crop the ROI using OpenCV
cropped_image_cv2 = image[y1:y2, x1:x2]
# Get the dimensions of the original image
height, width, _ = image.shape
# Resize the cropped image to match the dimensions of the original image
cropped_image_cv2_resized = cv2.resize(cropped_image_cv2, (width, height))
# Crop the same region using NumPy on the original image
cropped_image_numpy = image[y1:y2, x1:x2]
# Resize the cropped image using NumPy to match the dimensions of the original image
cropped_image_numpy_resized = cv2.resize(cropped_image_numpy, (width, height))
# Add text labels to the images
font = cv2.FONT_HERSHEY_SIMPLEX
cv2.putText(image, 'Original', (10, 30), font, 1, (255, 255, 255), 2, cv2.LINE_AA)
cv2.putText(cropped_image_cv2_resized, 'OpenCV', (10, 30), font, 1, (255, 255, 255), 2, cv2.LINE_AA)
cv2.putText(cropped_image_numpy_resized, 'NumPy', (10, 30), font, 1, (255, 255, 255), 2, cv2.LINE_AA)
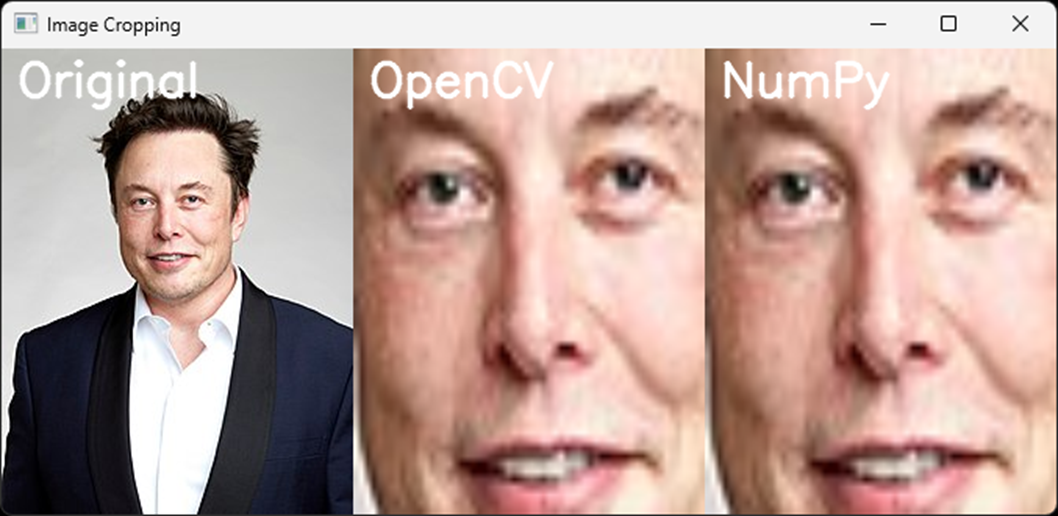
# Display the original and cropped images side by side
combined_image = np.hstack((image, cropped_image_cv2_resized, cropped_image_numpy_resized))
cv2.imshow('Image Cropping', combined_image)
cv2.waitKey(0)
cv2.destroyAllWindows()
code progress
Load input image using OpenCV.
Define the coordinates of the region of interest (ROI).
Crop image using slicing in OpenCV.
Resize and Crop with NumPy.
Display by adding a text label to each image.