Mission
Project Name: Custom Object Detection System

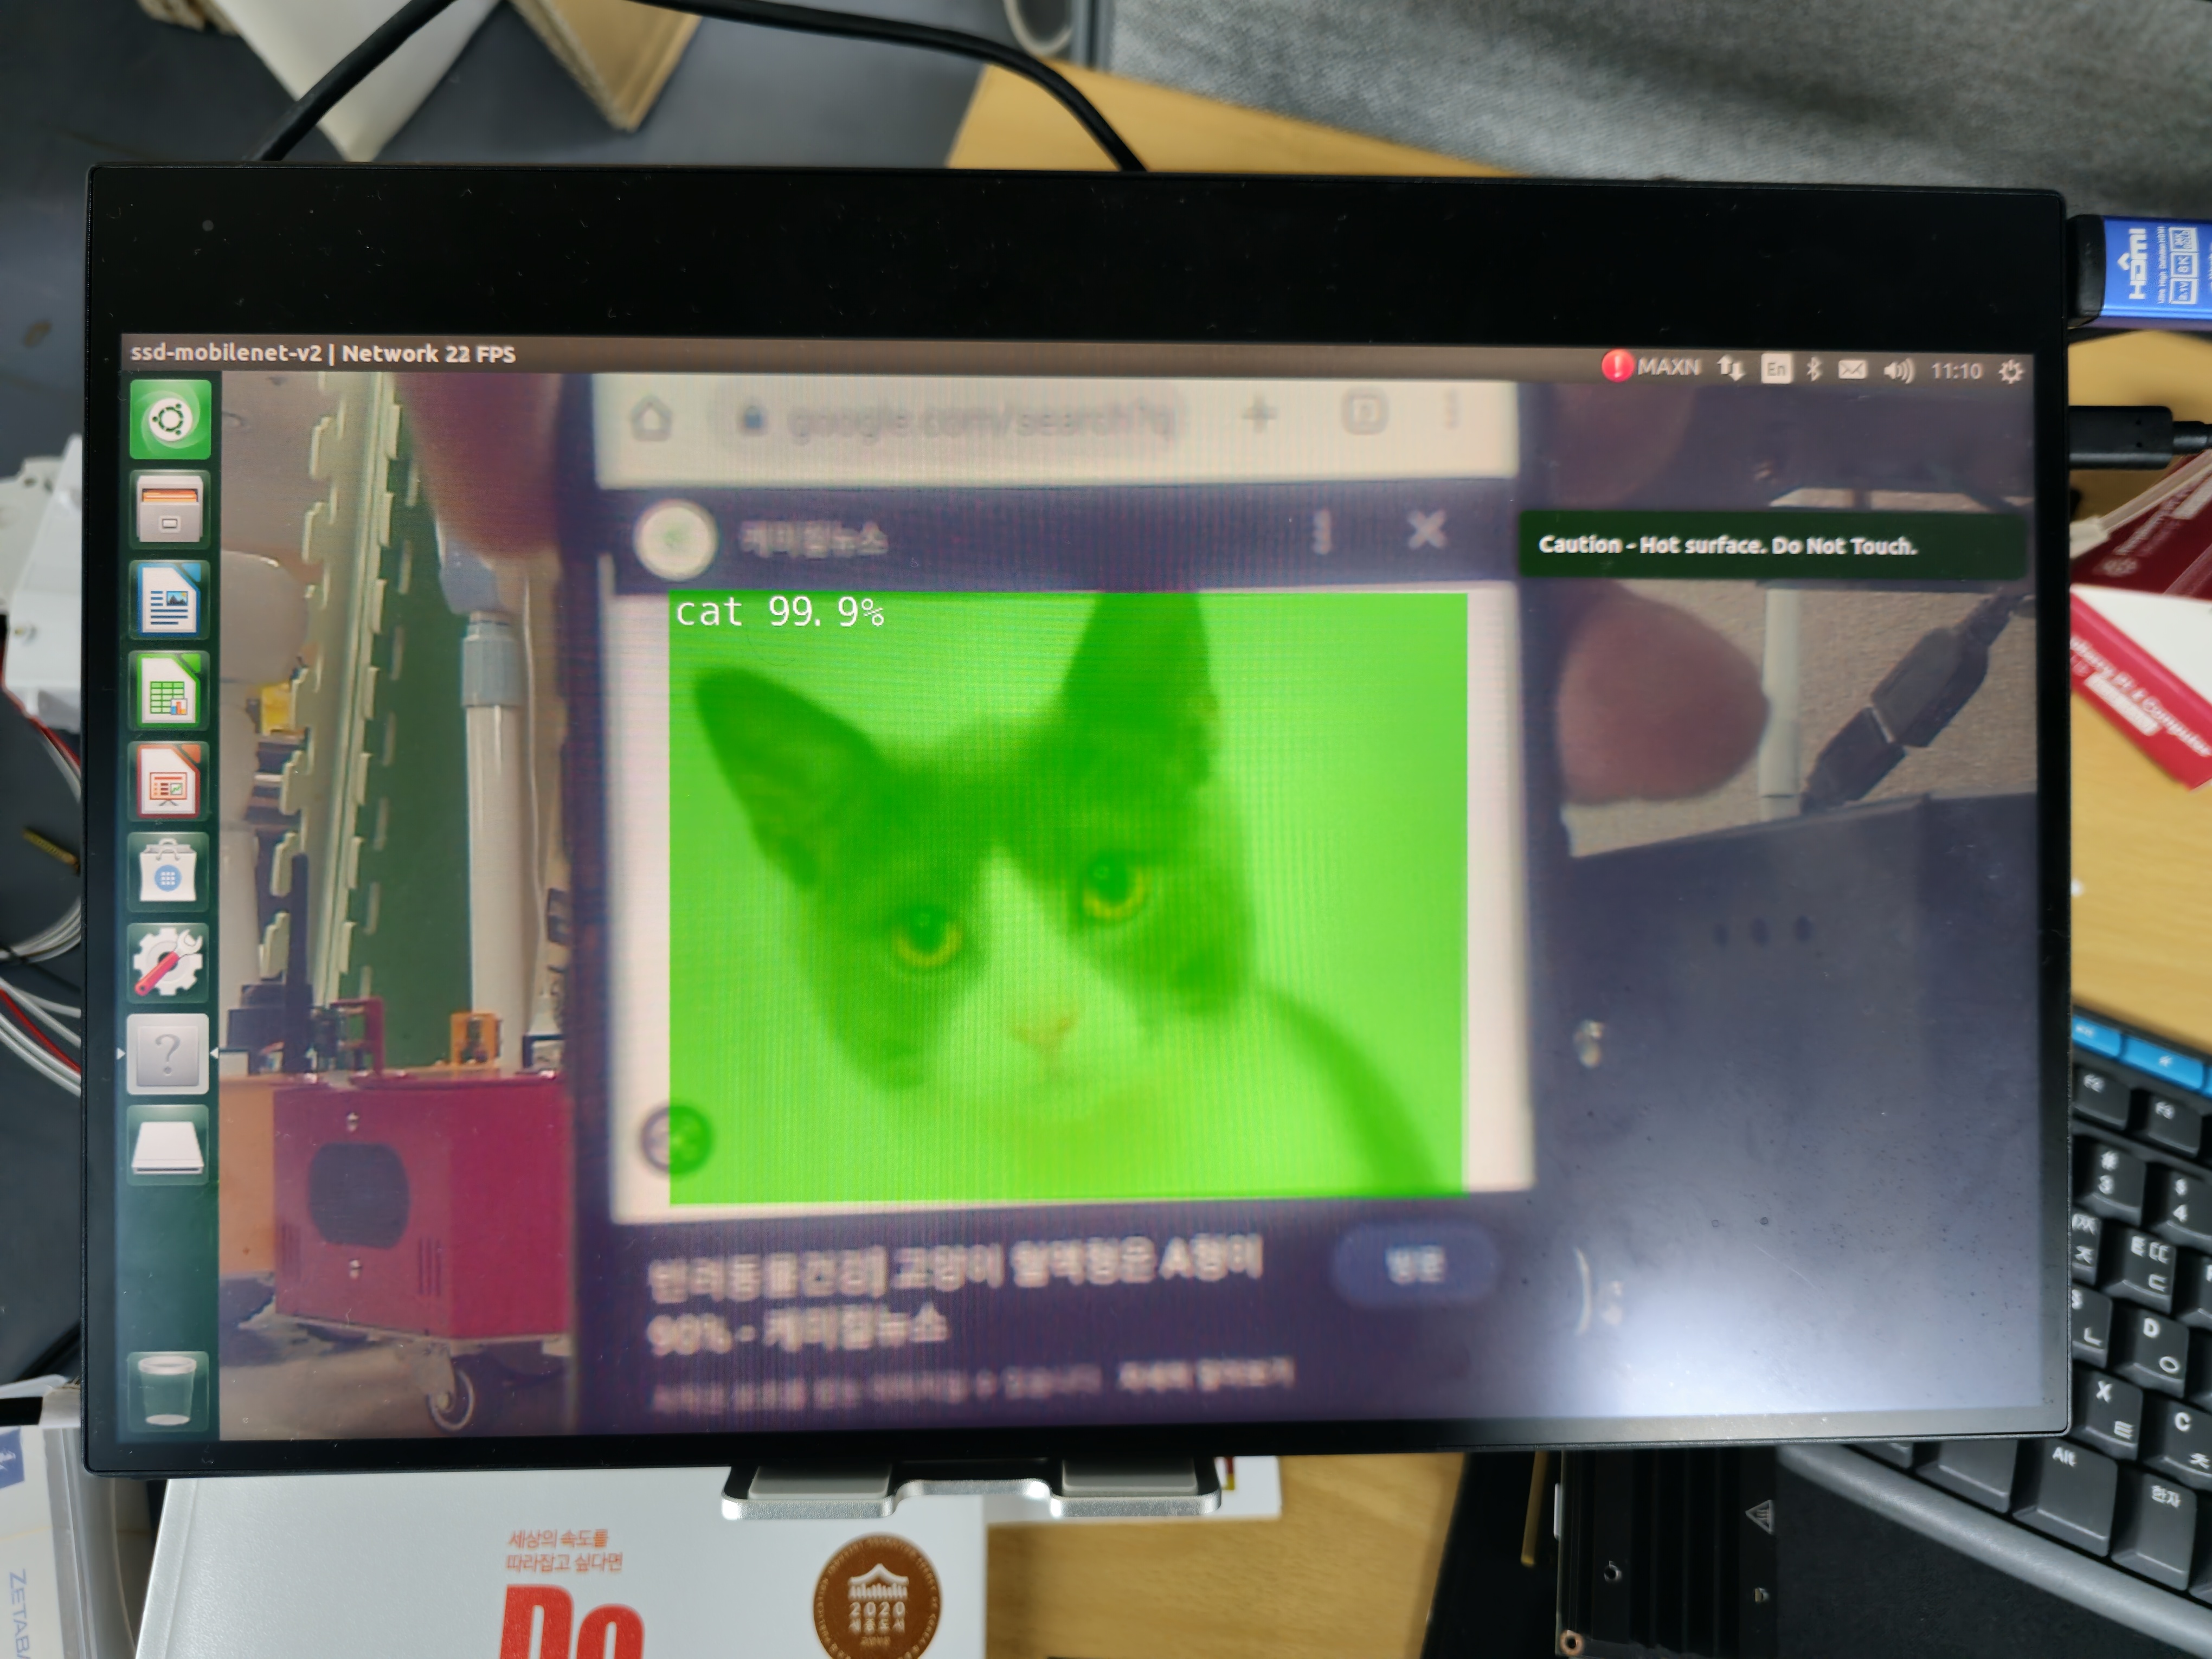
Writing Custom detectNet Program
Similar to how we created a new python file in our team assignment, generate a new python file and name it 02_6-2. object_detection_camera.py.
Create a new python file in the Jupyter Notebook Environment:
Press the blue plus button on the top left corner of the web.
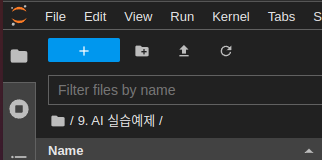
Create a new python file by pressing the
Python Filebutton
Rename the untitled python file to
02_6-2. object_detection_camera.pyOn the new python file, import the necessary libraries for our Object Detection task.
import argparse
import sys

from jetson_inference import detectNet
from jetson_utils import videoSource, videoOutput, cudaFont
Initialize the parser variable and define required and optional arguments.
parser = argparse.ArgumentParser(description="Locate objects in a live camera stream using an object detection DNN.",
                                formatter_class=argparse.RawTextHelpFormatter,
                                epilog=detectNet.Usage() + videoSource.Usage() + videoOutput.Usage())
parser.add_argument("input_CAMERA", type=str, default="", nargs='?', help="use csi://0 for Raspberry pi Camera")
parser.add_argument("--network", type=str, default="", help="pre-trained model to load")

parser.add_argument("--overlay", type=str, default="box,labels,conf", help="detection overlay flags (e.g. --overlay=box,labels,conf)\nvalid combinations are:  'box', 'labels', 'conf', 'none'")
parser.add_argument("--threshold", type=float, default=0.5, help="minimum detection threshold to use")
Parse the user’s arguments.
try:
    opt = parser.parse_known_args()[0]
except:
    print("")
    parser.print_help()
    sys.exit(0)
Initialize the detection network and video source/output.
input = videoSource(opt.input_CAMERA, argv=sys.argv)
output = videoOutput("DISPLAY://0", argv=sys.argv)
net = detectNet(opt.network, sys.argv, opt.threshold)
Process the video frames and detect objects.
while True:
    img = input.Capture()

    if img is None: # timeout
        continue

    detections = net.Detect(img, overlay=opt.overlay)

    output.Render(img)

    output.SetStatus("{:s} | Network {:.0f} FPS".format(opt.network, net.GetNetworkFPS()))

    if not input.IsStreaming() or not output.IsStreaming():
        break
Executing the Custom Program
Open the
02_6-2. object_detection_camera.pynotebook.
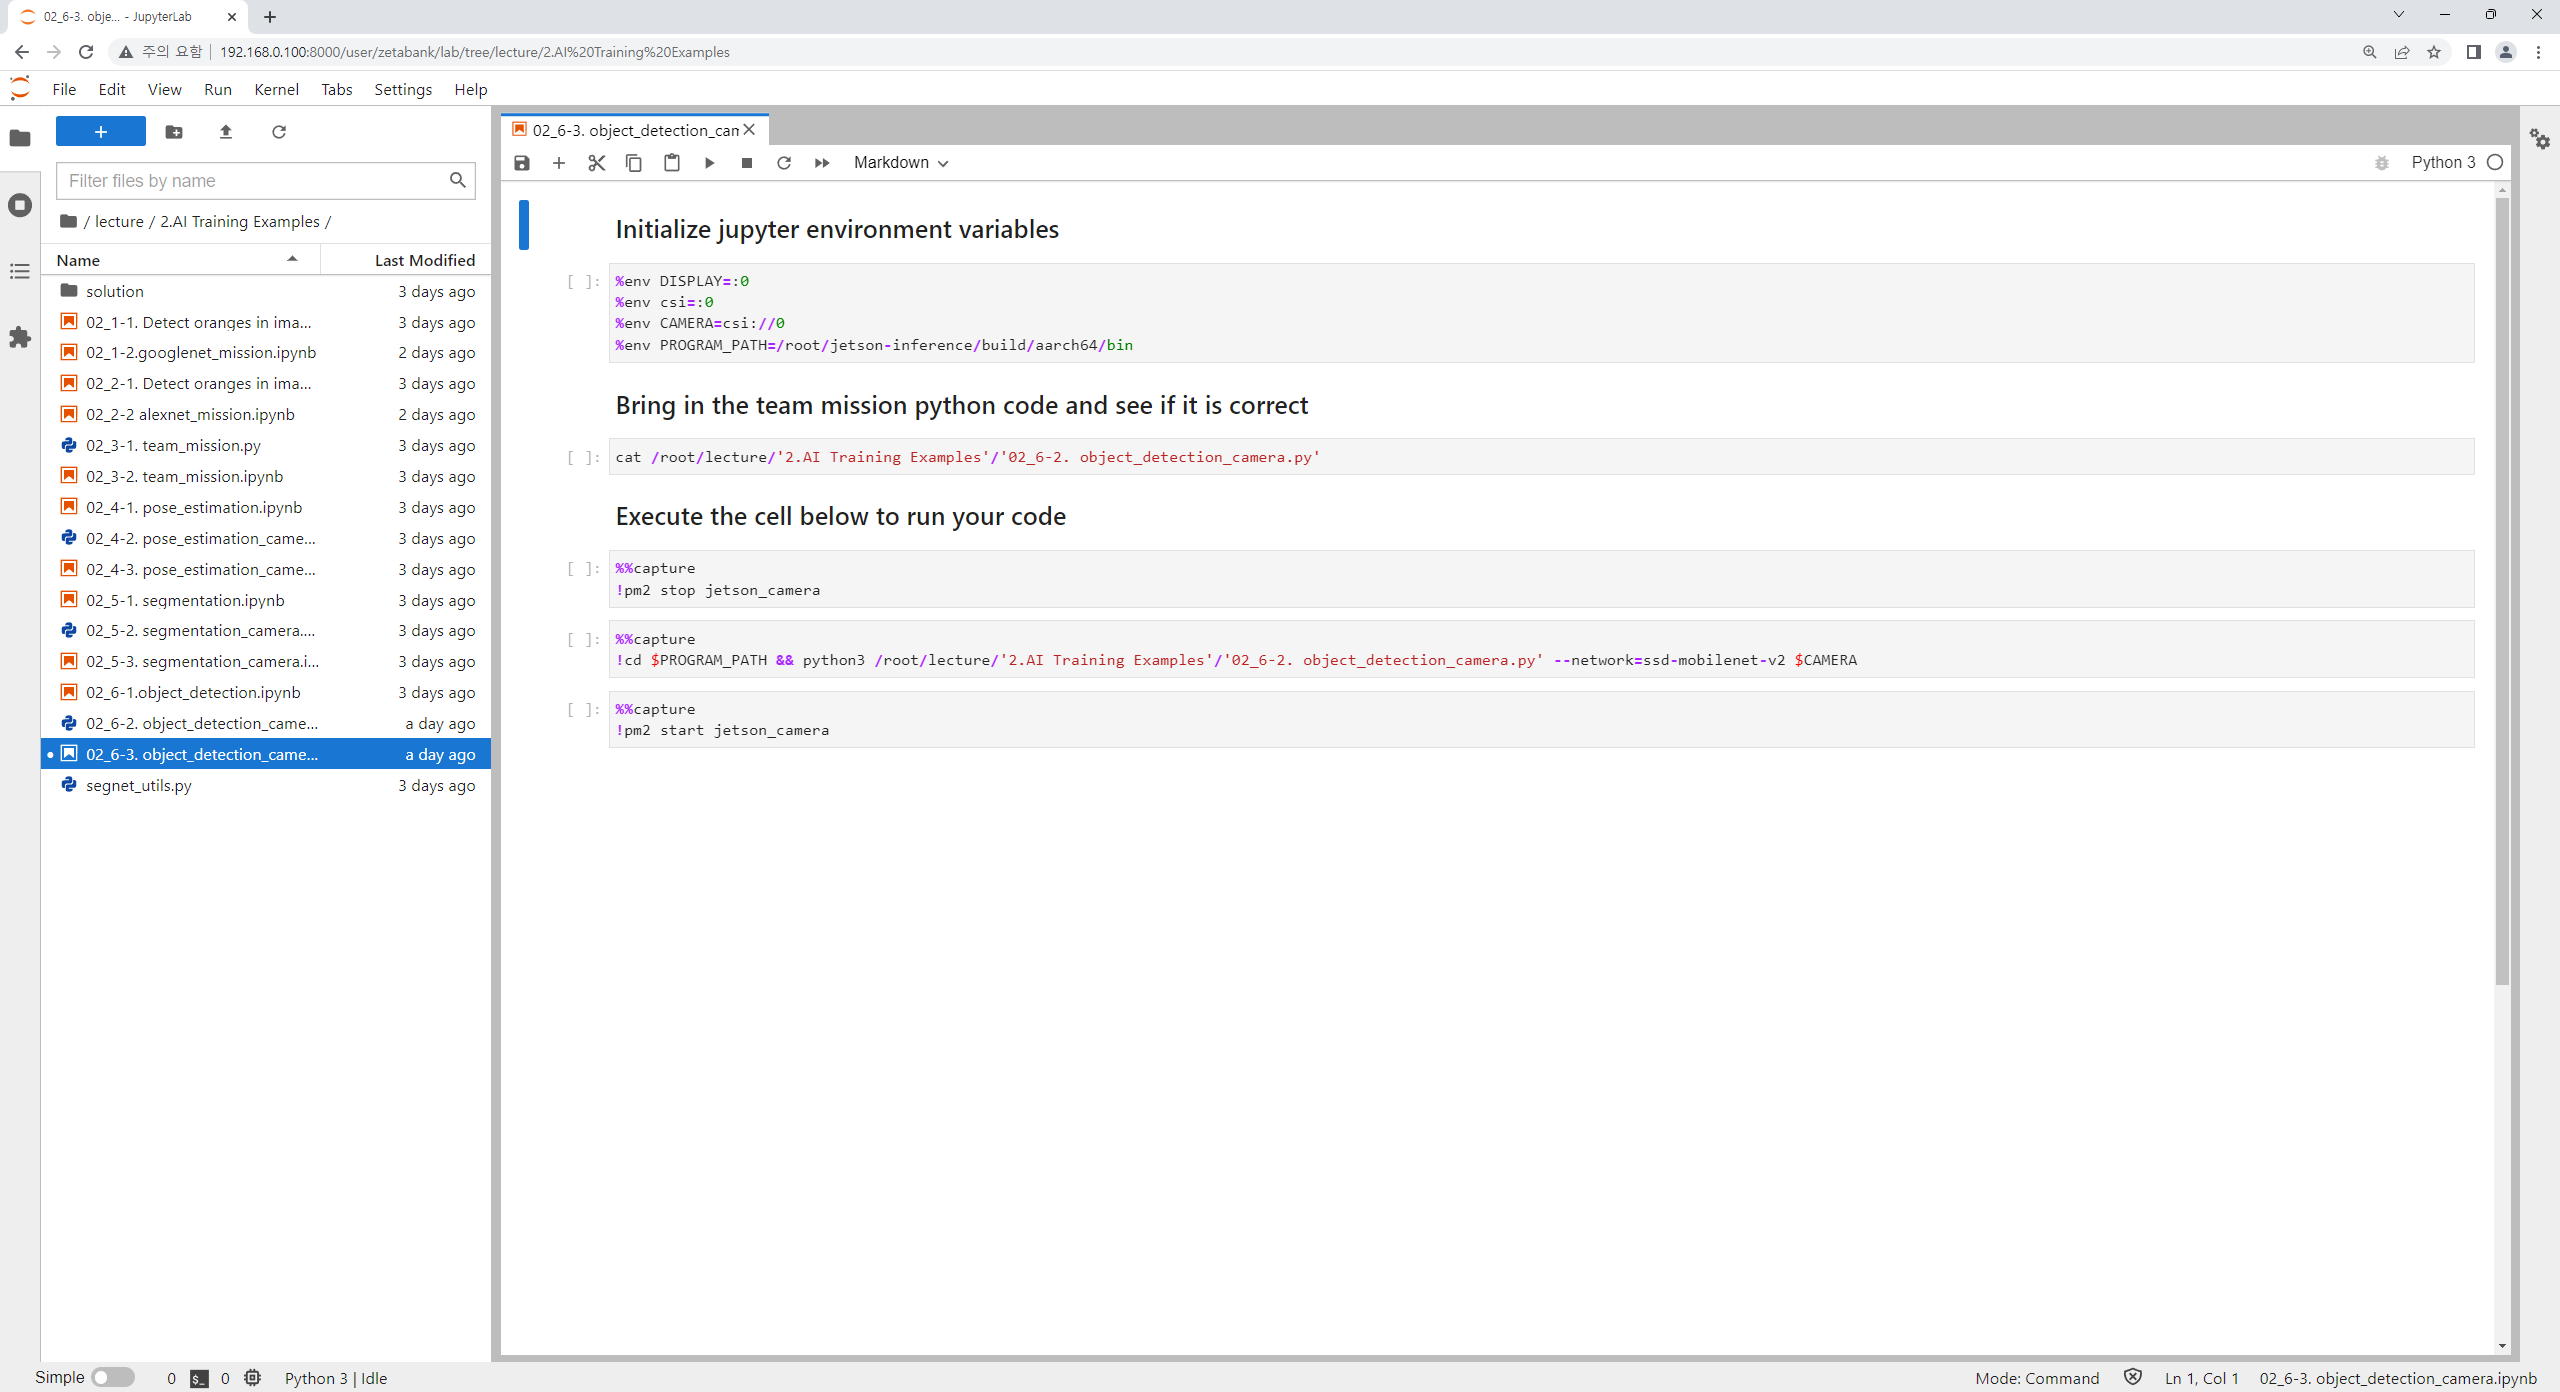
Run the cell code which initializes the input/ output stream of the environment as well as the CAMERA variable, which will be the flag that determines the input vairable for the program to be a camera stream.
%env DISPLAY=:0
%env csi=:0
%env CAMERA=csi://0
Check if your python notebook can read the python code you have written:
cat /home/zeta/notebook/lecture/'2.AI Training Examples'/'02_6-2. object_detection_camera.py'
One important thing about the zetabot is that the Raspberry Pi camera is constantly running.
In order to use the camera for our task we must disable it first by running the following command:
%%capture
!pm2 stop jetson_camera
This will allow the camera to be used for our program.
Execute the detection_object_camera python code.
Note that we are setting our major functions,
--network: to set which networks to use in our object detection task.input_CAMERA: to set which input stream will be used for our task. It is being set to CAMERA environment variable which holdscsi://0as a string.
%%capture
!python3 /home/zeta/notebook/lecture/'2.AI Training Examples'/'02_6-2. object_detection_camera.py' --network=ssd-mobilenet-v2 $CAMERA
Be sure to turn the camera back online by:
%%capture
!pm2 start jetson_camera
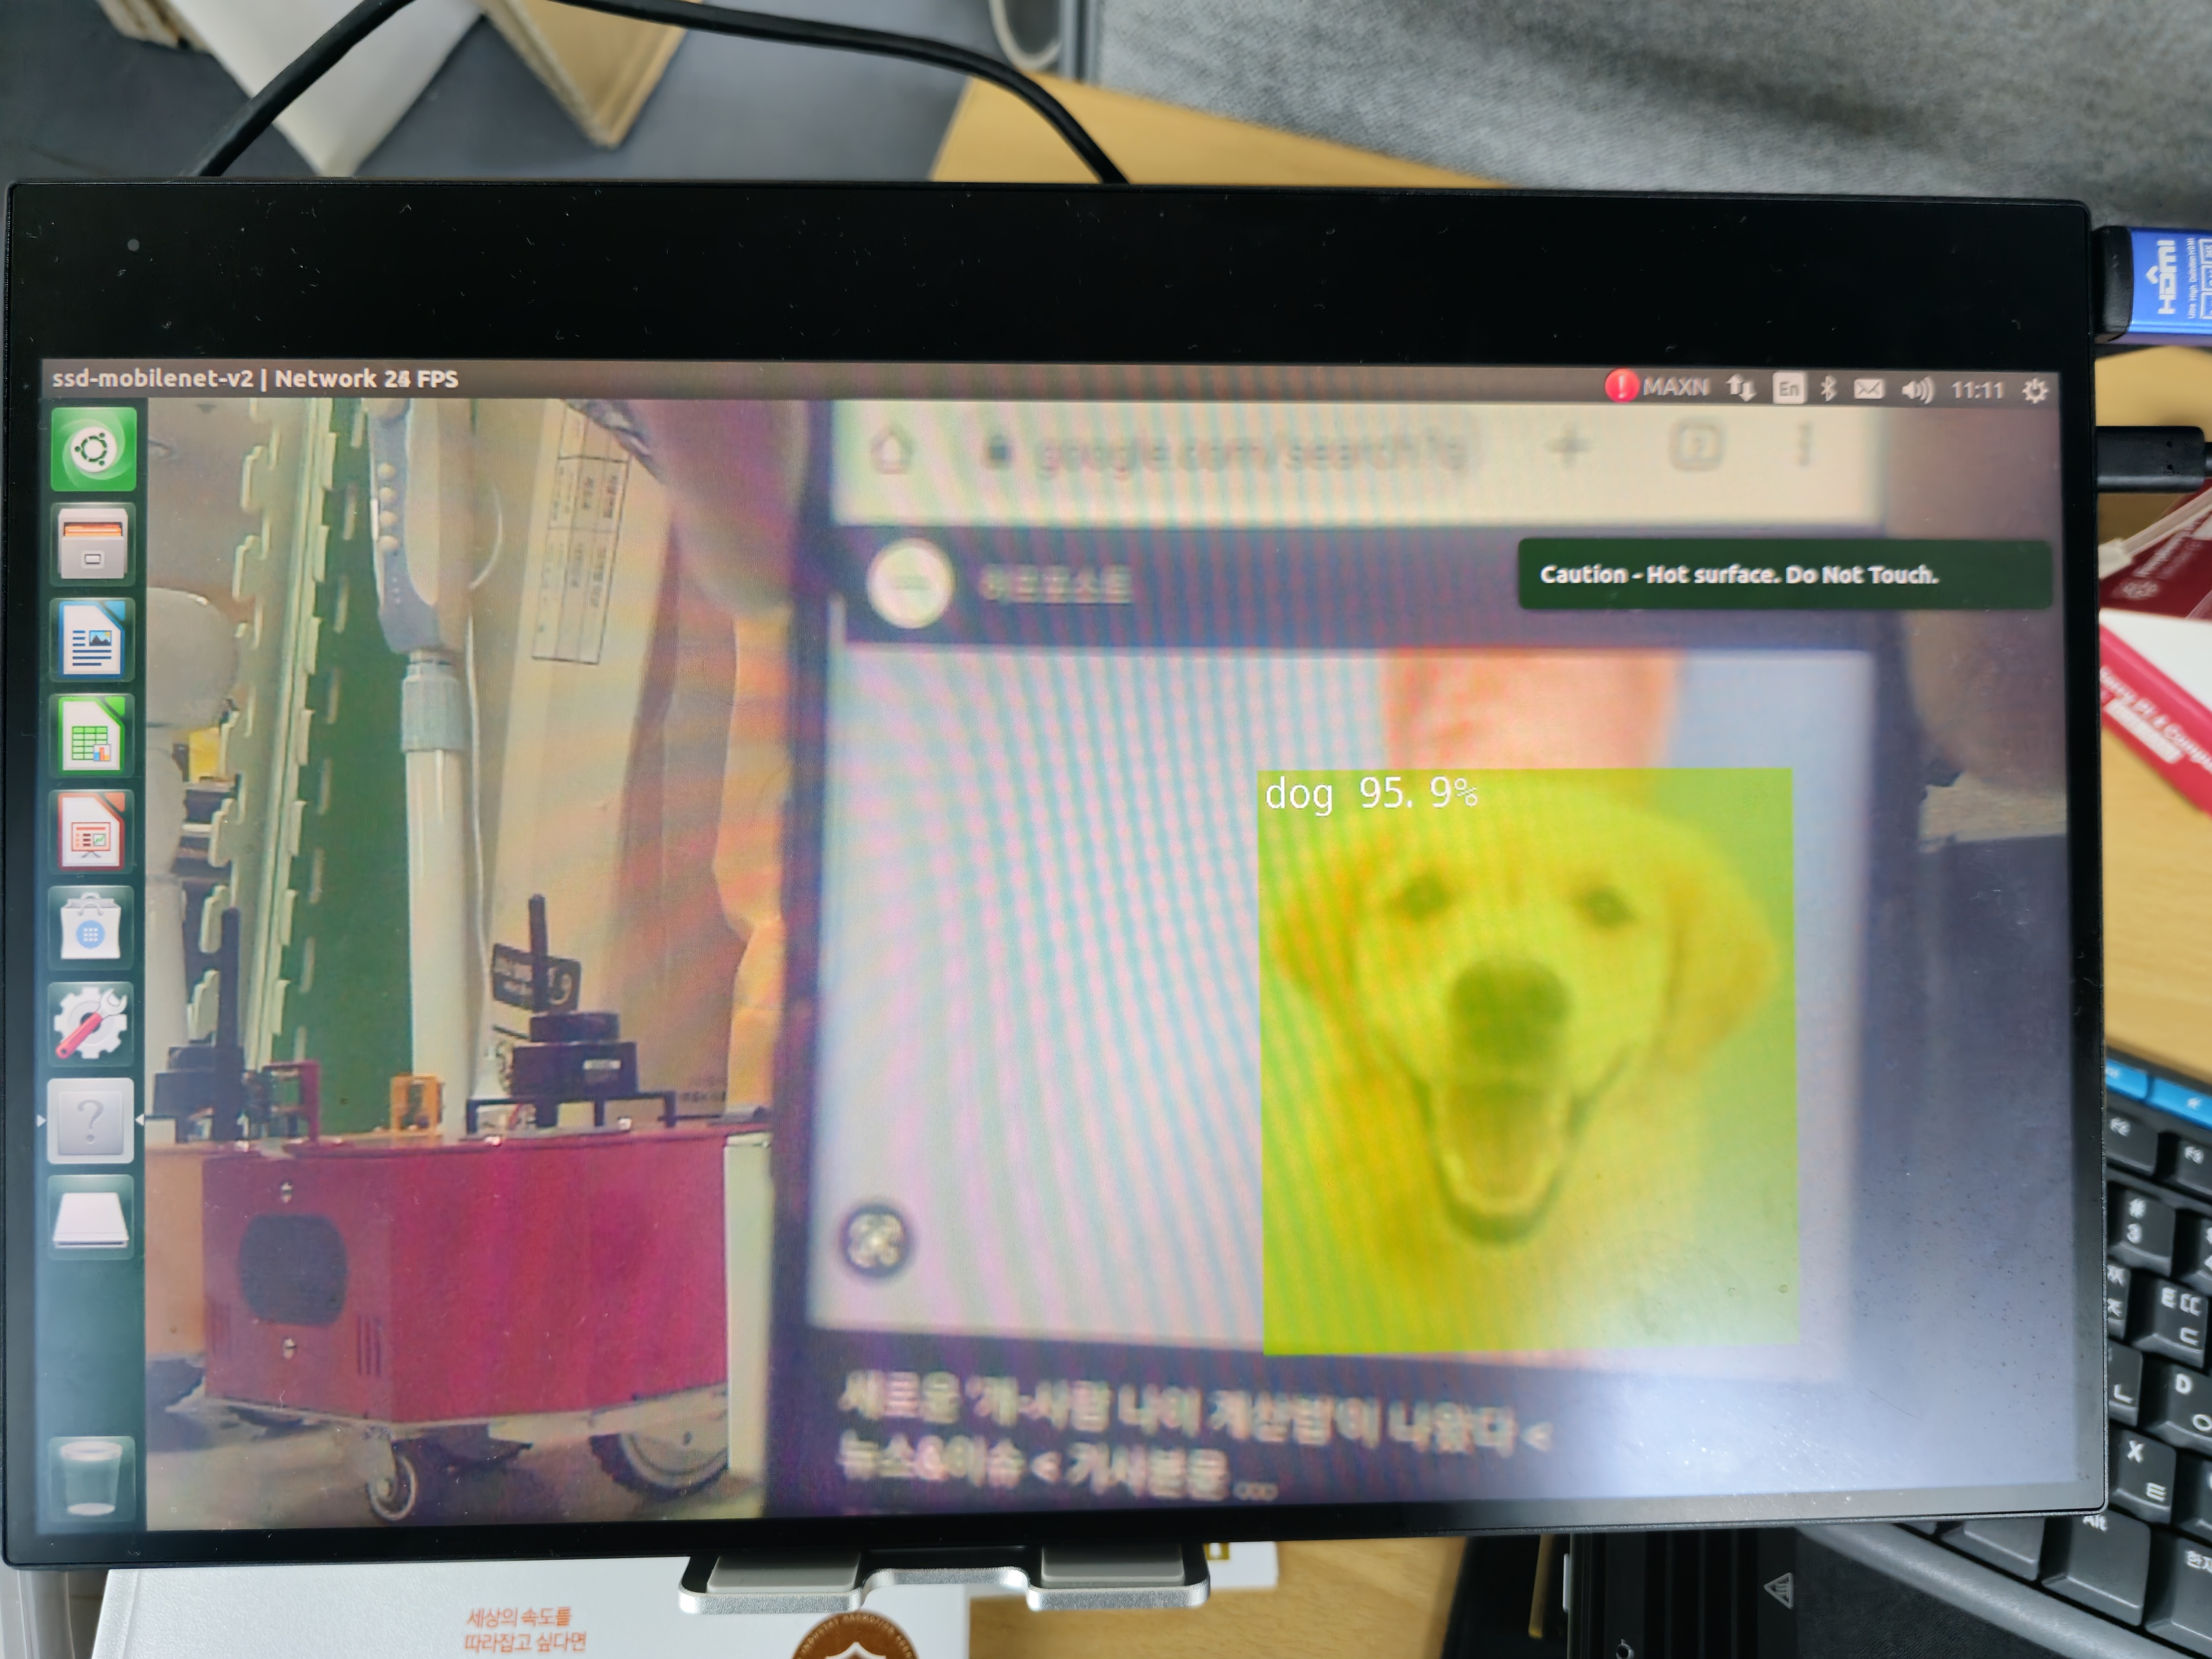
Let’s Change the Overlay!!!
With the minor functions explanation, we have discussed many parameters that controls the overlay settings. Try to tweak the execution cell in your jupyter notebook to change how the results are overlayed.
Examples: